We have already talked about what is a permalink and how to change its structure.
In this article, we will learn how to include links in a blog post step by step.
How to Add Links to Your WordPress Posts
First, find and copy the URL you wish to include in your post.
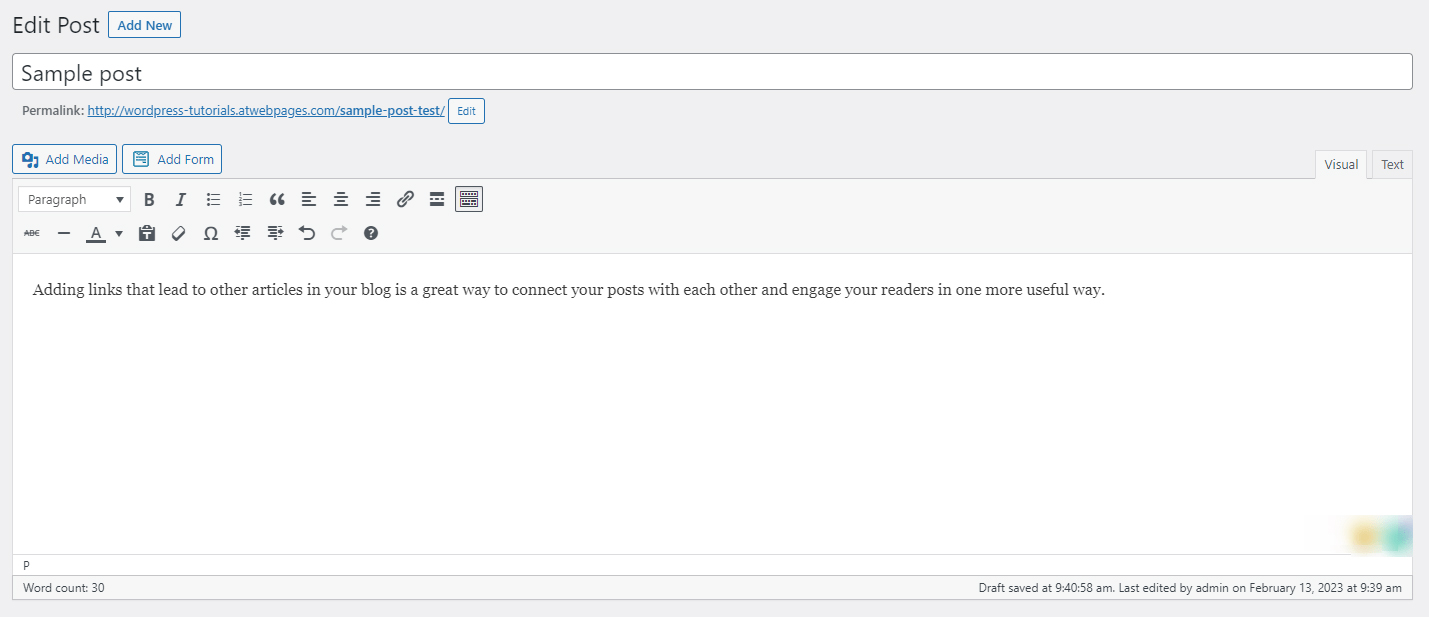
Then, enter your WordPress admin panel, and open the post in which you wish to include the link. For this demonstration, we will use a sample post:
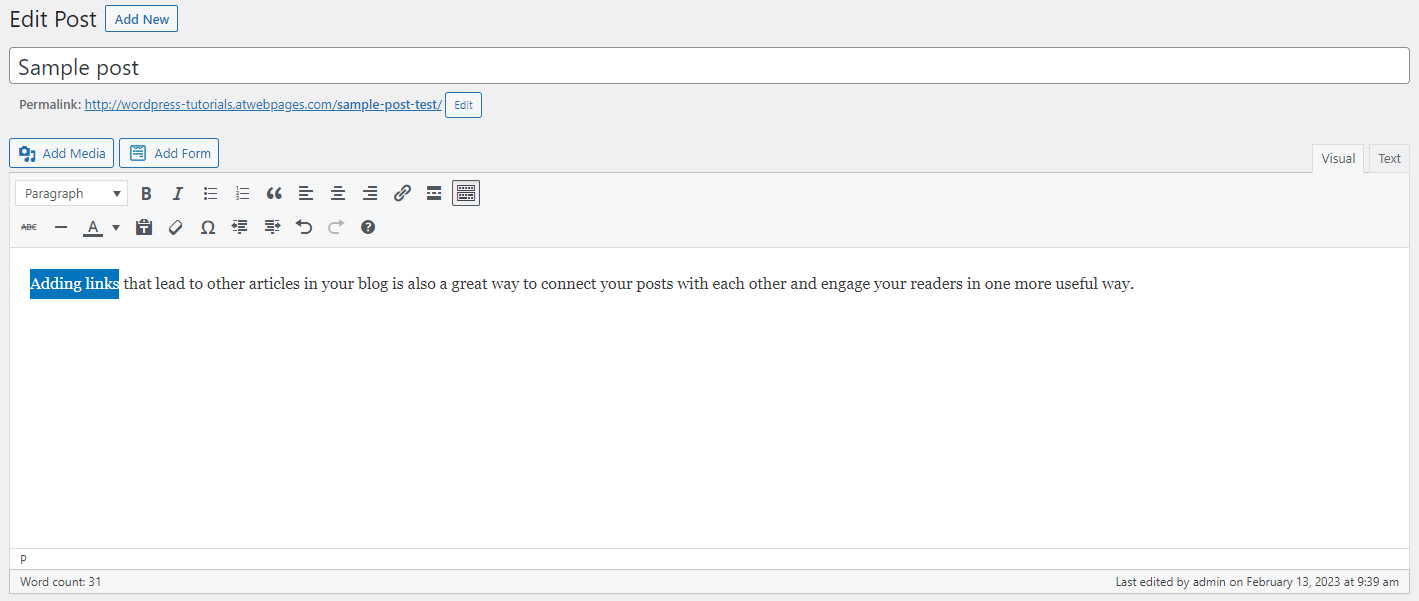
Now, select the part of the text which will contain the copied link:
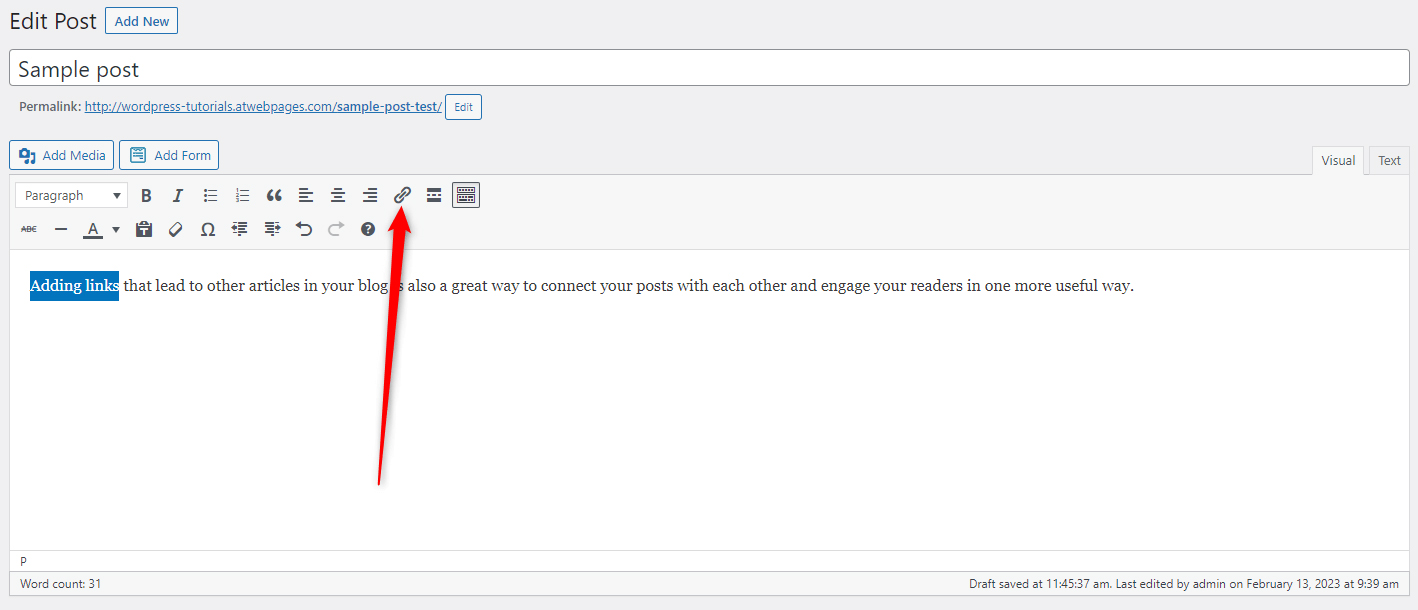
Then, while the text is selected, head to the formatting options and search for the Insert/Edit link button and click it. You can also press Ctrl+K on your keyboard:
A new box will appear right below the selected text:
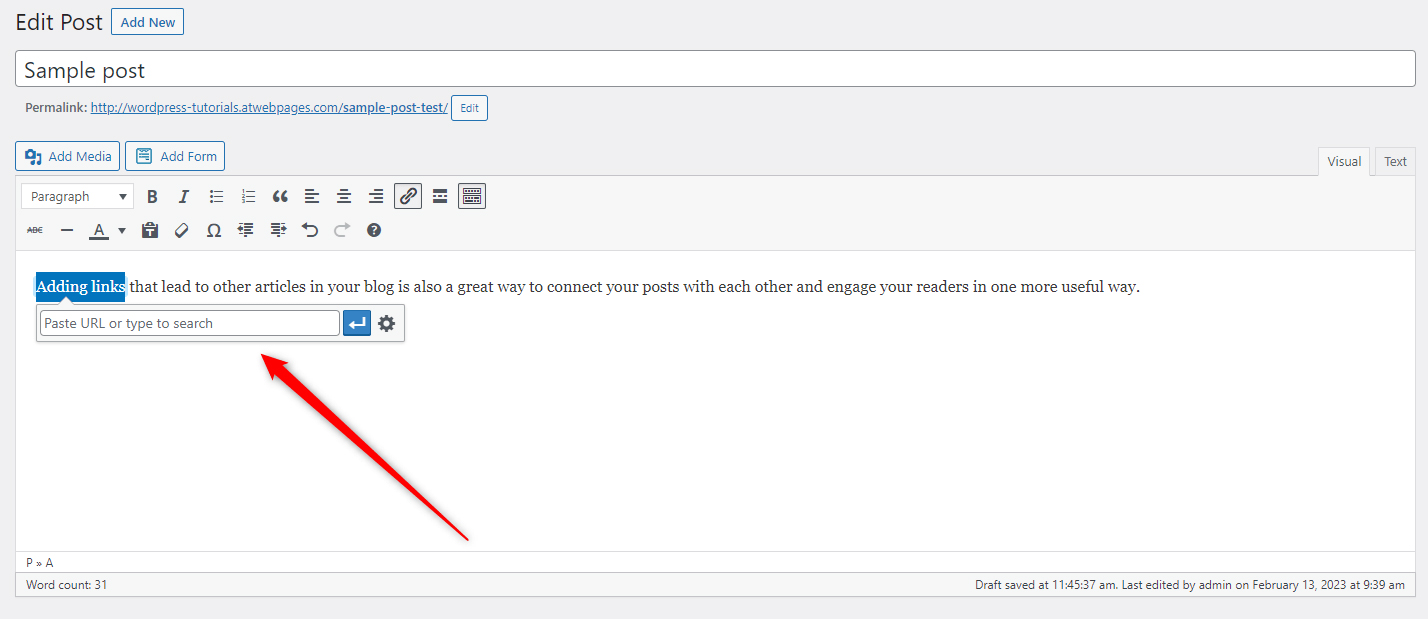
paste the copied URL there and click the blue Enter button:

Once you do so, the part of the text that contains the link will visually change – it will become blue and underlined. This indicates that this word or phrase is clickable and will lead the readers to the content associated with the inserted link.
These kinds of words and phrases that contain links, and are clickable are called Anchor texts, or simply anchors. They are widely used in websites because of how convenient and smooth they point to other posts and webpages.
For optimal results, you can follow a few simple tips that will make your anchors even more effective.
Depending on the website design and installed WordPress theme, anchors might appear in different colors.
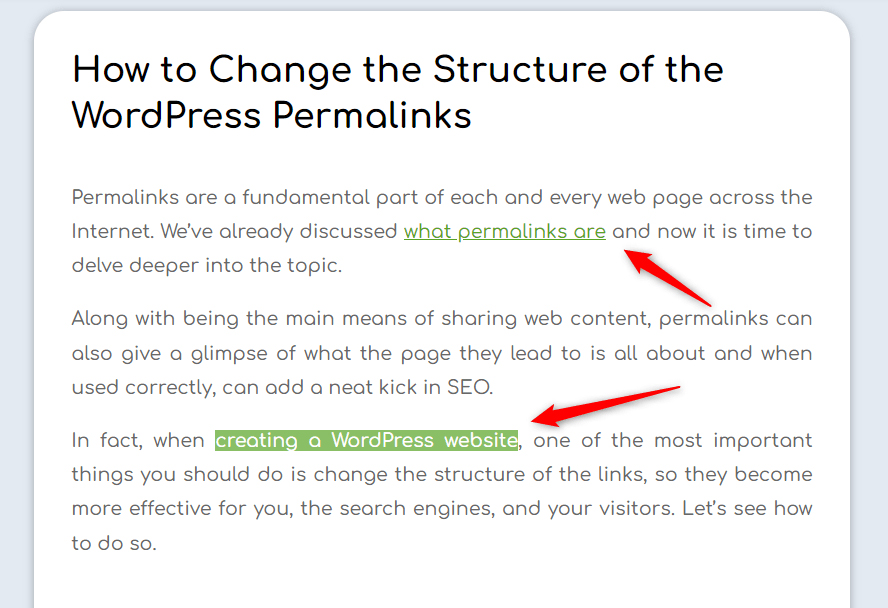
For example, the ZETTAHOST posts display light green colored anchors with a green background when the mouse cursor hovers over them:
Conclusion
Adding links to your WordPress posts can be very beneficial for your blog section and the entire website. It is a convenient way of showing and leading visitors to related content and can increase visitors’ engagement, site traffic, and conversions.
Related: