Adding a site logo in WordPress with Gutenberg is straightforward and requires only a few mouse clicks and just several minutes of your time.
In the following paragraphs, you will read how to add a site logo to your WordPress website via the Gutenberg editor step by step.
How to Add a Site Logo Block in WordPress with Gutenberg
With this method, you will learn how to add a site logo block in the header section of your website – once you do, the logo will appear on all pages that use this header template.
The first thing you should do is enter your WordPress admin panel.
Then, you should make sure that Gutenberg is selected as your default editor. To do so, within your WordPress admin dashboard go to Settings->Writing:
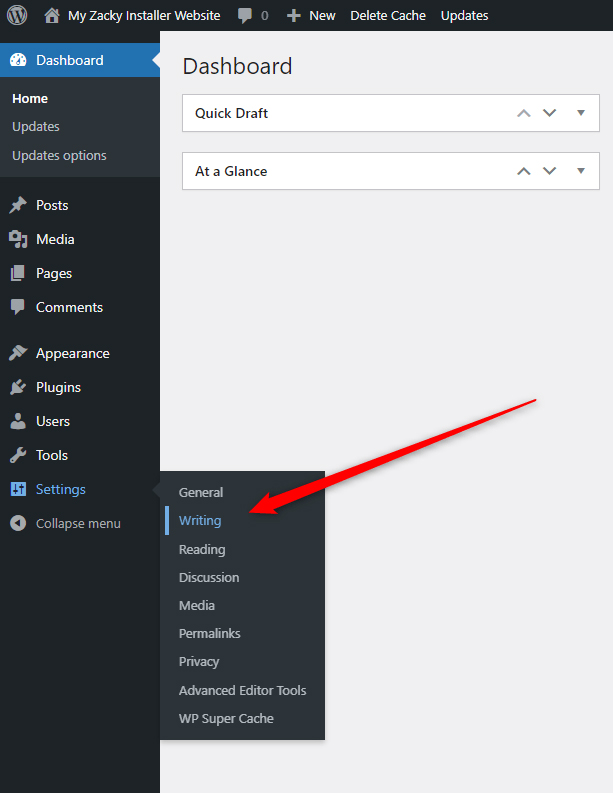
Once you click on Writing, a new page with options should appear. It looks like this:
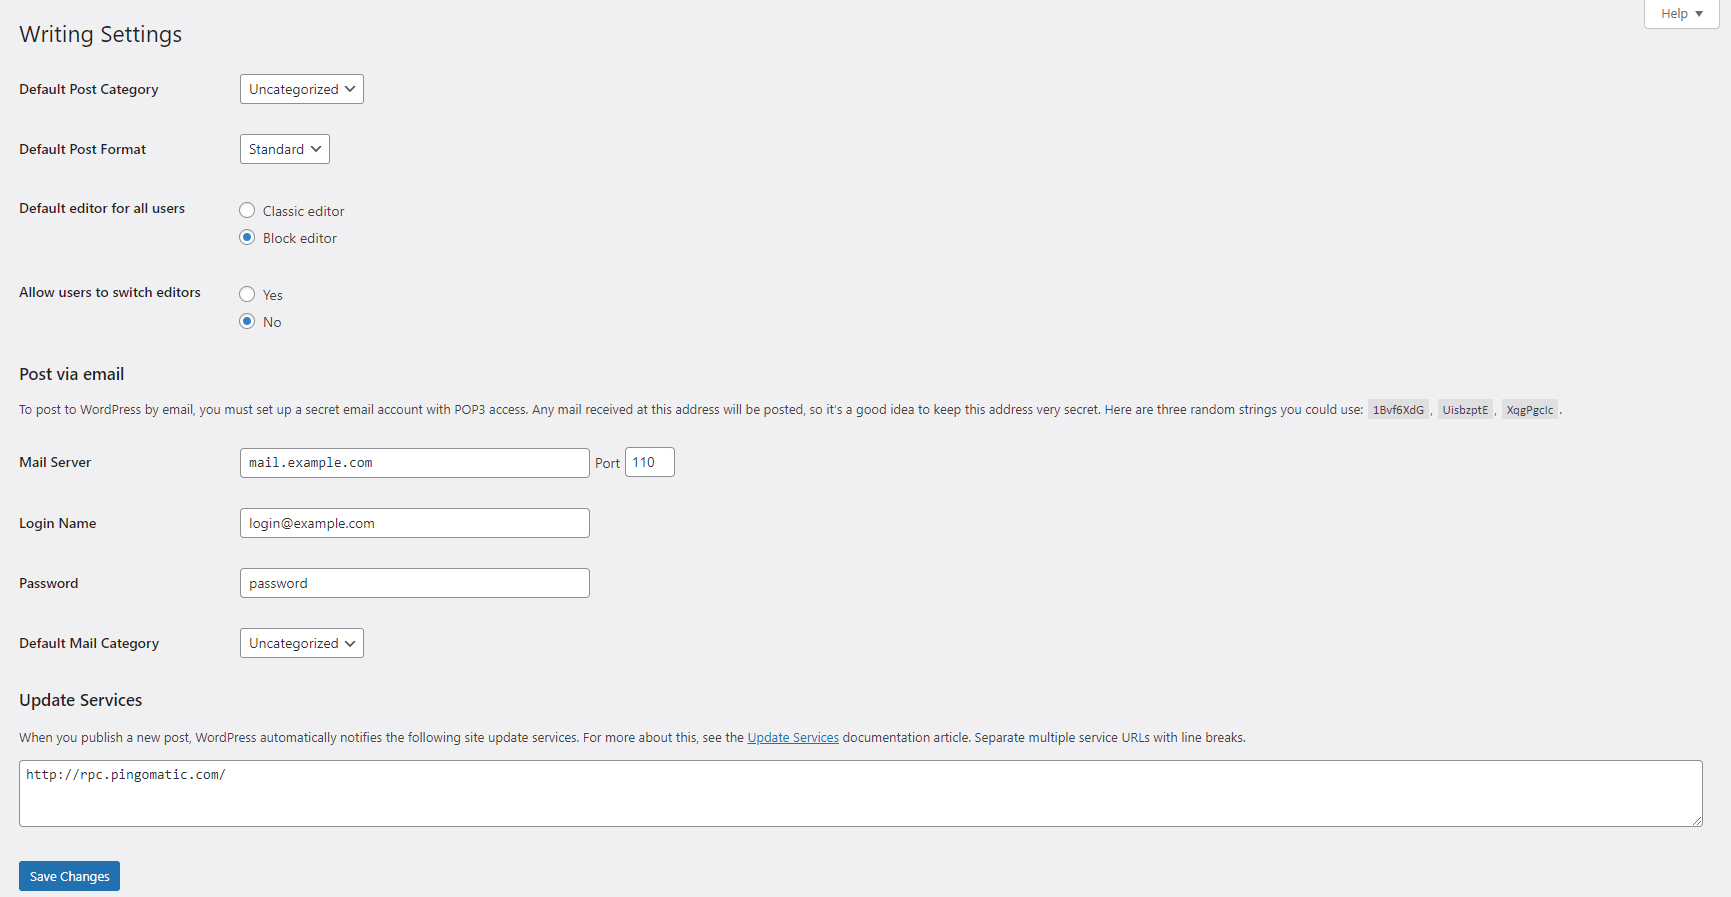
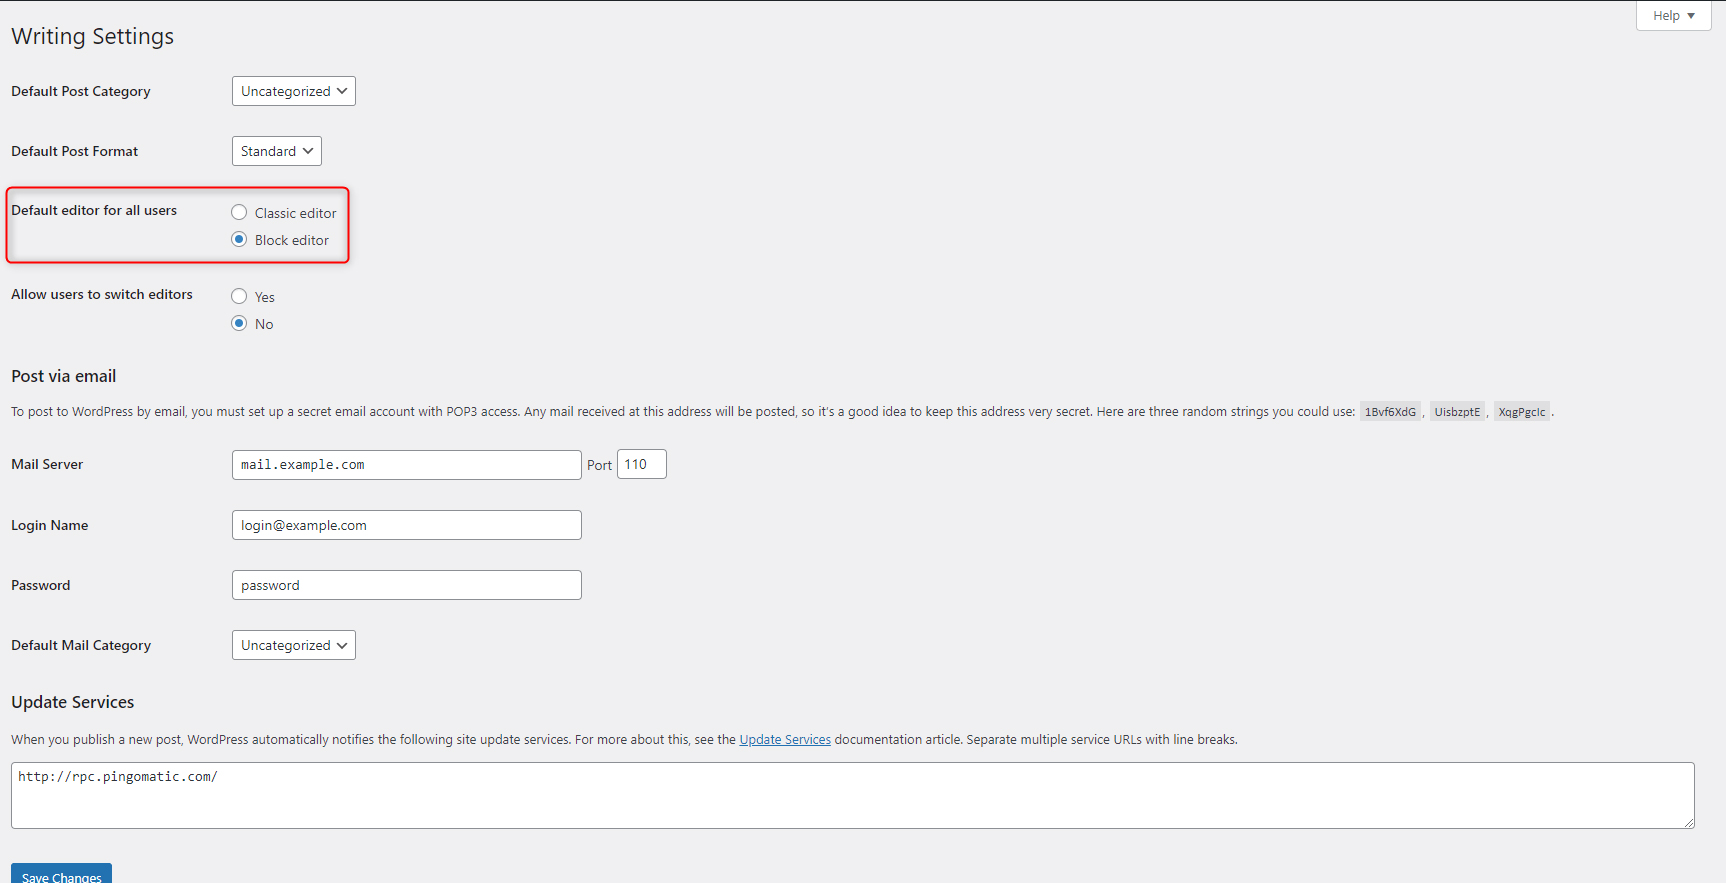
Within this page, search for the Default editor for all users options and select Block Editor:
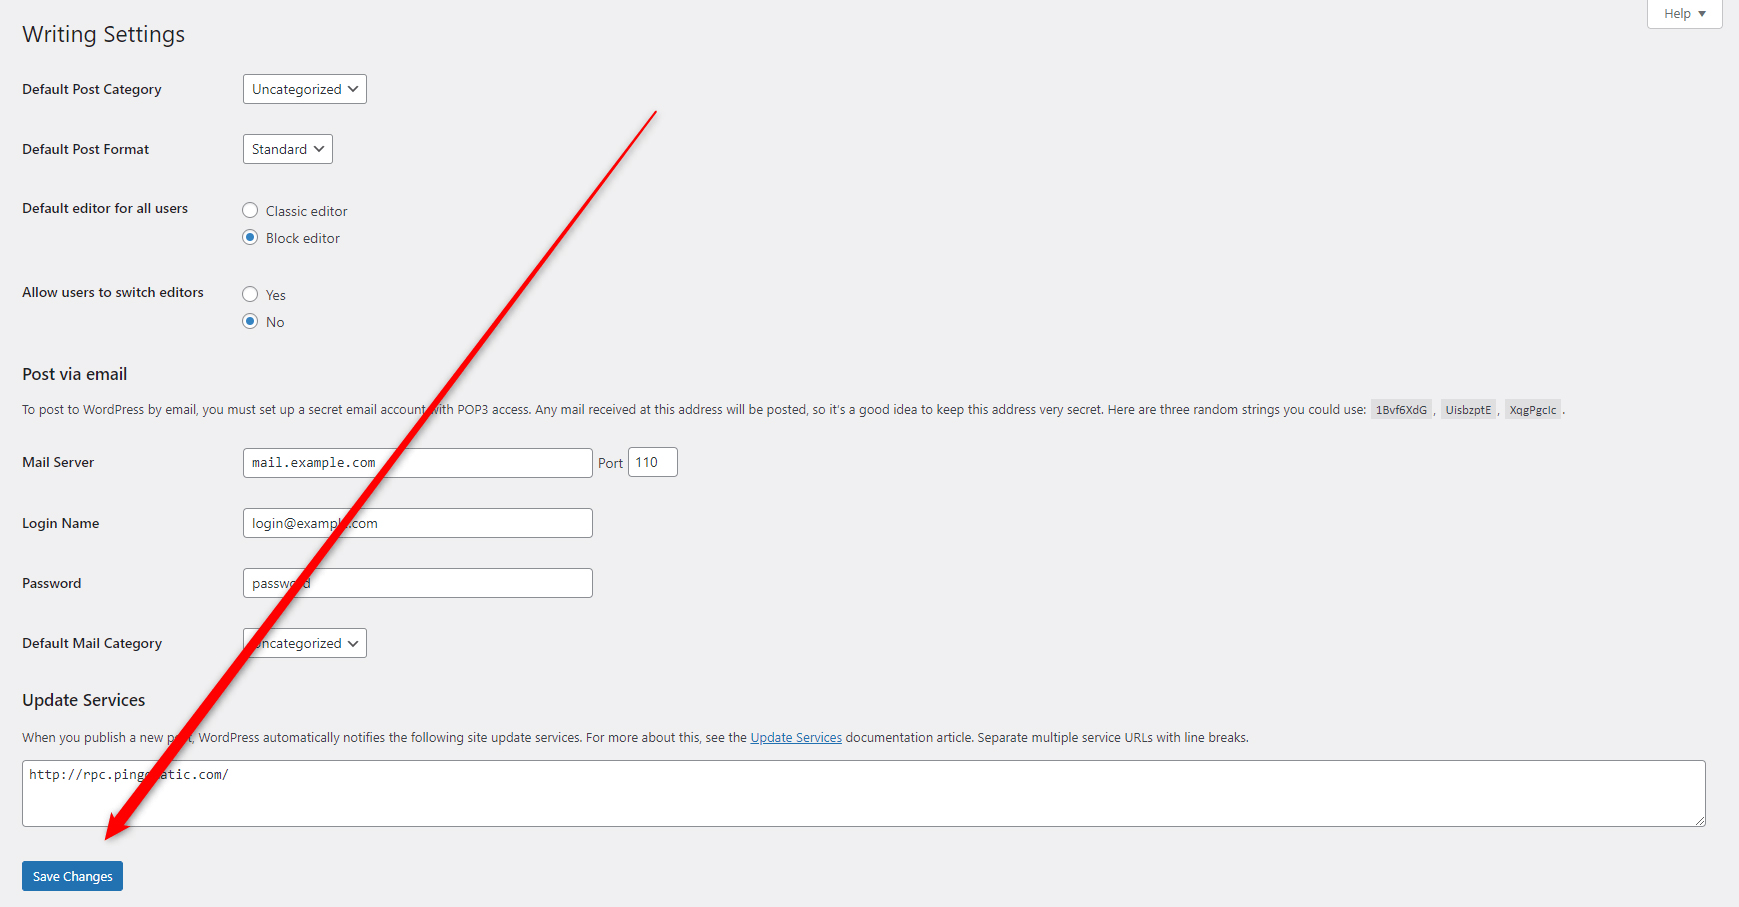
Once you select Block Editor, click the blue Save Changes button located at the bottom left of the page, so WordPress applies and saves your preferences:
Now that you have selected Gutenberg as your default editor, via your WordPress dashboard, head to Appearance->Editor:
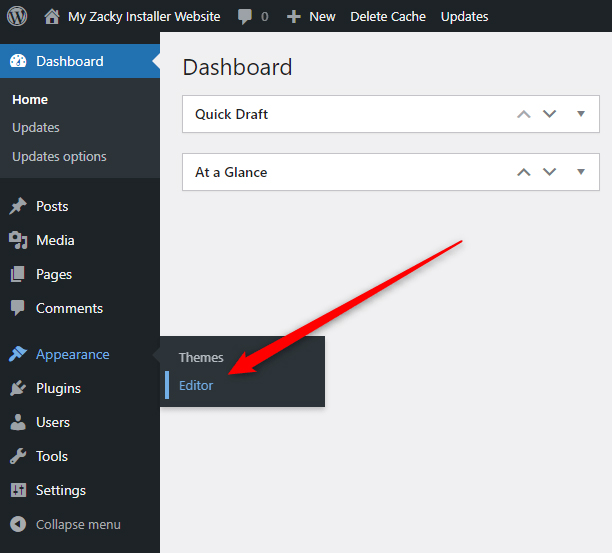
A new page with various options will appear. Browse the options located at the left sidebar:

From this sidebar click on Template Parts:
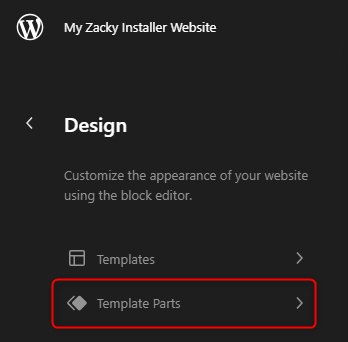
A new page with various template parts will be opened:
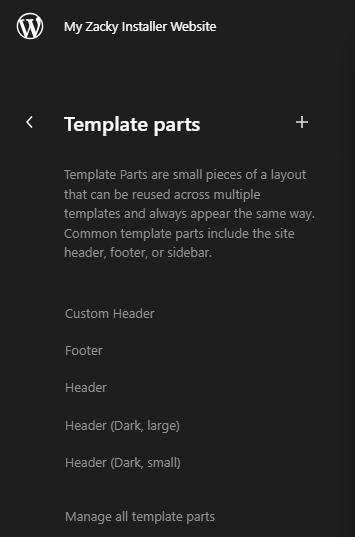
From this list of custom parts, click on Header:
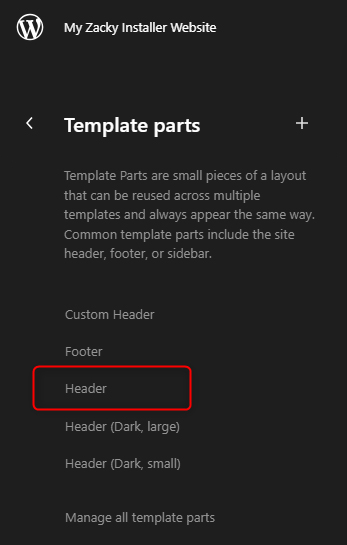
Yet a new page with Header options will appear:

While on this page, click on the white Edit icon:
![]()
Clicking on this icon will open the Header editor page. It should look like this:

From this page, you can not only add a logo but also craft a custom header for your WordPress website.
Usually, this default header template contains all website elements that are usually included within the header – a logo, navigation menu, and a search box.
To be able to upload a logo, you should first open the editorial options for the site logo block.
To do so, click on List View, located at the top left corner of the page:
![]()
Once you click on List View, you will see a list with all included elements within the header template:
![]()
From this list click on Site Logo:
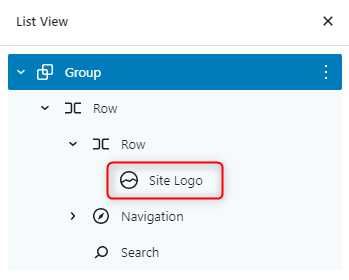
Once you click on the Site Logo icon, a blue Upload icon within the Logo block should appear:

Once you click this blue Upload button, the WordPress Media Library will open, so you can browse an image that would become your site logo:

You can also upload an image from your computer by clicking on the Upload Files tab:

Once you choose an image that would become your site logo, click on it and then click on the blue Select button located at the bottom right of the page:
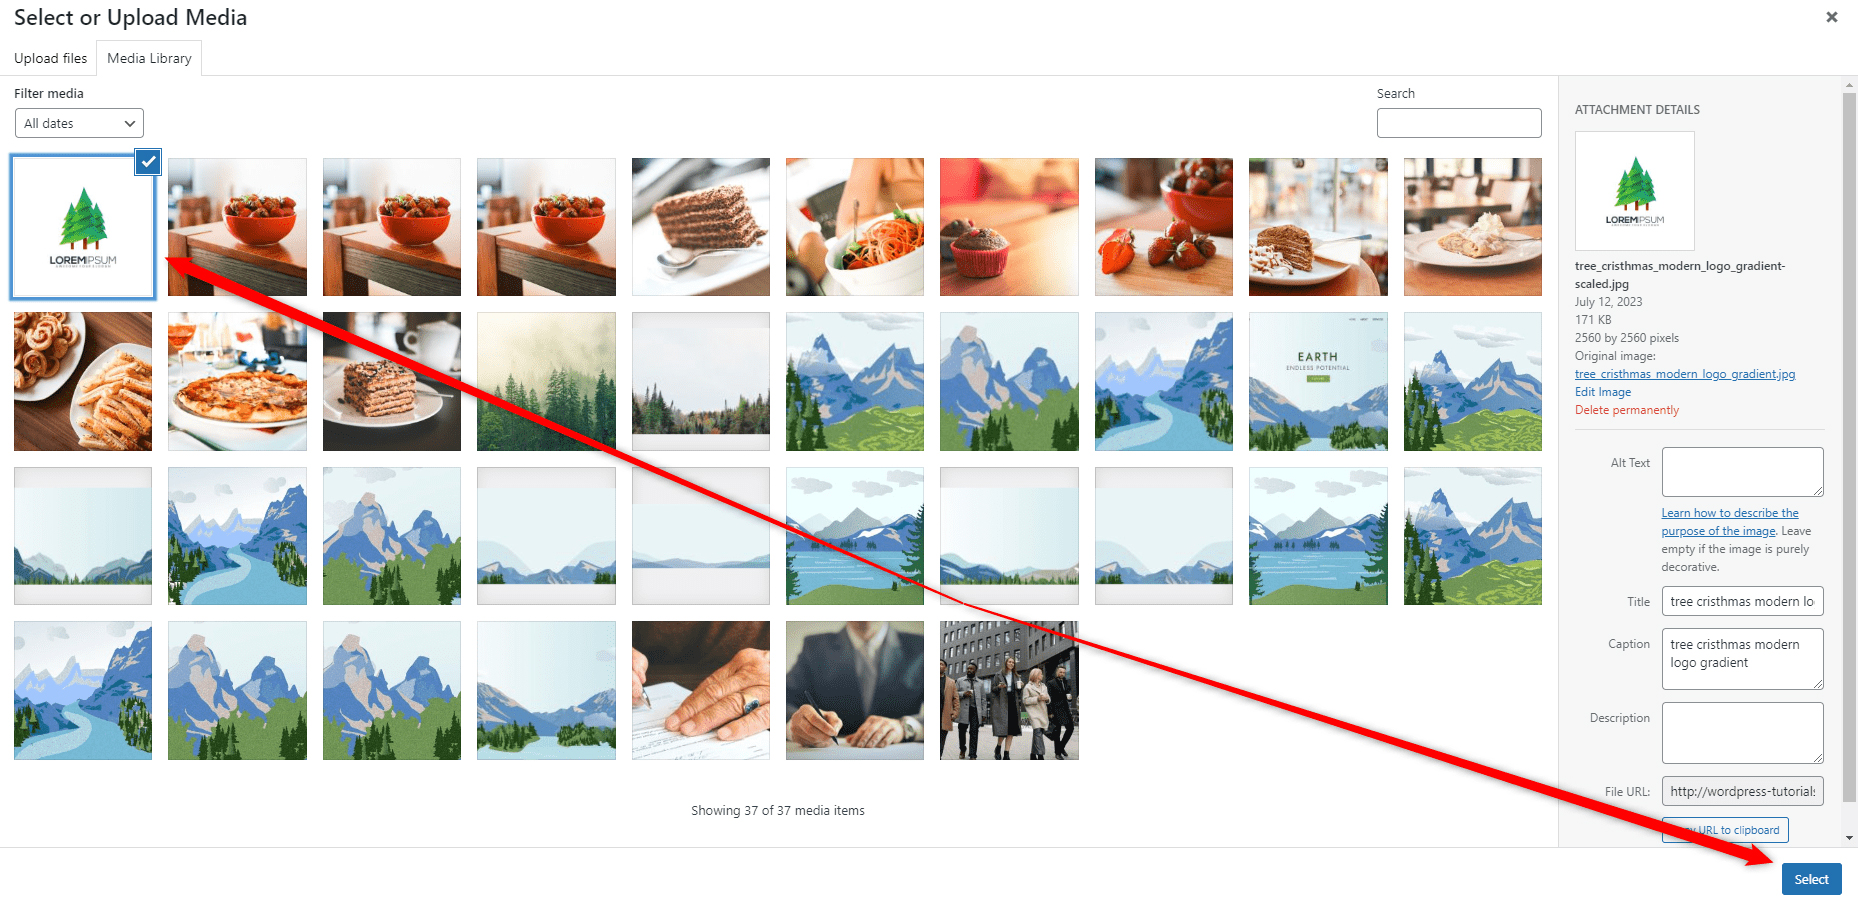
Once you click on Select, WordPress will insert the selected image within the Logo block:

Now that the site logo is selected, you can edit the block, so it fits your preferences. You can either resize it, crop it or change its color scheme:

Once you are finished editing the site logo, click on the blue Save button located at the top right corner of the page:

Once you click Save, WordPress will apply this logo within all your pages that contain the Logo item in their header sections.
Conclusion
Adding a website logo with Gutenberg is very simple and requires only a few minutes of your time.
Related:
- Create a WordPress Website – The Ultimate Guide
- How to Use the Media Library in WordPress
- How to Use WordPress Gutenberg Block Editor
- How to Insert Gutenberg Blocks in WordPress
- How to Change Text Color With WordPress Block Editor
- How to Use WordPress Reusable Blocks
- How to Display Code with WordPress Gutenberg Code Block
- How to Use the Navigation Block in Gutenberg
- How to Add a Contact Form with WordPress Gutenberg Editor
- 5 Best WordPress Slider Plugins for Gutenberg
- How to Create Tables in WordPress Using Gutenberg Editor
- How to Add Tabs to Your WordPress Site with Gutenberg
- How to Copy a Page with WordPress Gutenberg Editor
- How to Access the Gutenberg Full Site Editor
- How to Disable Gutenberg Editor in WordPress
- How to Add Images to WordPress with Gutenberg