WordPress is quite versatile and offers tons of customization options. The CMS also offers customization for your Admin Panel – the place from where you control and modify all aspects of your WordPress website.
In this article, you will find out about different customization options and how you can fully change the styling of your admin panel, so it fits your needs and preferences.
How to Customize Your WordPress Dashboard
In the following paragraphs, you will read how to apply some visual and functional features within your dashboard, so you feel more comfortable when using it.
Change the Color Scheme of Your WordPress Dashboard
If you are not sure where to start your Dashboard customization process, we suggest you change the color scheme for a starter.
There are two main ways to do so:
- Use the default and pre-defined admin color schemes
- Use dedicated WordPress Plugins to delve even deeper into the process
Change the Color Scheme of Your WordPress Dashboard with Default Admin Color Schemes
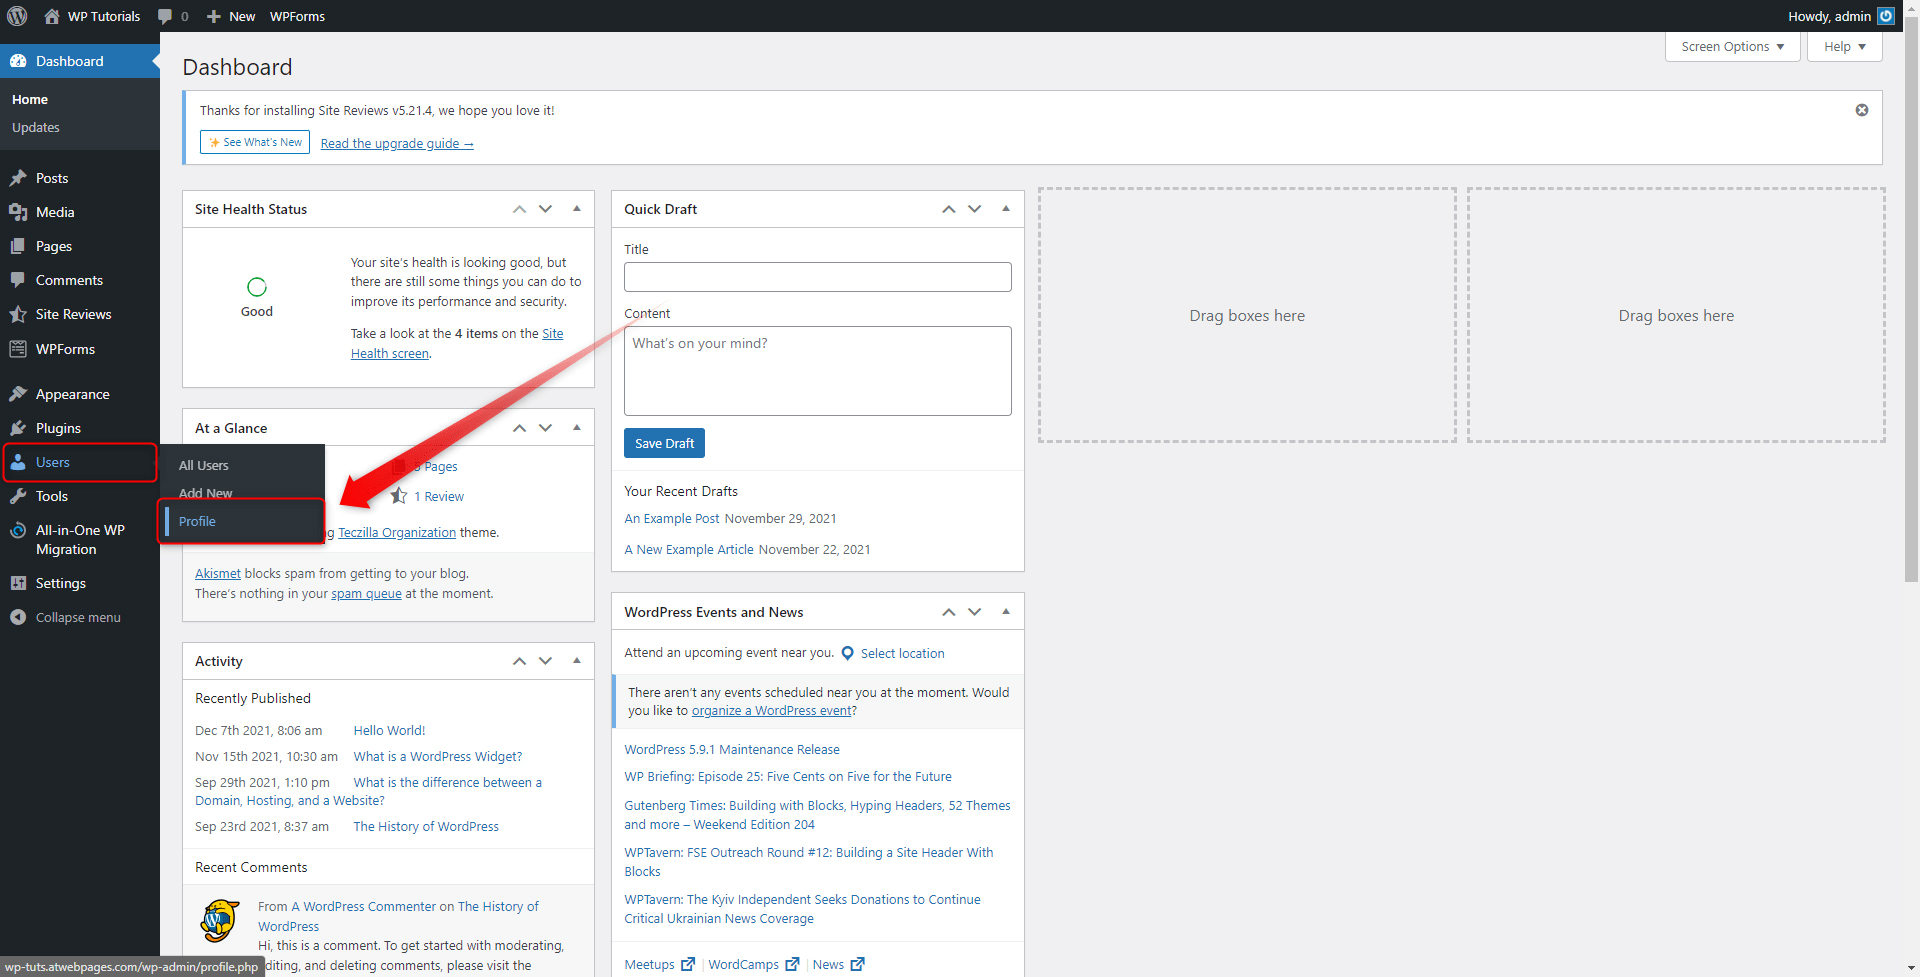
To access the pre-defined options, simply enter your WordPress dashboard and from there go to User->Profile:
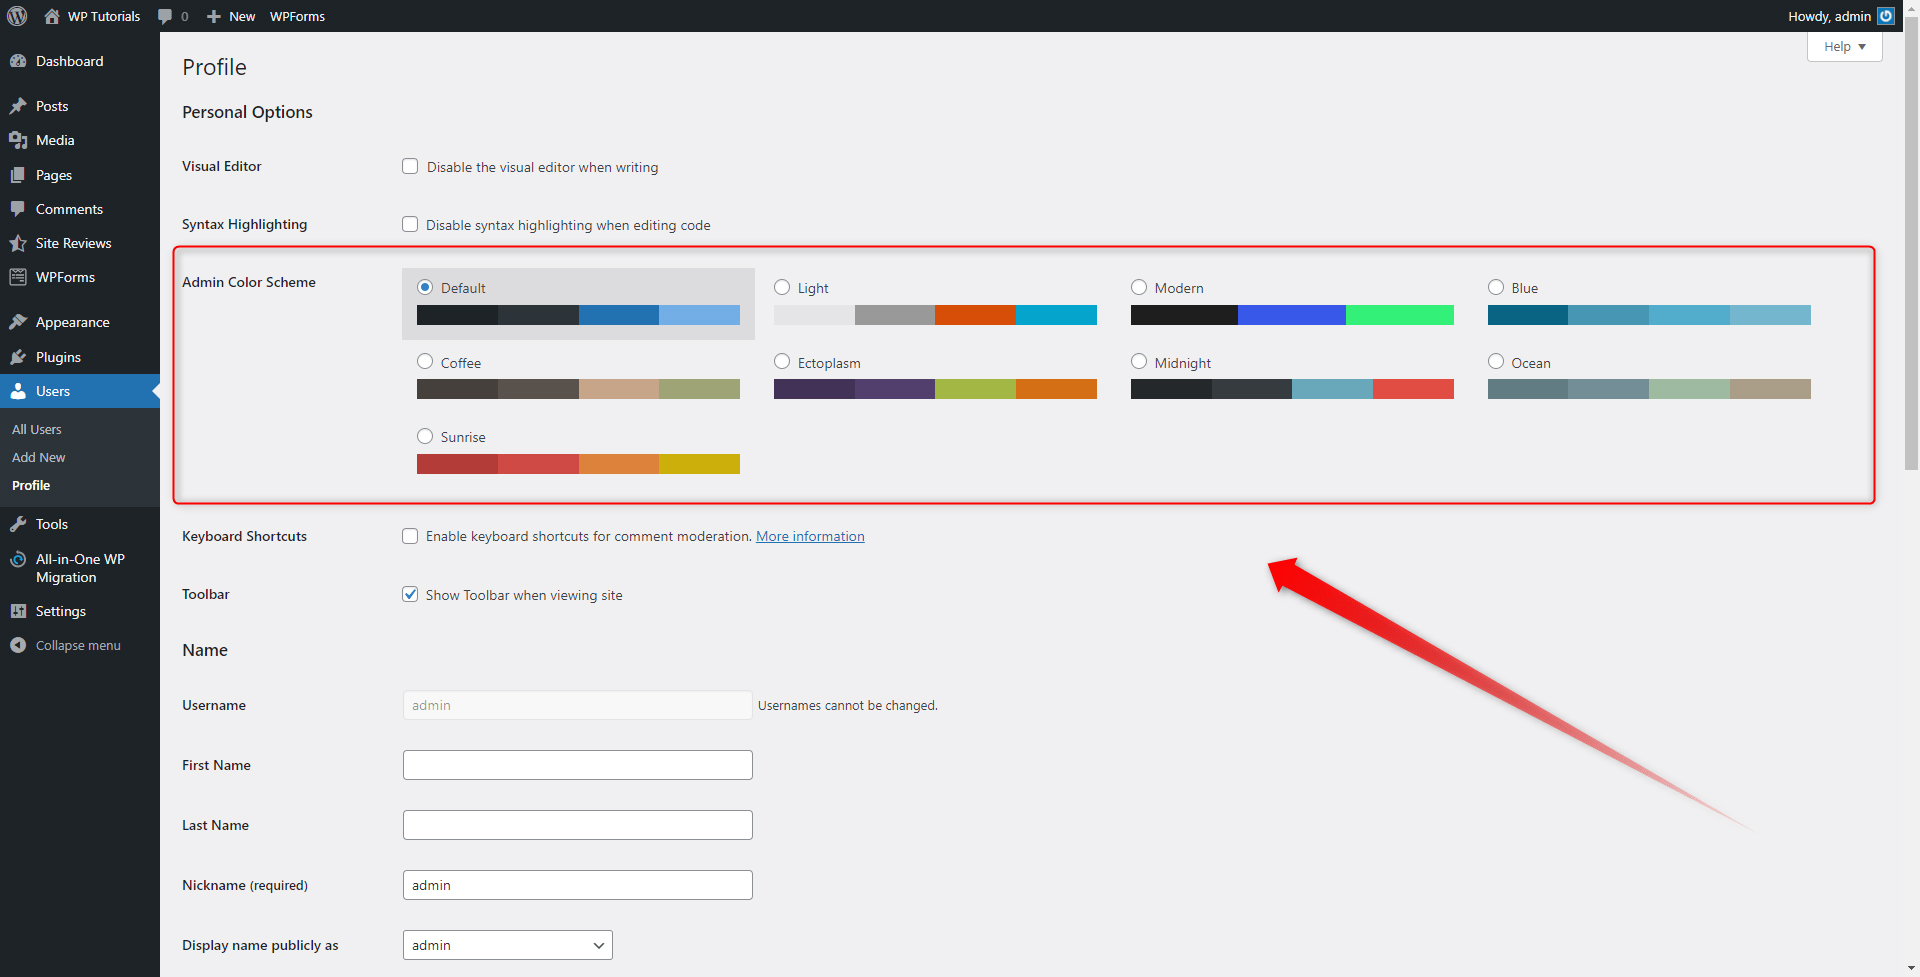
When you do so, a new page with options will appear. At the top of the page, notice the Admin Color Scheme area with many suggested options:
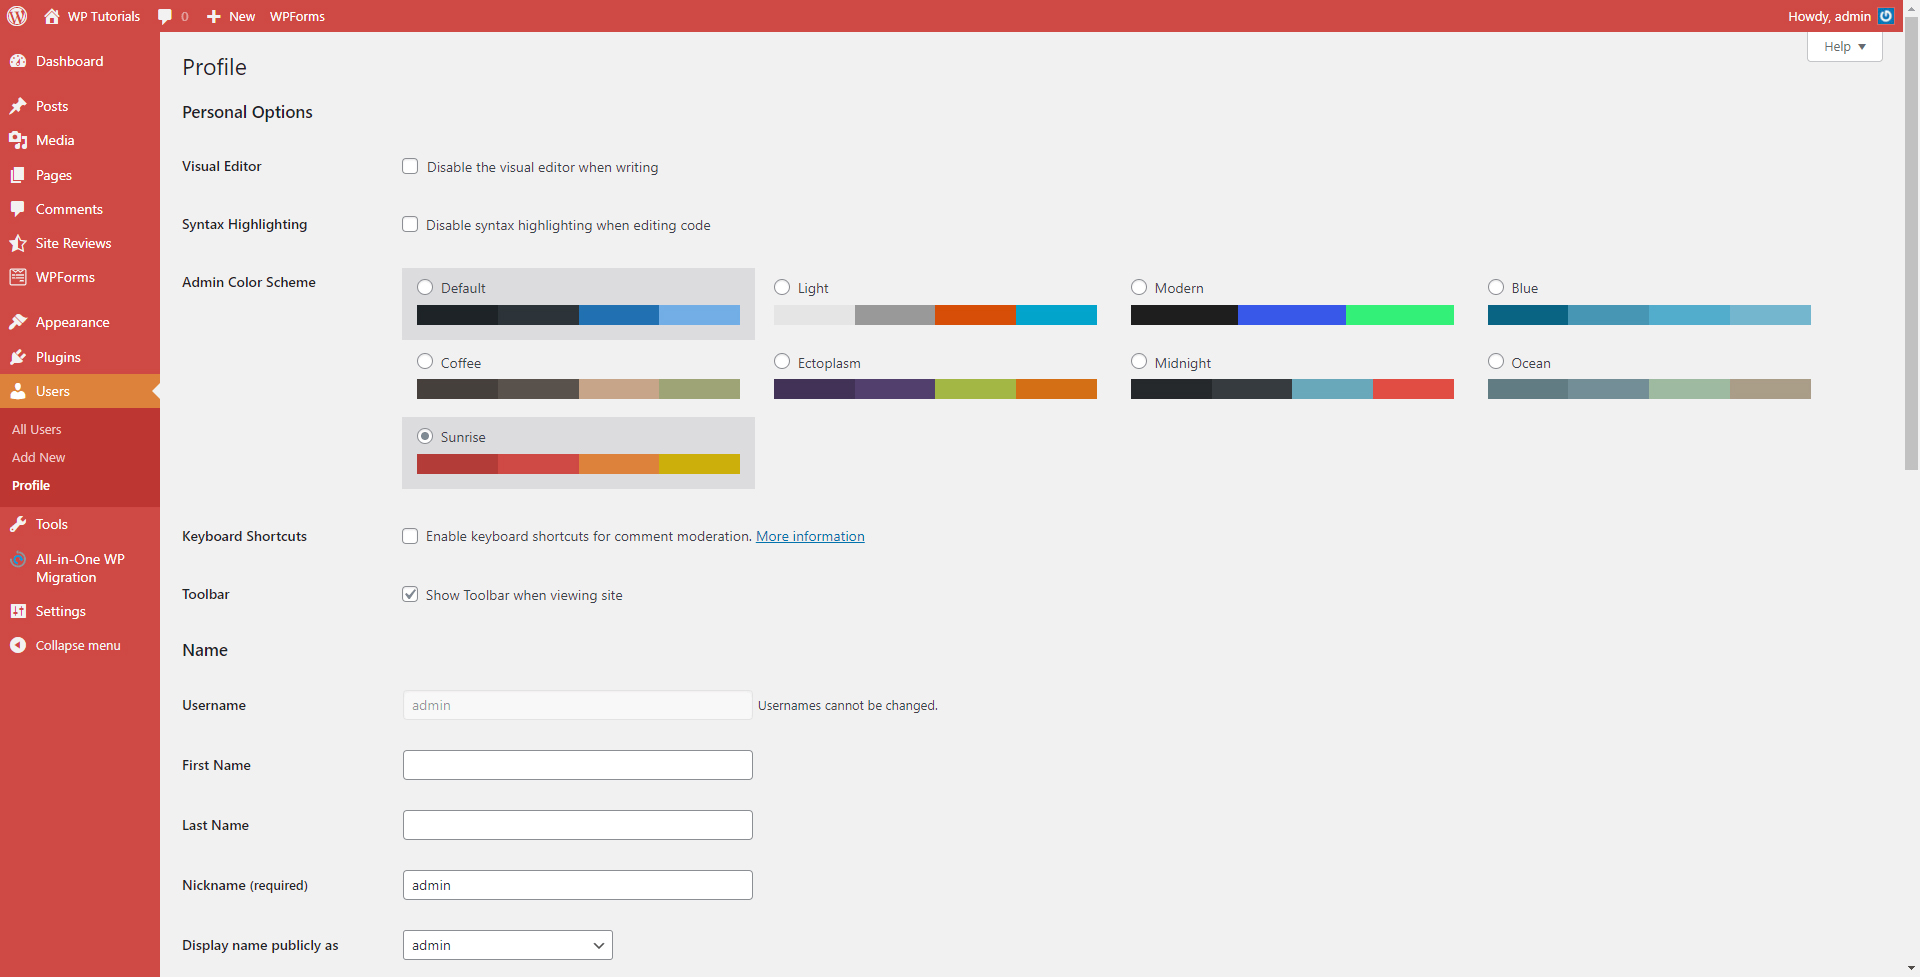
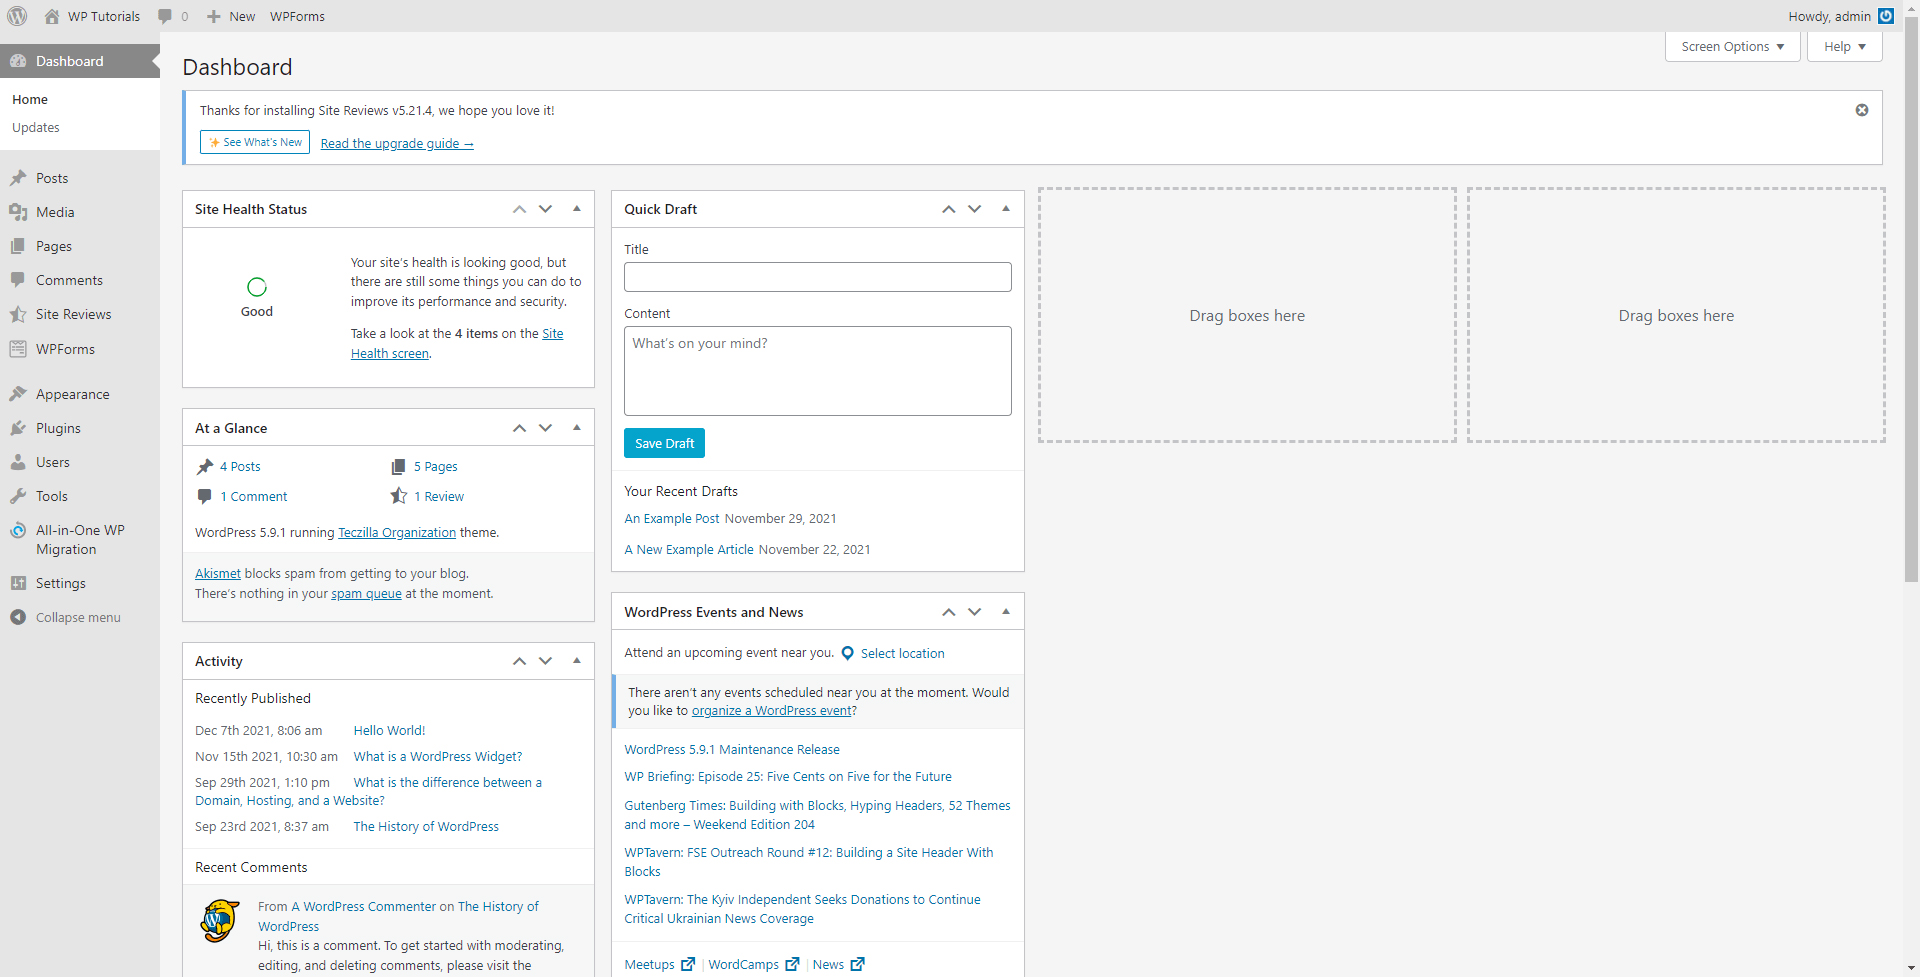
To apply the one that you find suitable, simply fill in the small circle at the top left of each palette. When you do so, WordPress will automatically apply the changes and you can browse your Admin Panel to see whether the changes fit your preferences:
When you have found the color scheme you wish to use, or simply reverted back to the default setup, click on the Update Profile button at the bottom of the Profile page, from where you browse the color schemes:
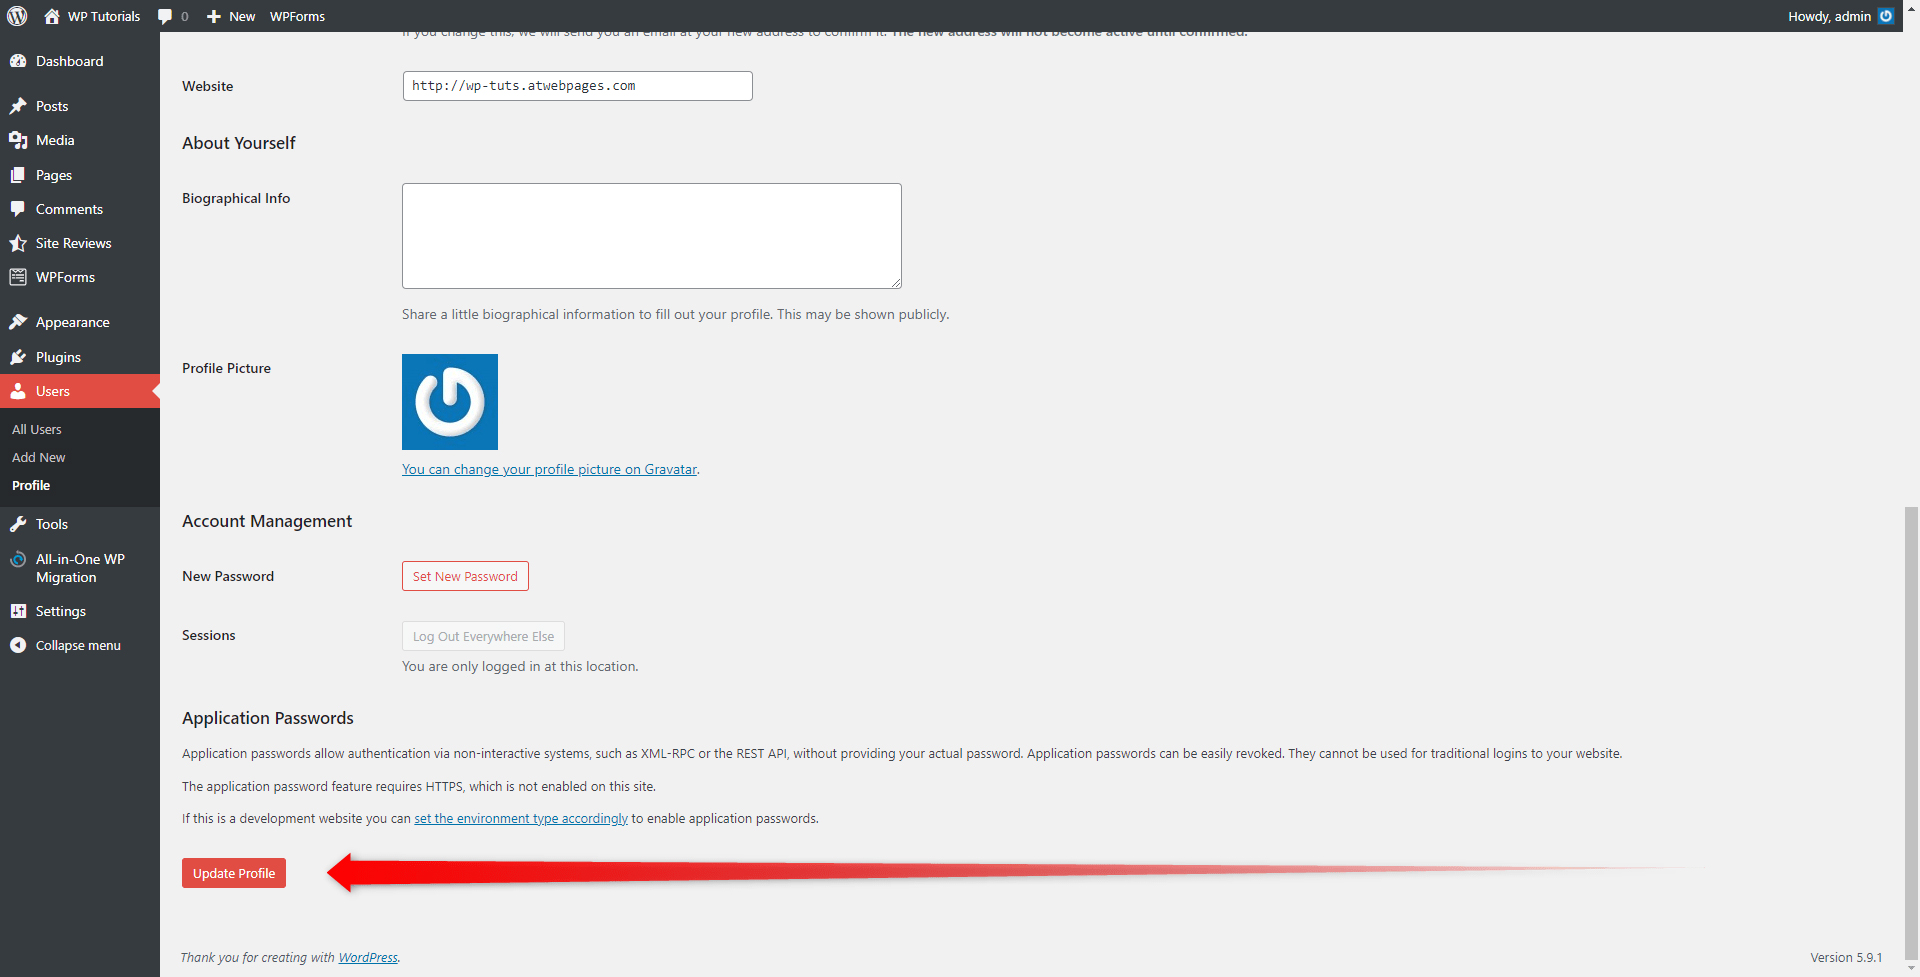
This will apply and save your preferences.
Change the Color Scheme of Your WordPress Dashboard With a Plugin
Using plugins is a pretty convenient way of adding a touch of style to your Dashboard. There are numerous different plugins that offer all kinds of customization options, so it is highly likely that you will find what you search for when relying on this particular method.
If you want to find out more about the topic, then definitely check out what a plugin is and how to install one.
For this demonstration, we will use the Aquila Admin Theme. Remember that you can use whichever plugin and theme suit your needs the most!
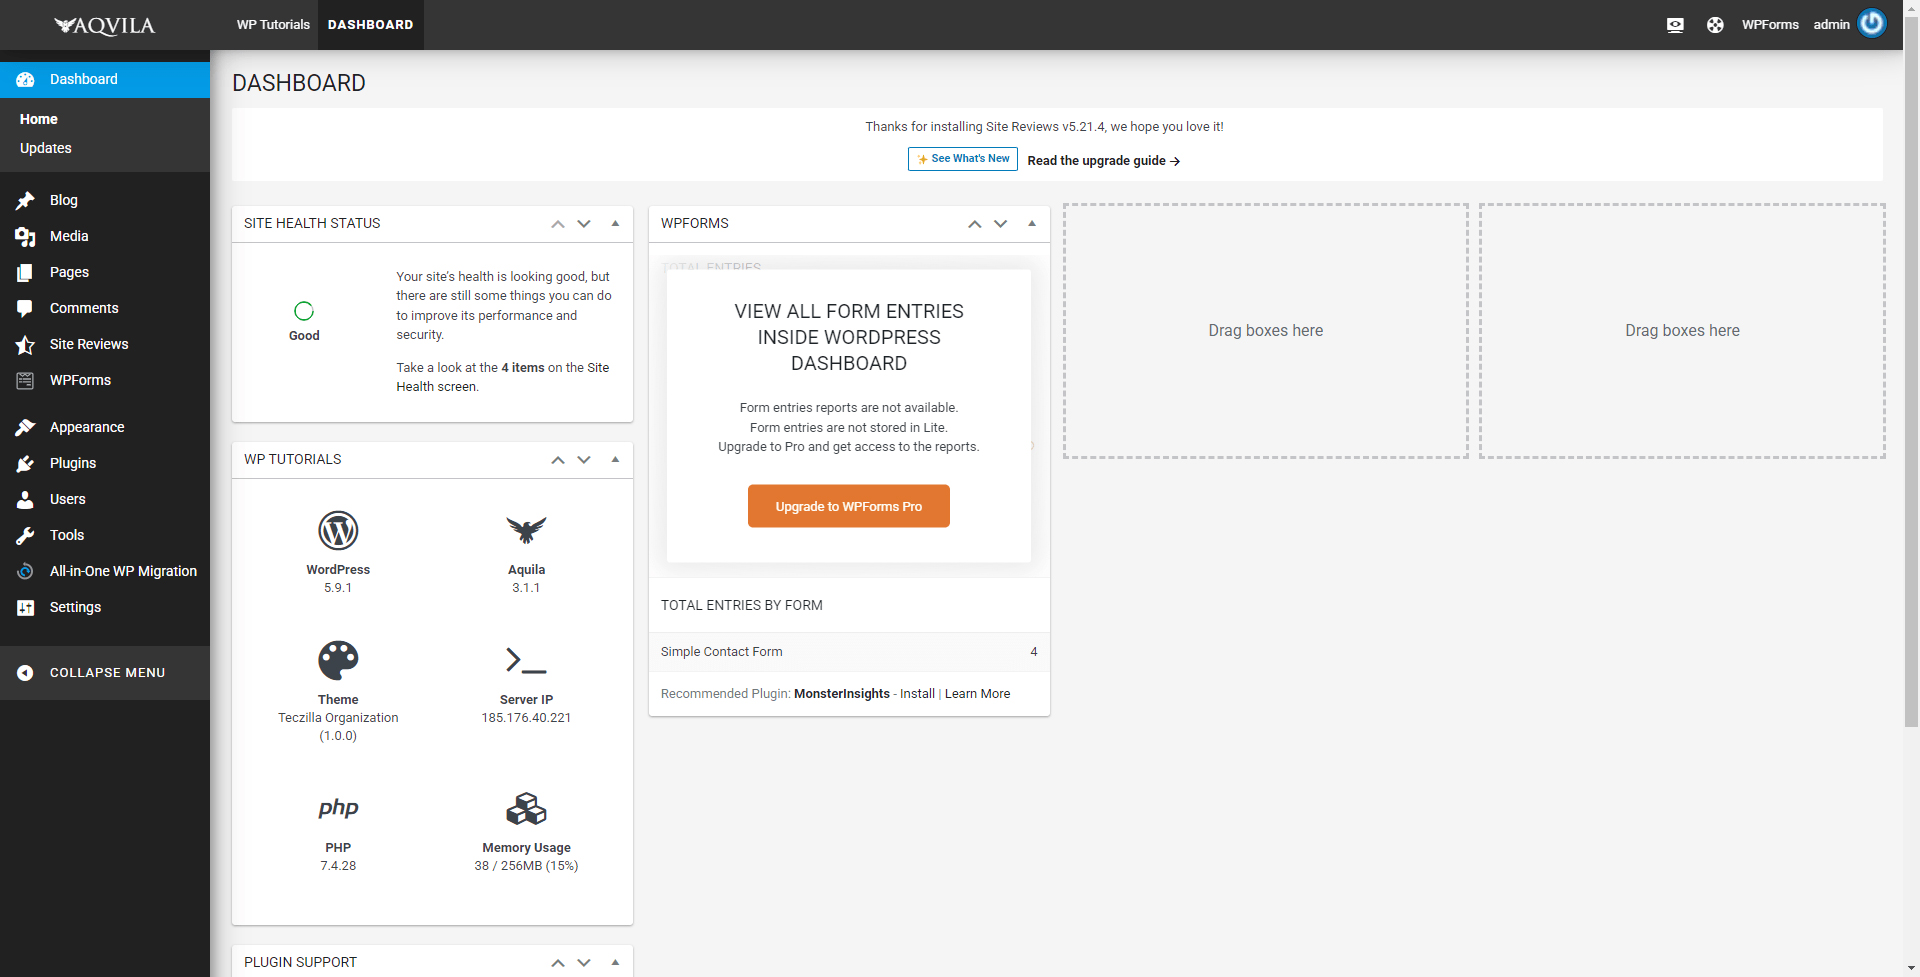
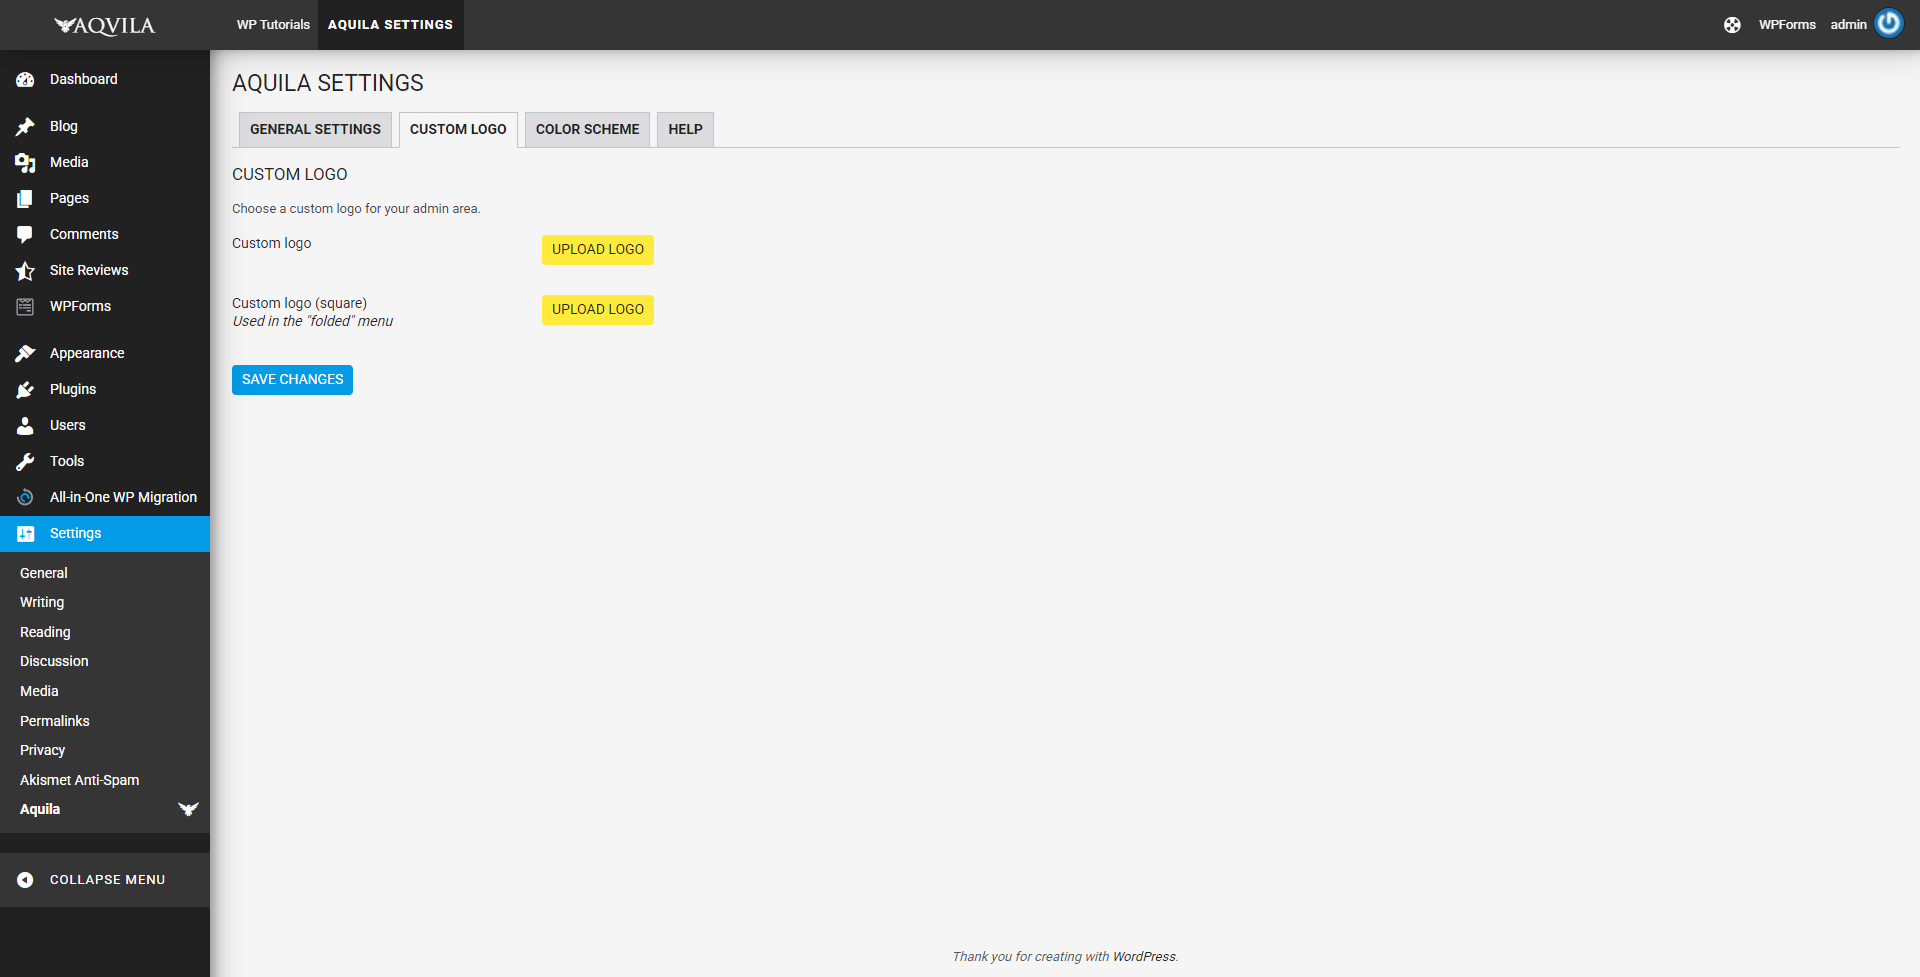
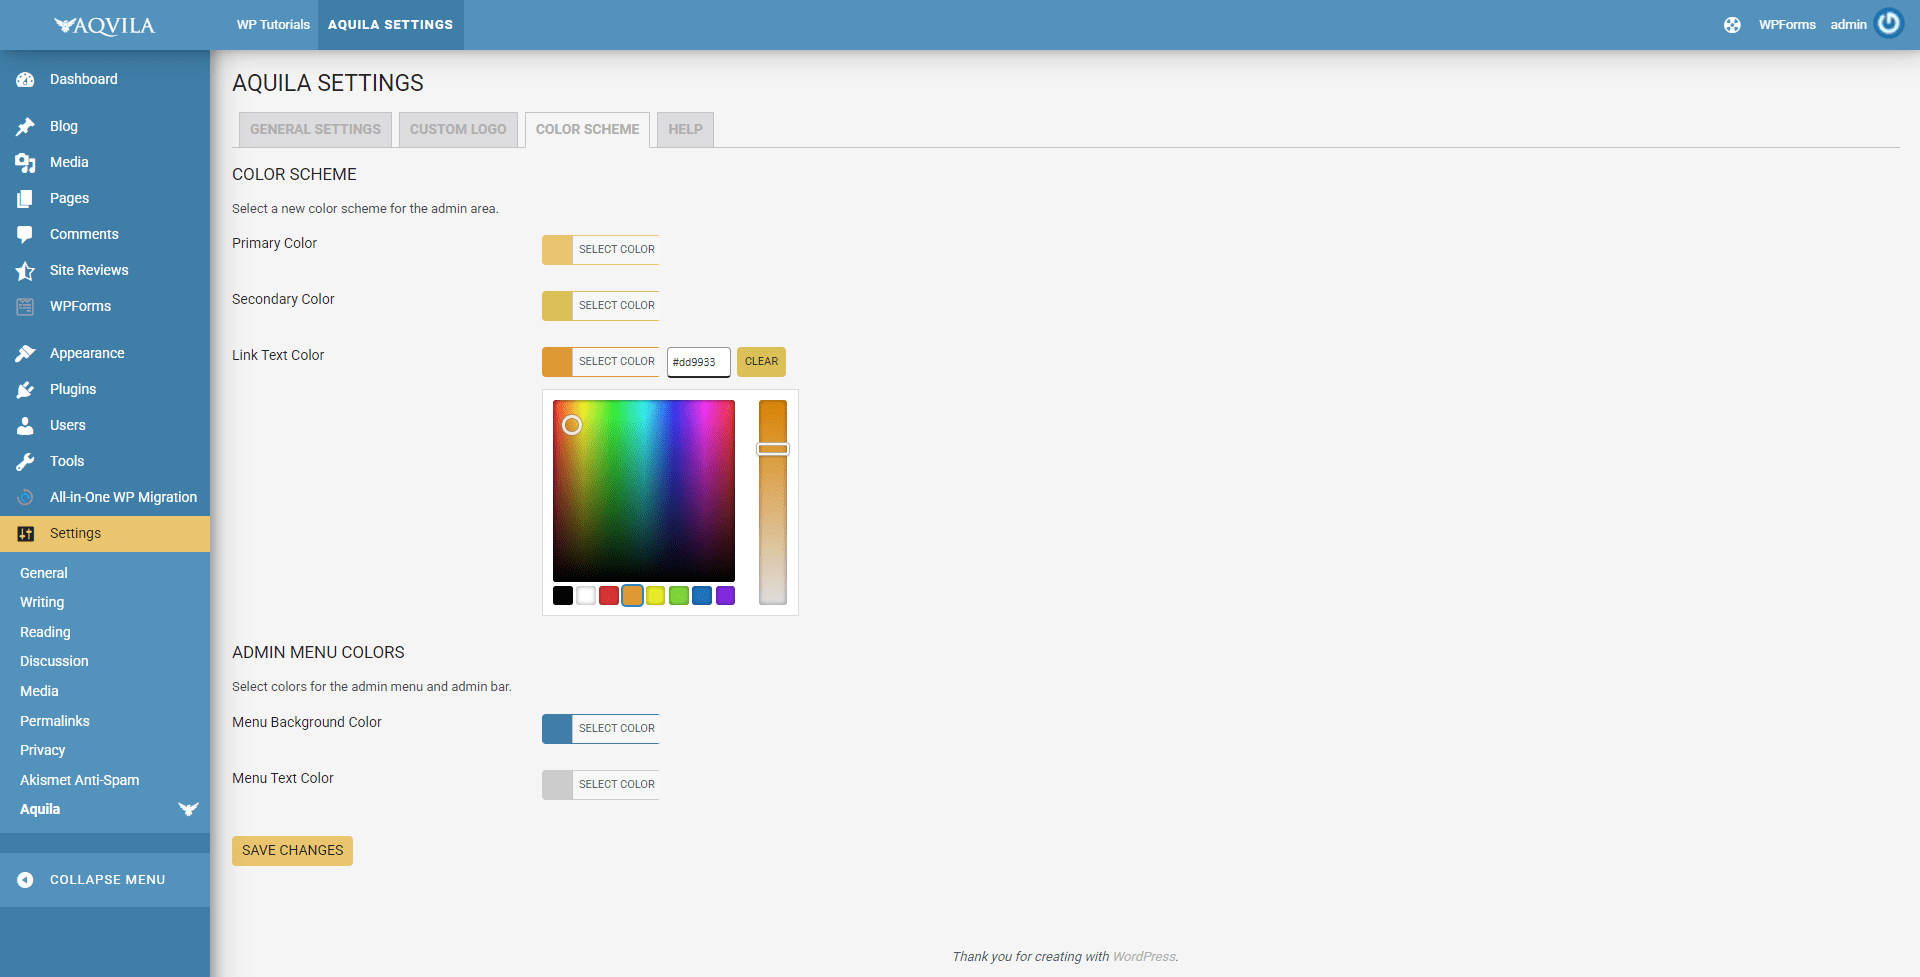
In our particular case, Aquila allows users to add a custom logo to their dashboard and specify a custom color scheme:
Filter the Screen Elements in Your Dashboard
The Dashboard Screen Elements are simply quick-access boxes that allow you to quickly make changes to your website.
To access these settings, locate the Screen Options menu in the dashboard, located at the top right of the page:
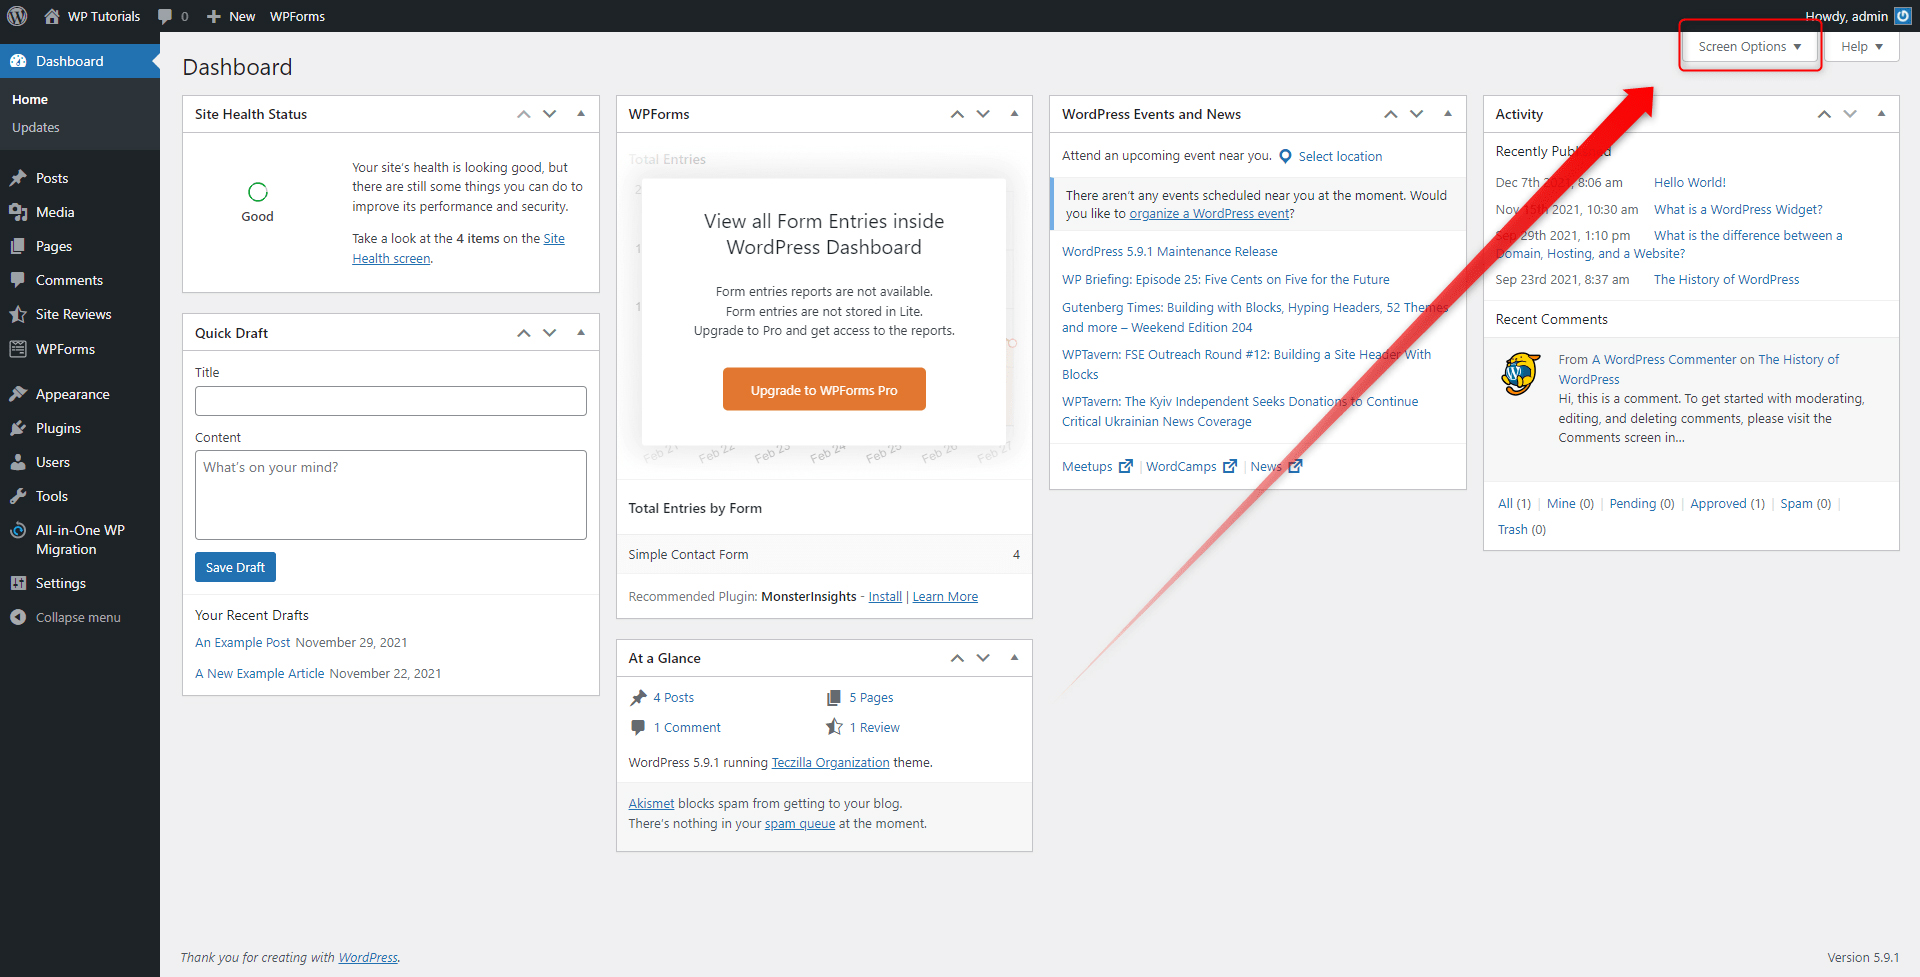
Open the menu settings and have a look at the showcased options. This is the place from which you can filter out what kind of information you wish to see immediately when you enter your dashboard:
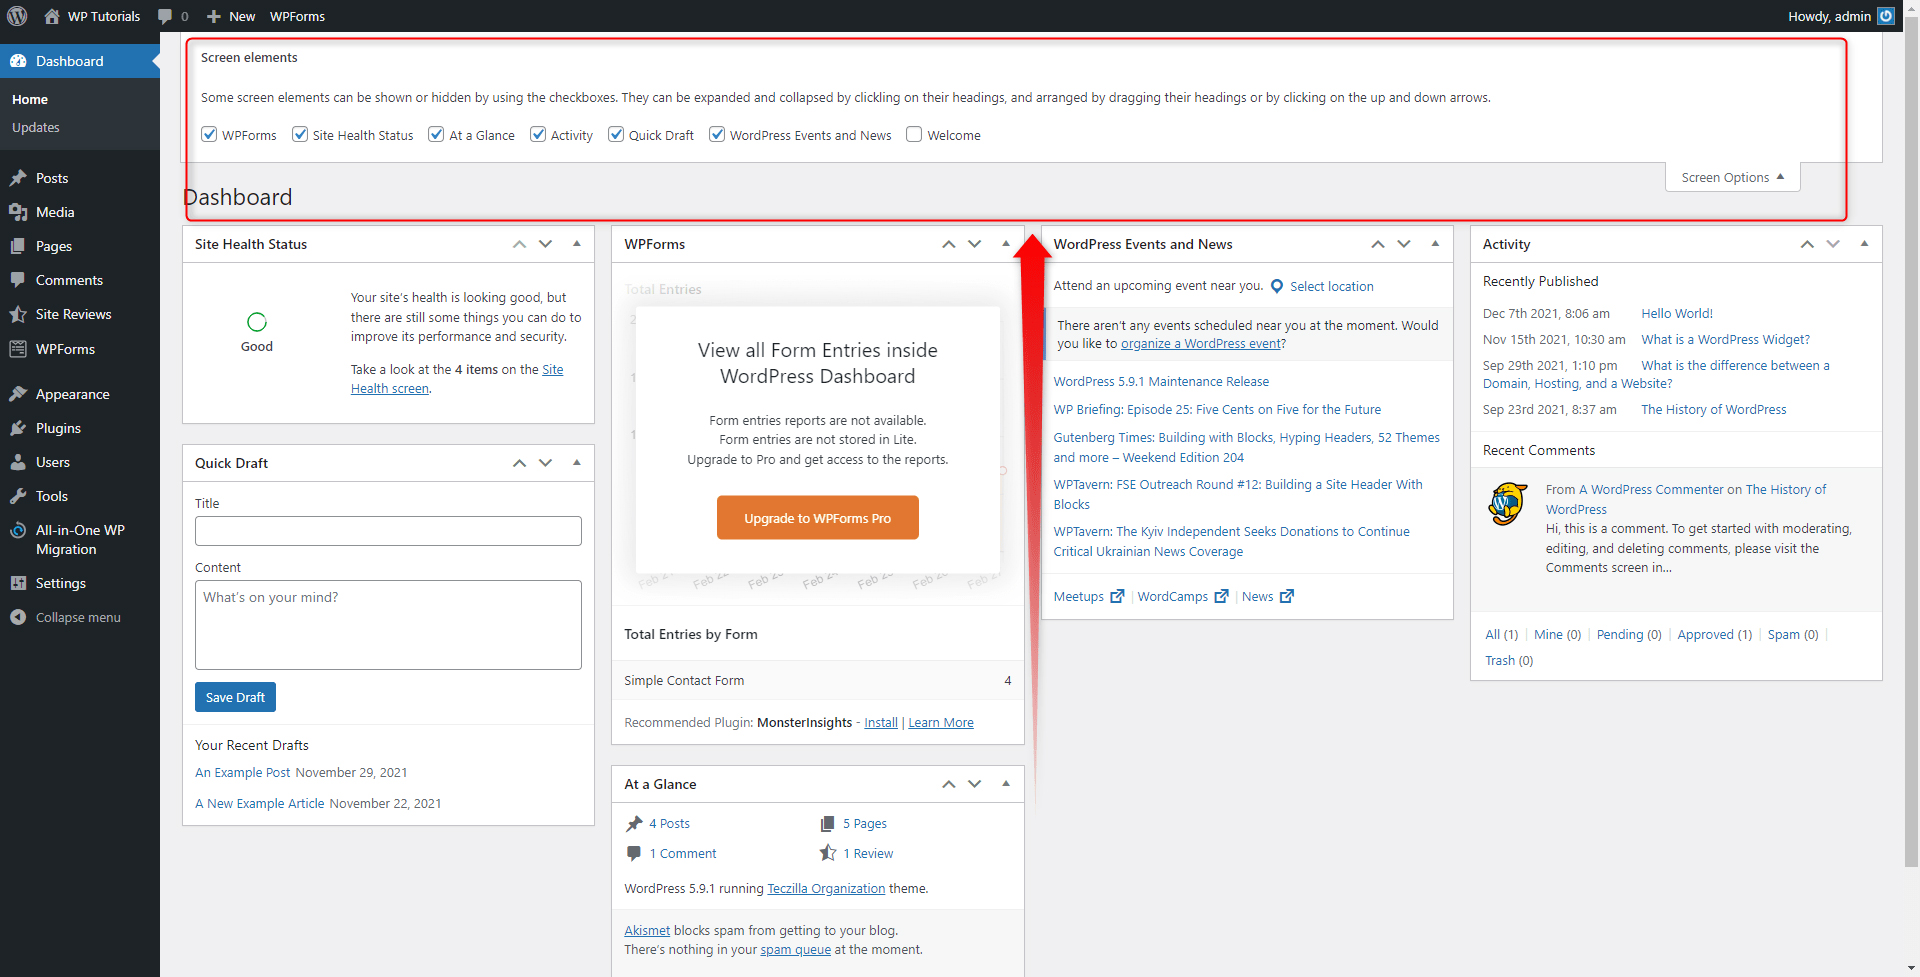
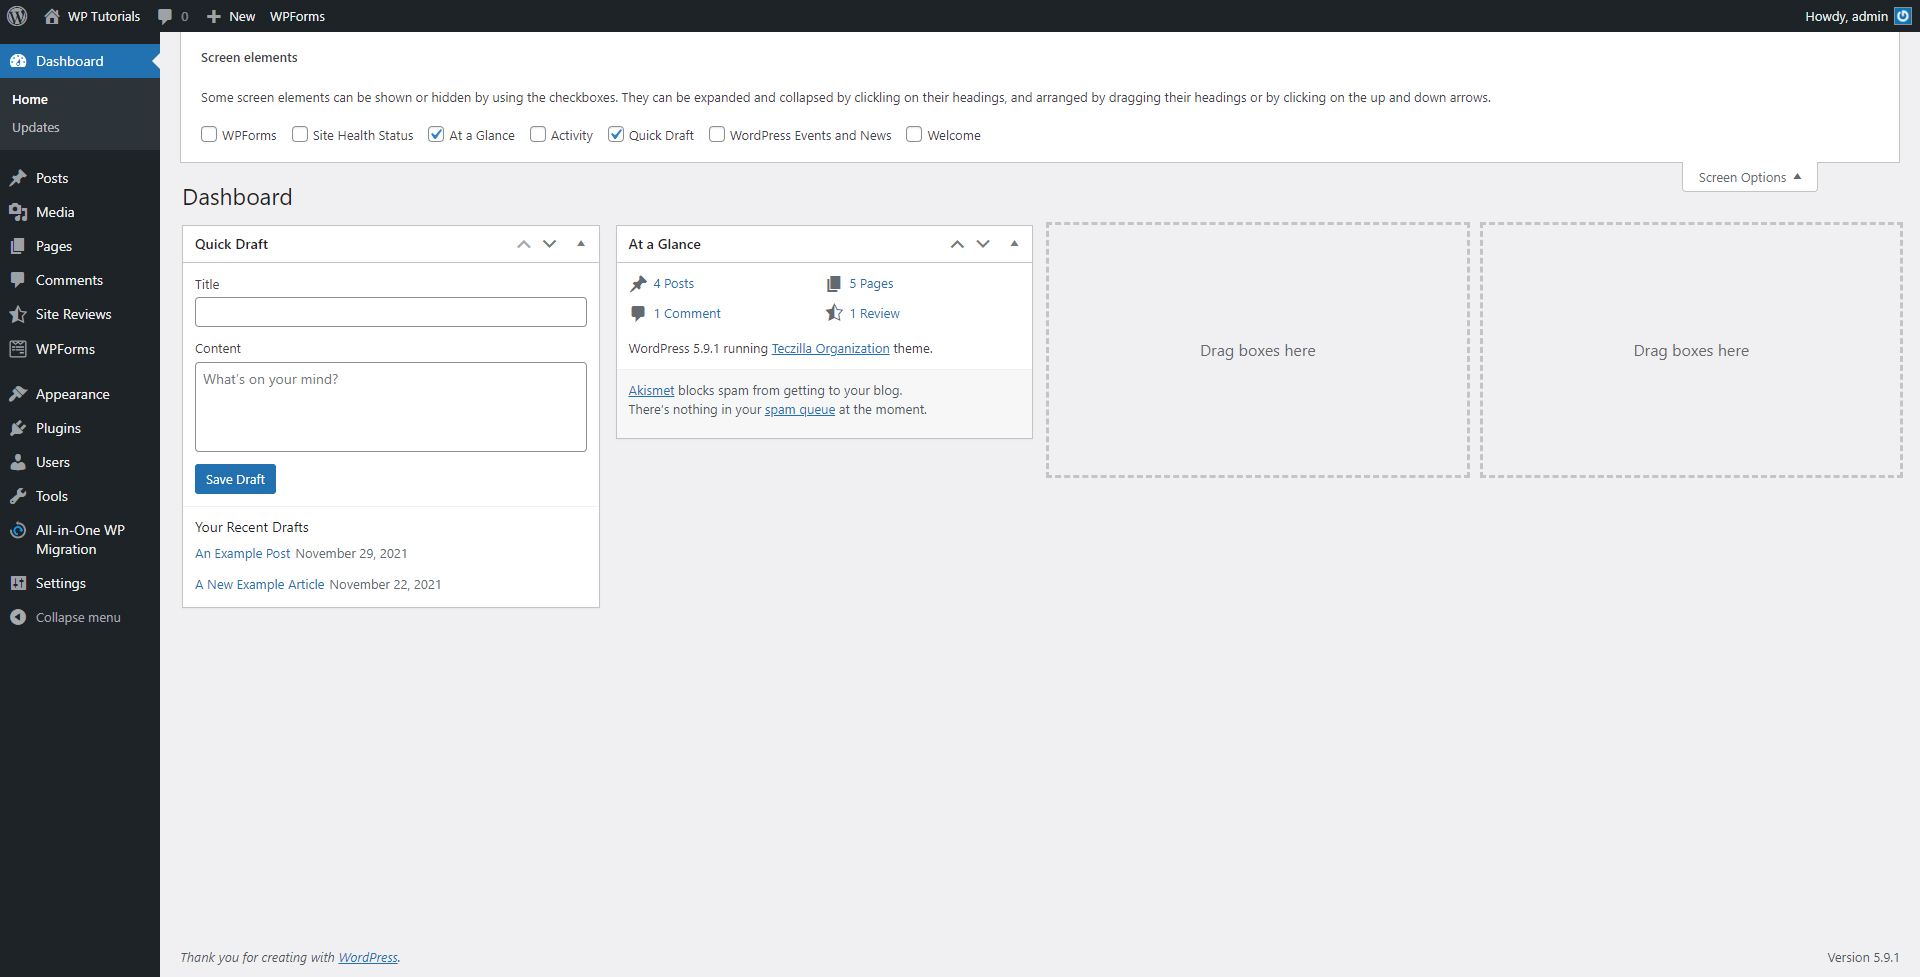
You can filter out the options until you reach the ideal layout for your particular needs. In our case, we decided to adopt the minimalistic approach and leave only the Quick Draft and At Glance boxes:
Add Custom WordPress Widgets to Your Dashboard
You can also customize the widgets that you use while in the WordPress admin panel. To benefit from such functionality, simply search for dedicated custom WordPress dashboard plugins and install the one that suits your needs the best.
Want to know more about widgets? Then start with reading what the widgets are.
For this example, we will be using the Ultimate Dashboard – Custom WordPress Dashboard plugin:
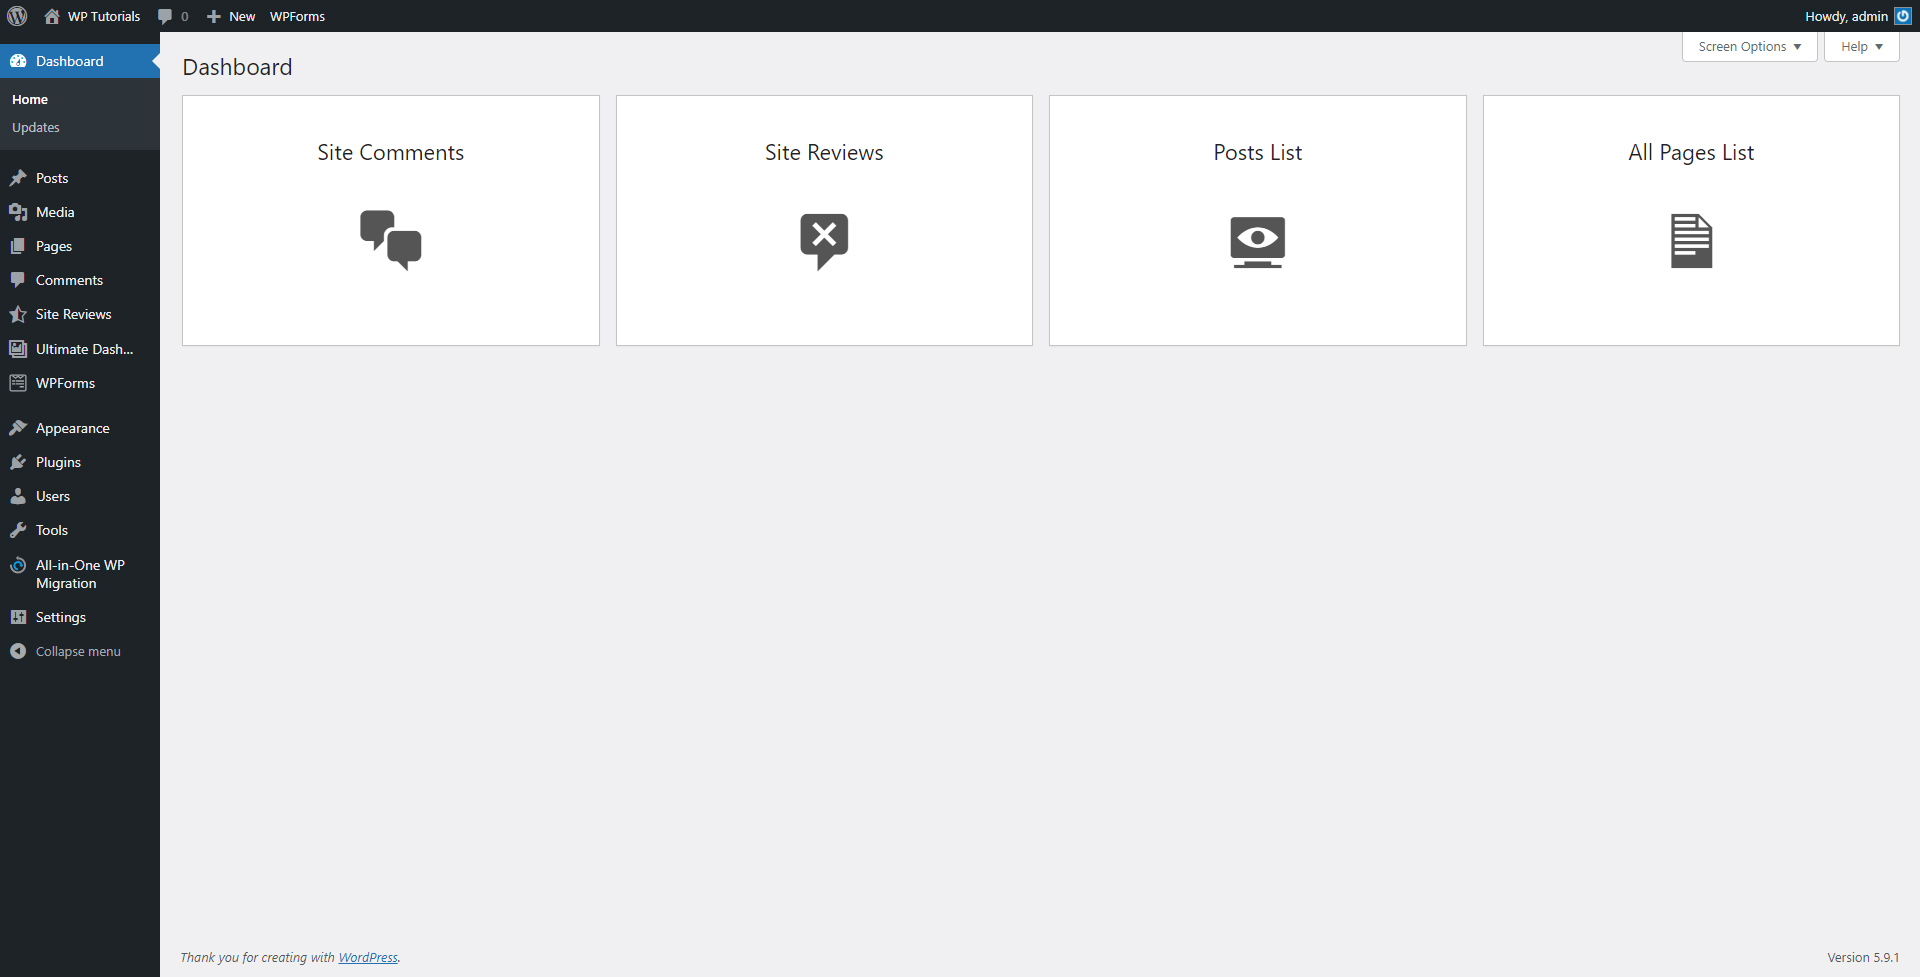
To achieve a similar final result, simply go from Ultimate Dashboard->Add New:
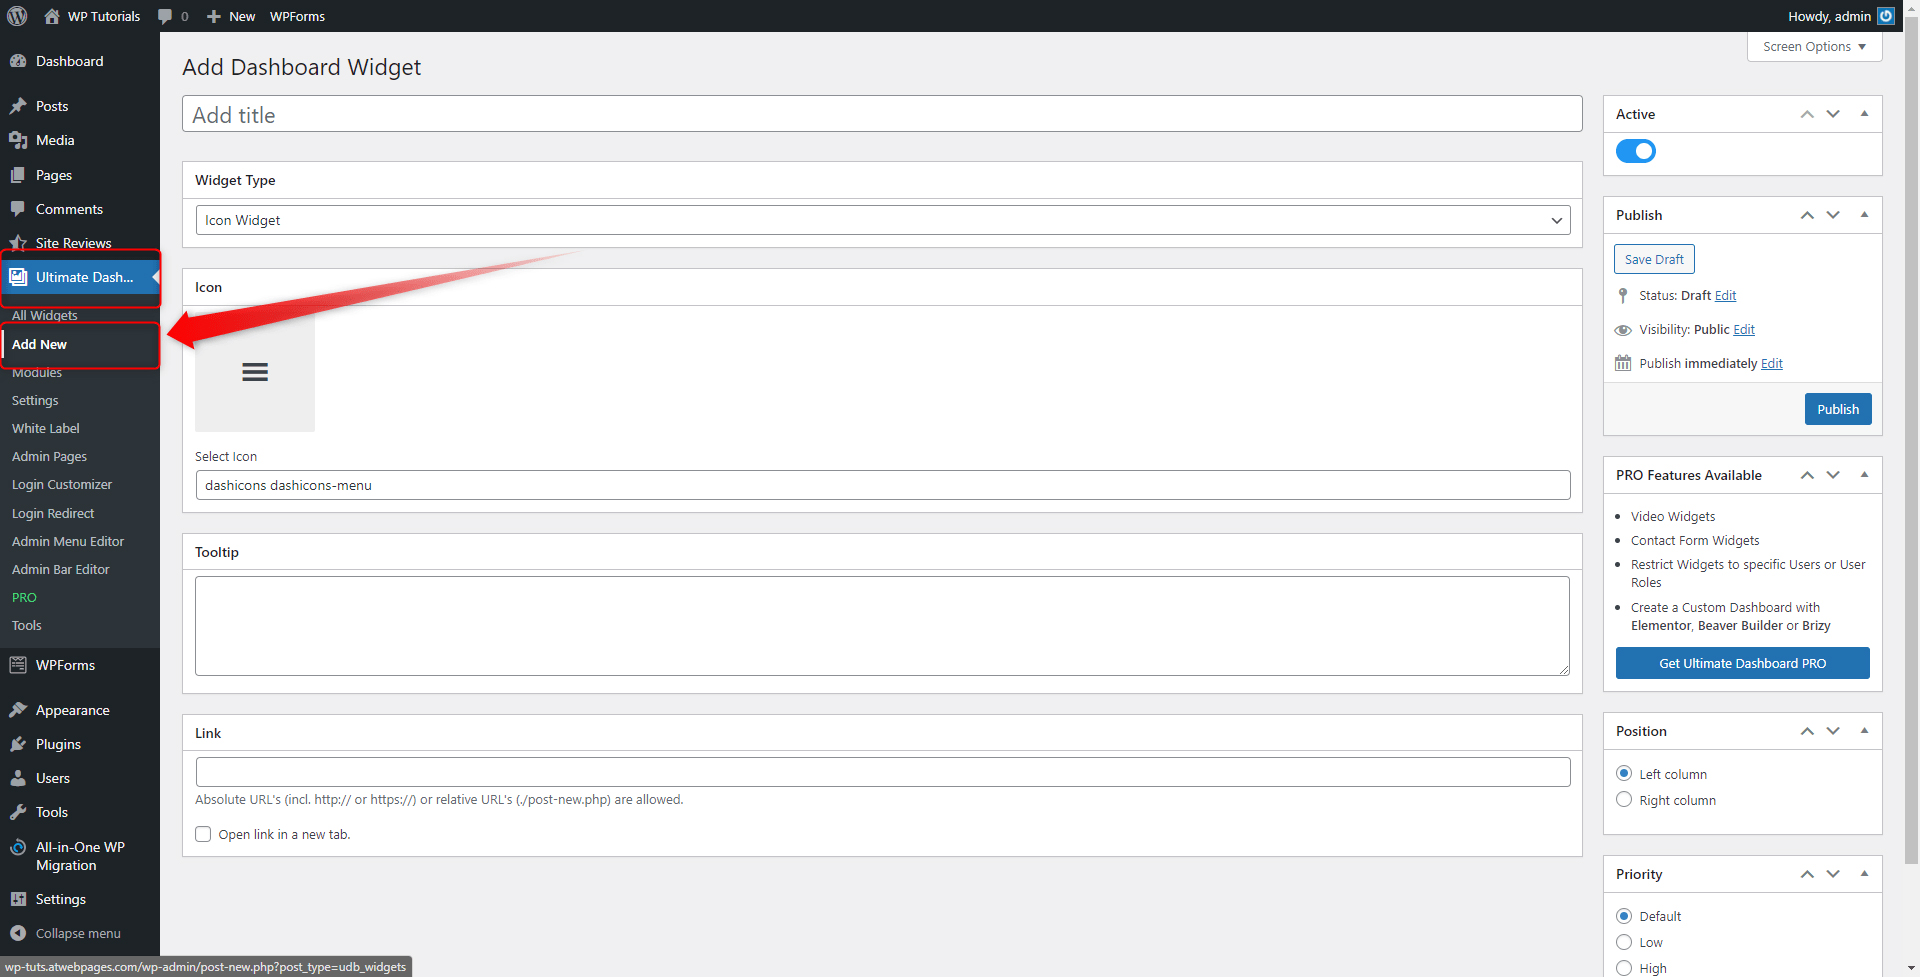
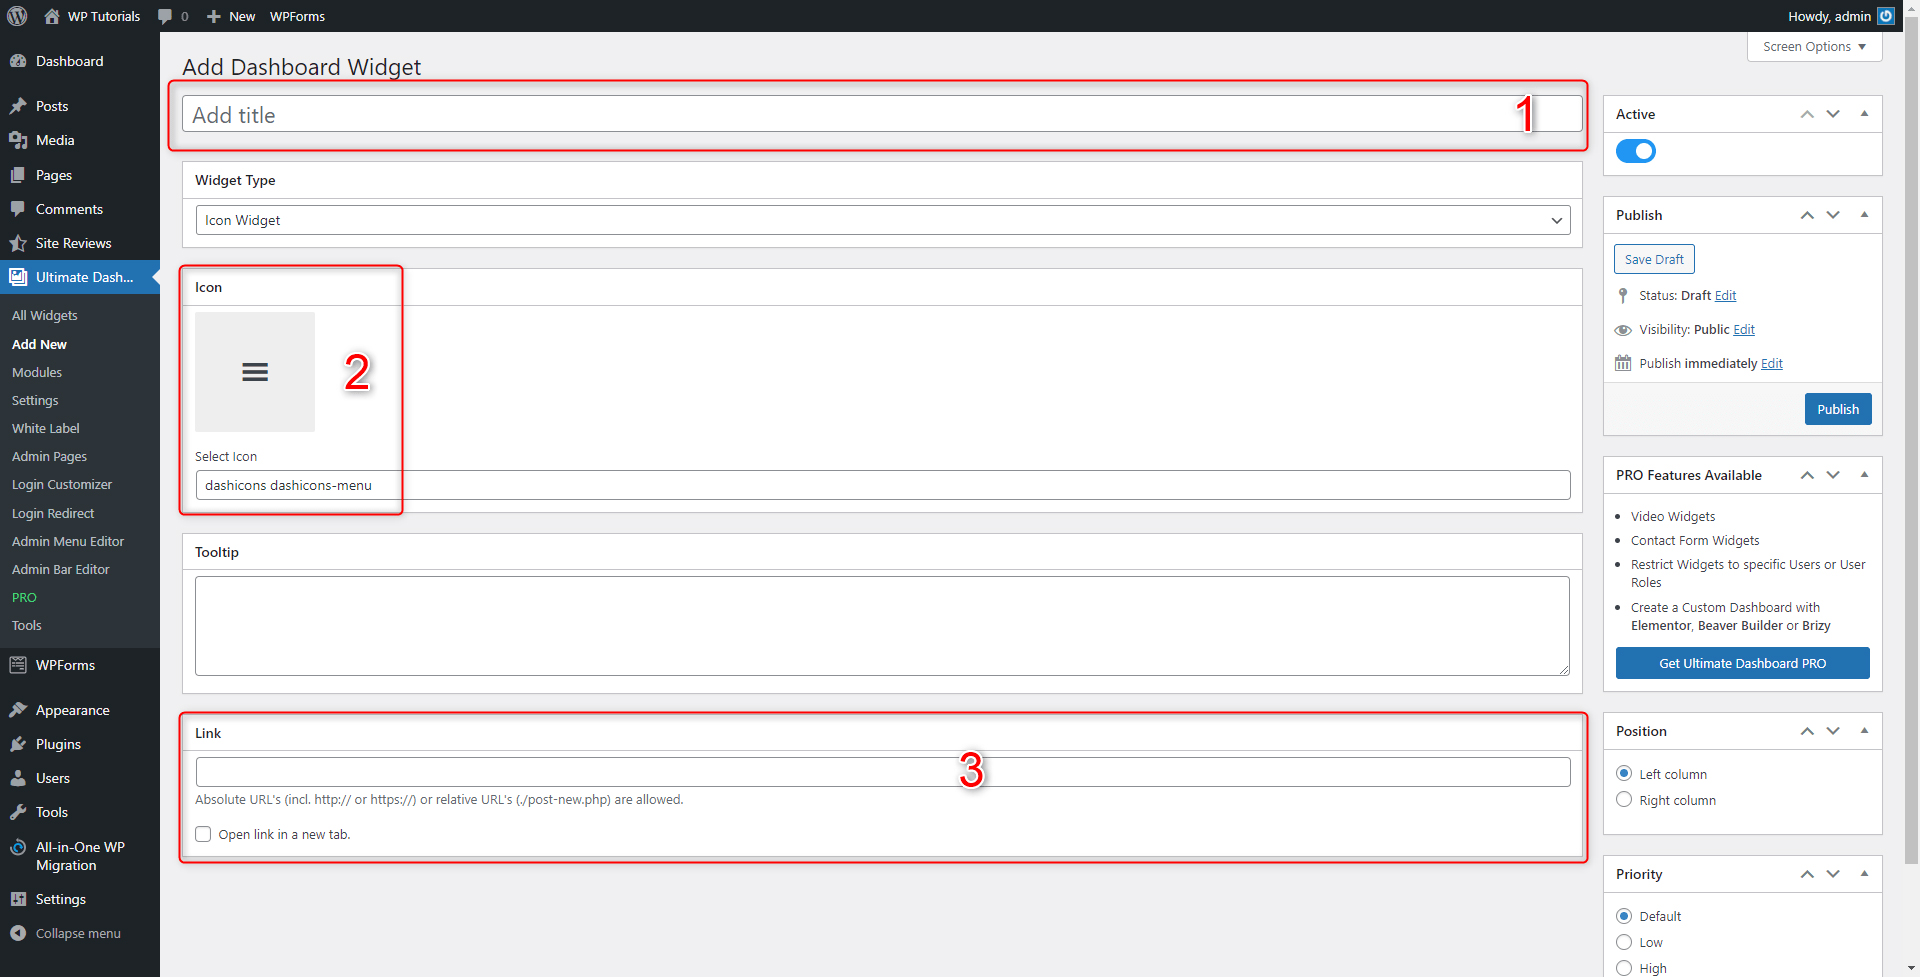
From this page, you can fully customize the functions of the new widget that you will add to the dashboard. There are three main components that you need to modify:
- Widget Name
- Widget Icon
- Widget Link
Everything else, as functional and handy as it may well be, can be modified later.
To add the three components, simply locate the areas of each one and fill in the information needed:
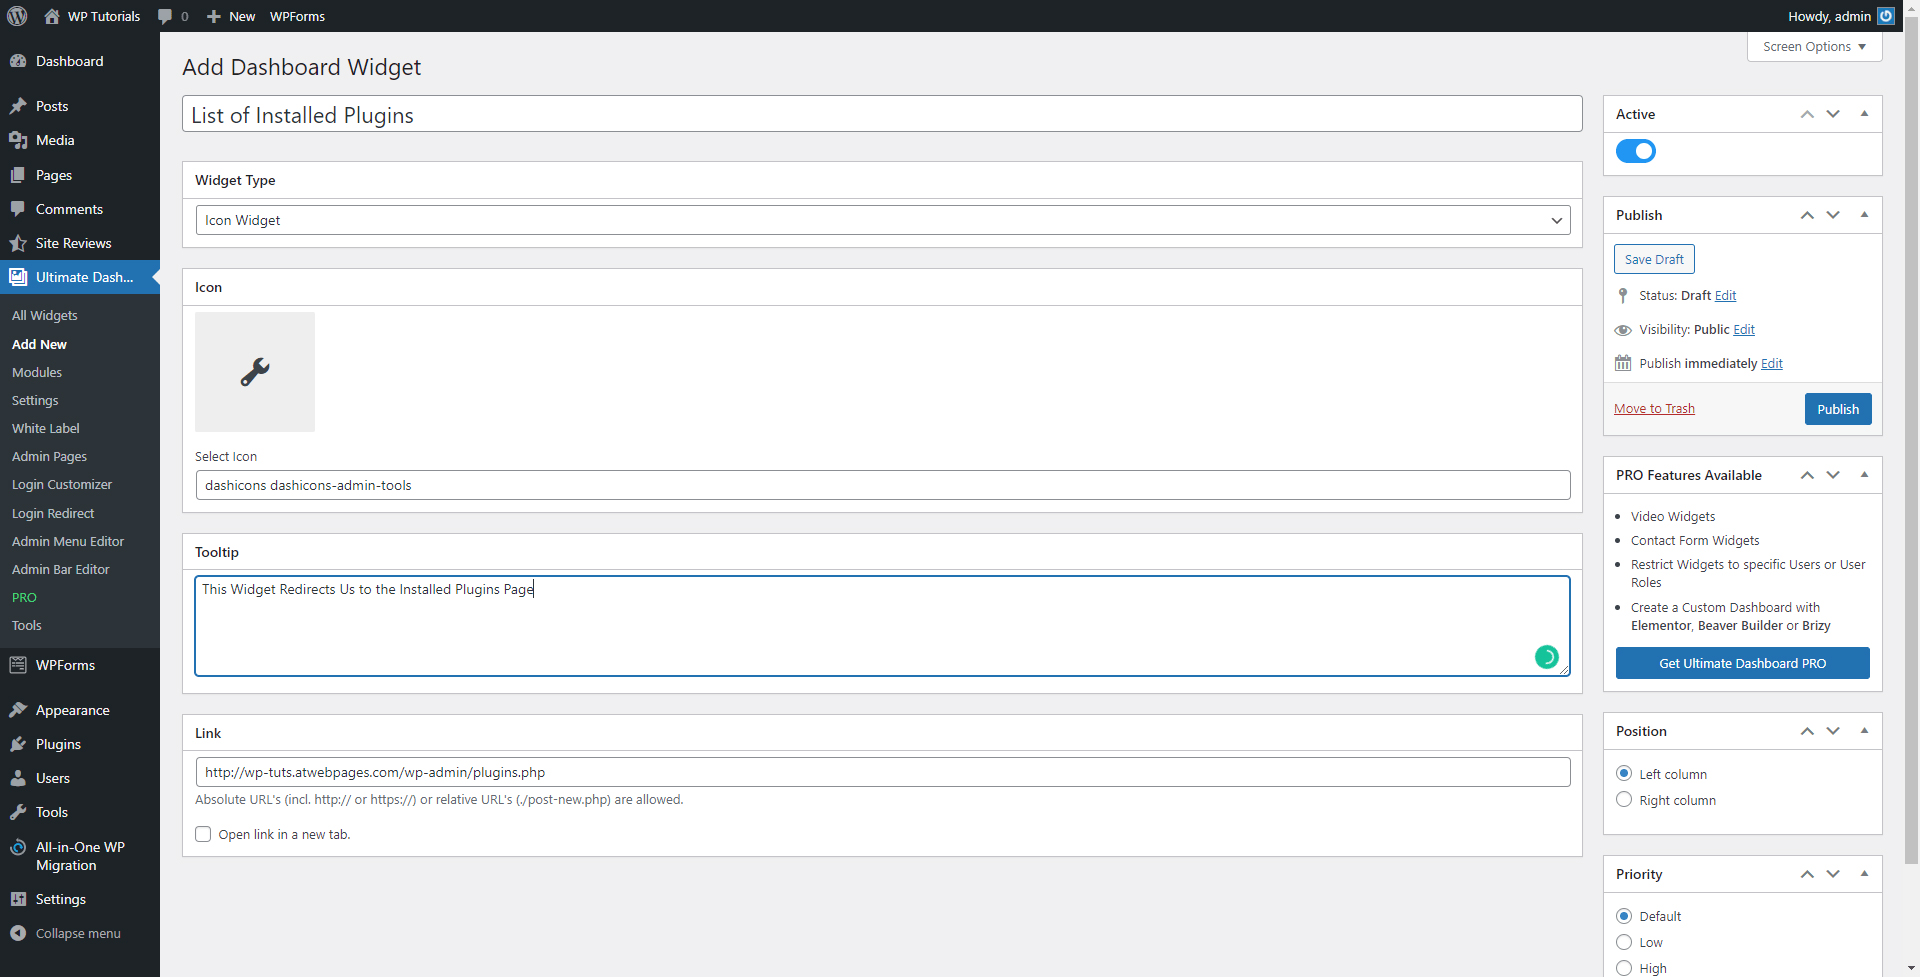
In our case, here’s how we filled in the fields:
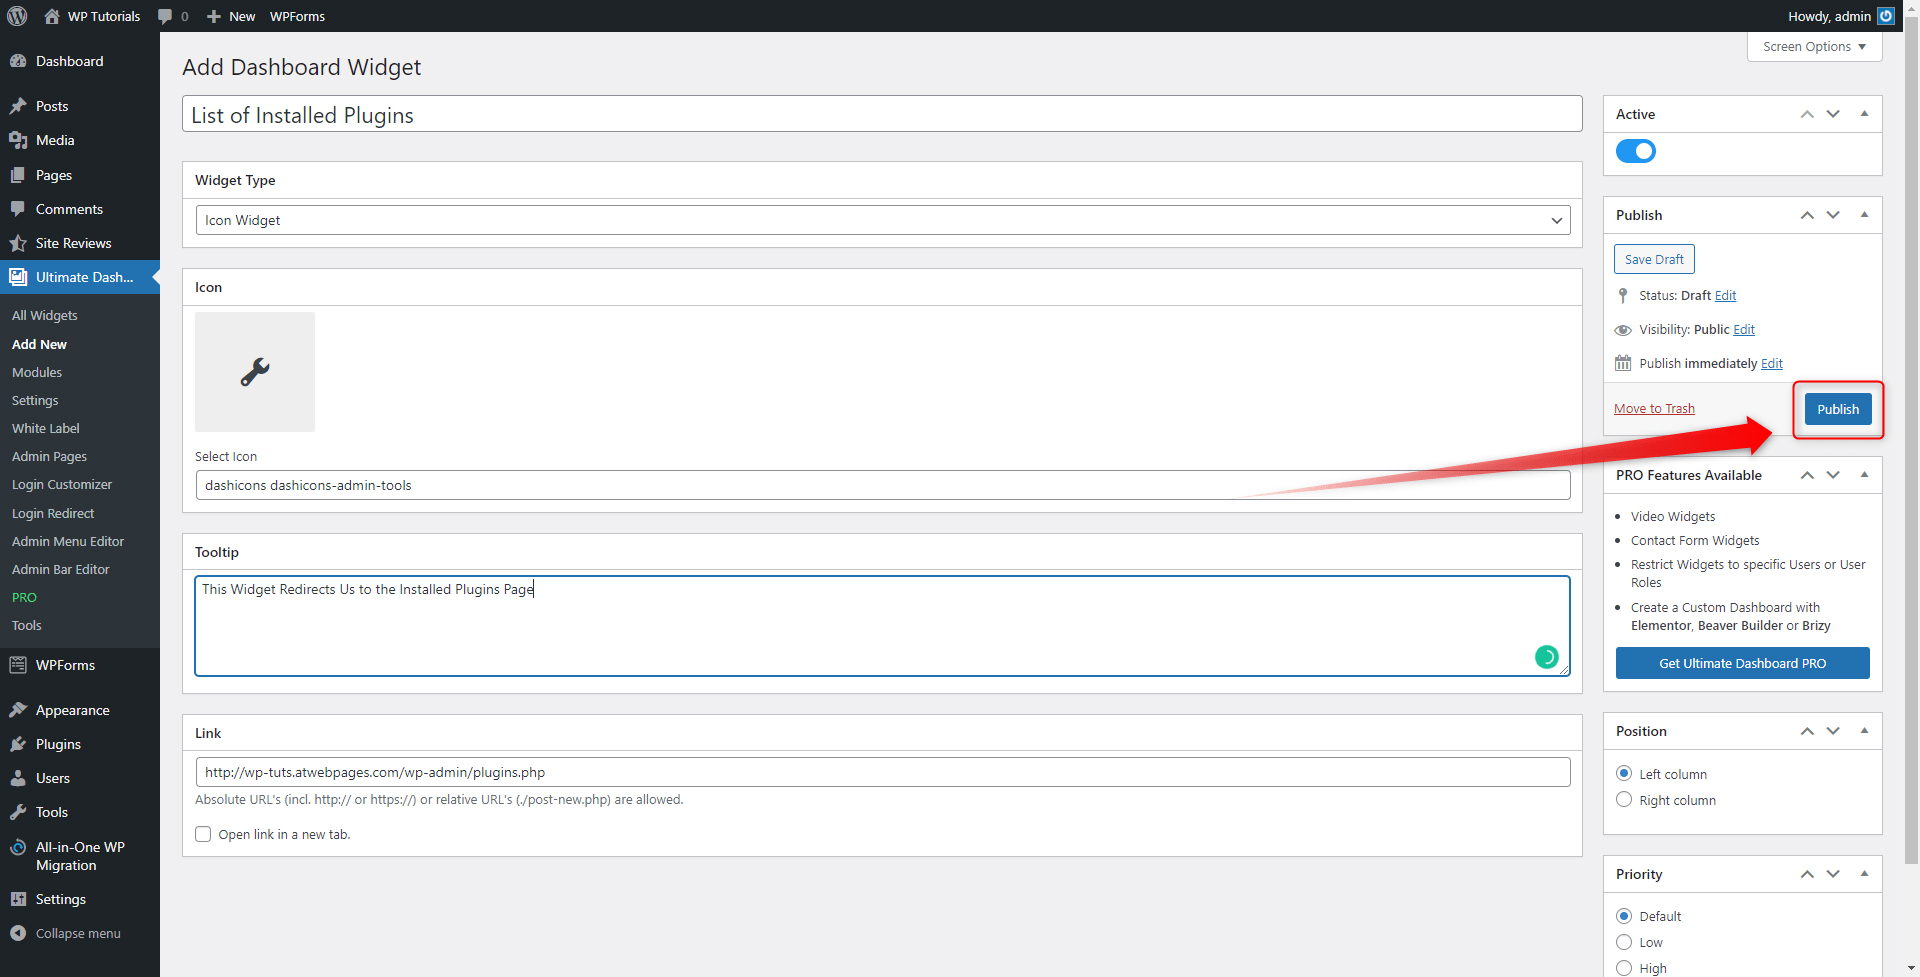
When you have filled in all the necessary information, click on the blue Publish button at the right of the page:
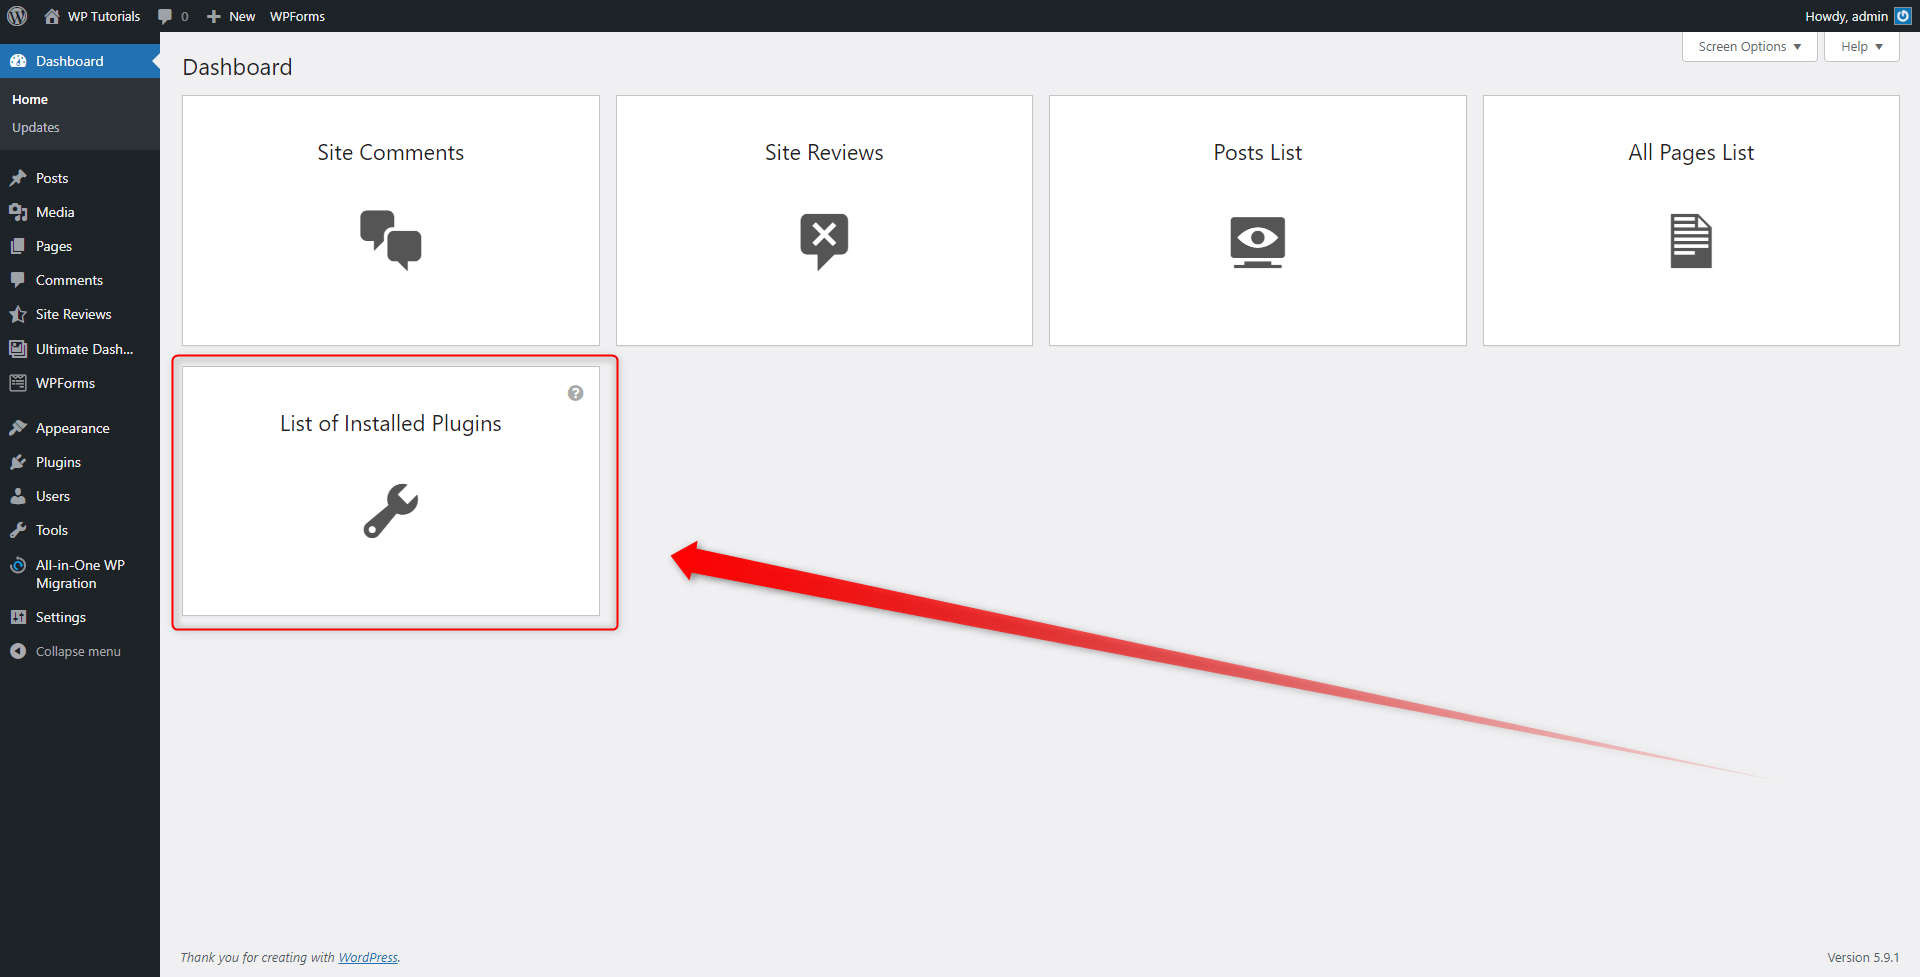
Then, go to your dashboard and locate the newly appeared widget:
Customize the Dashboard Admin Menu
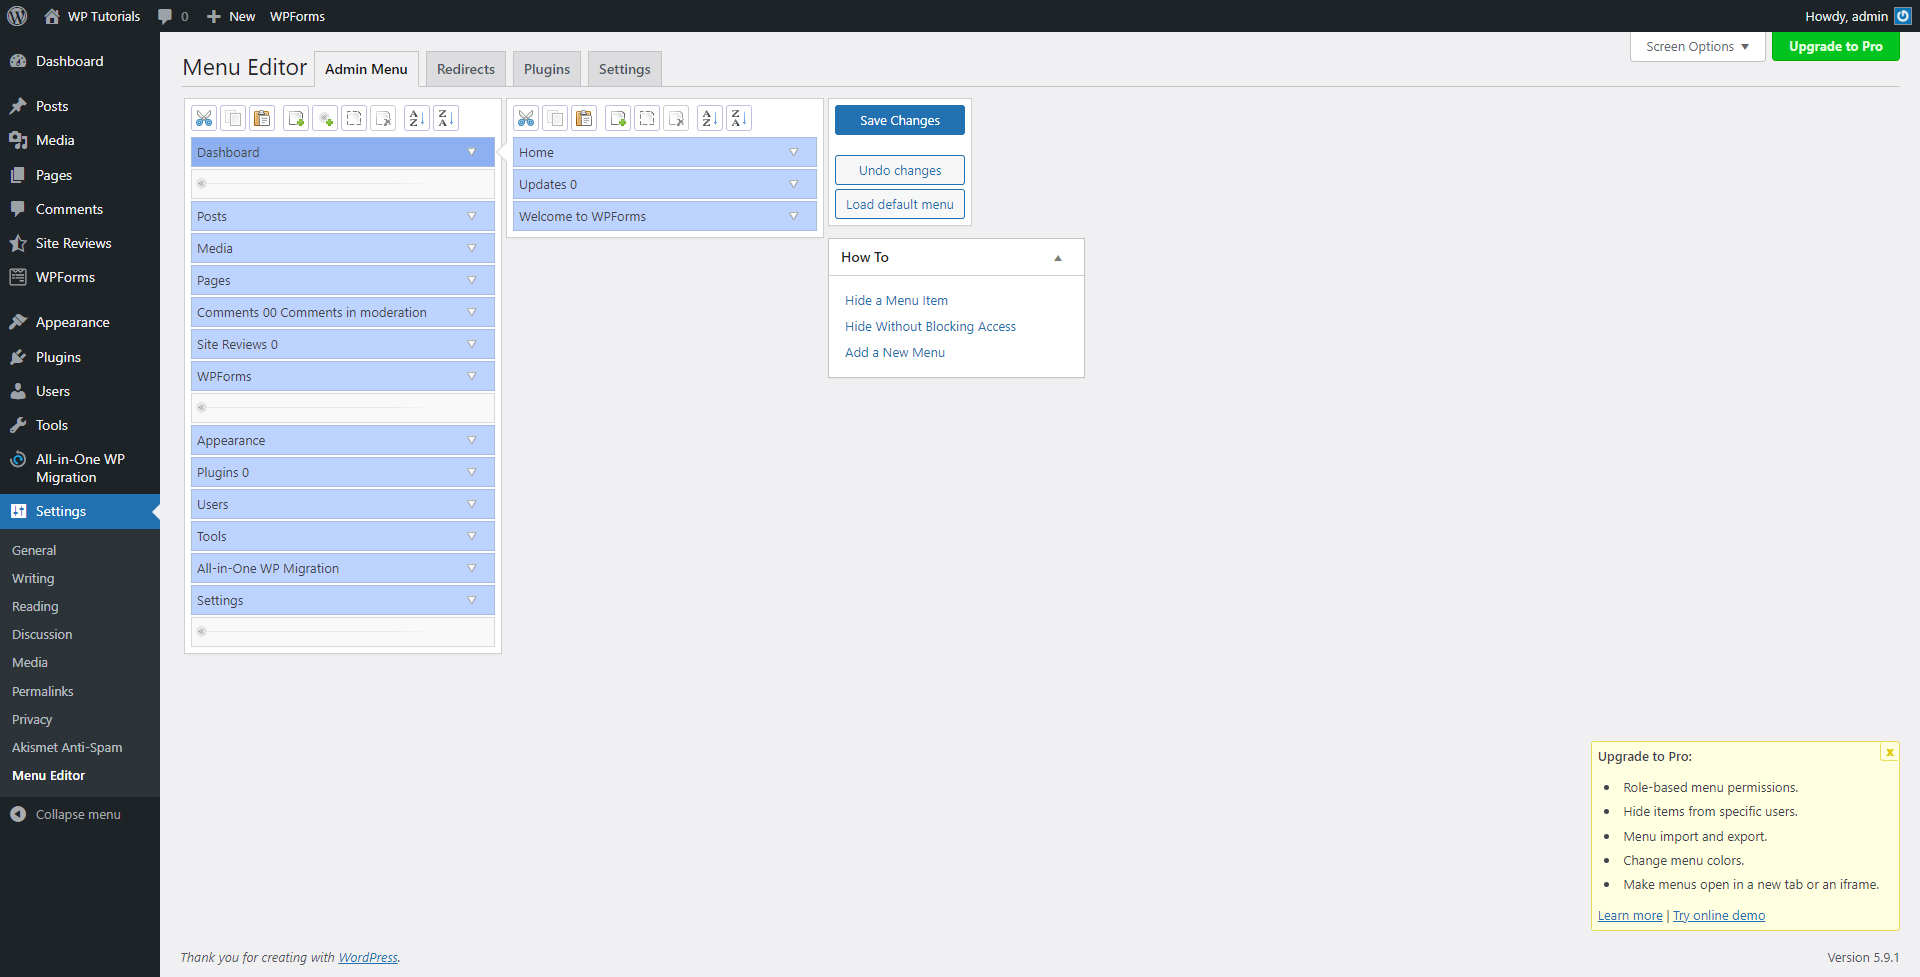
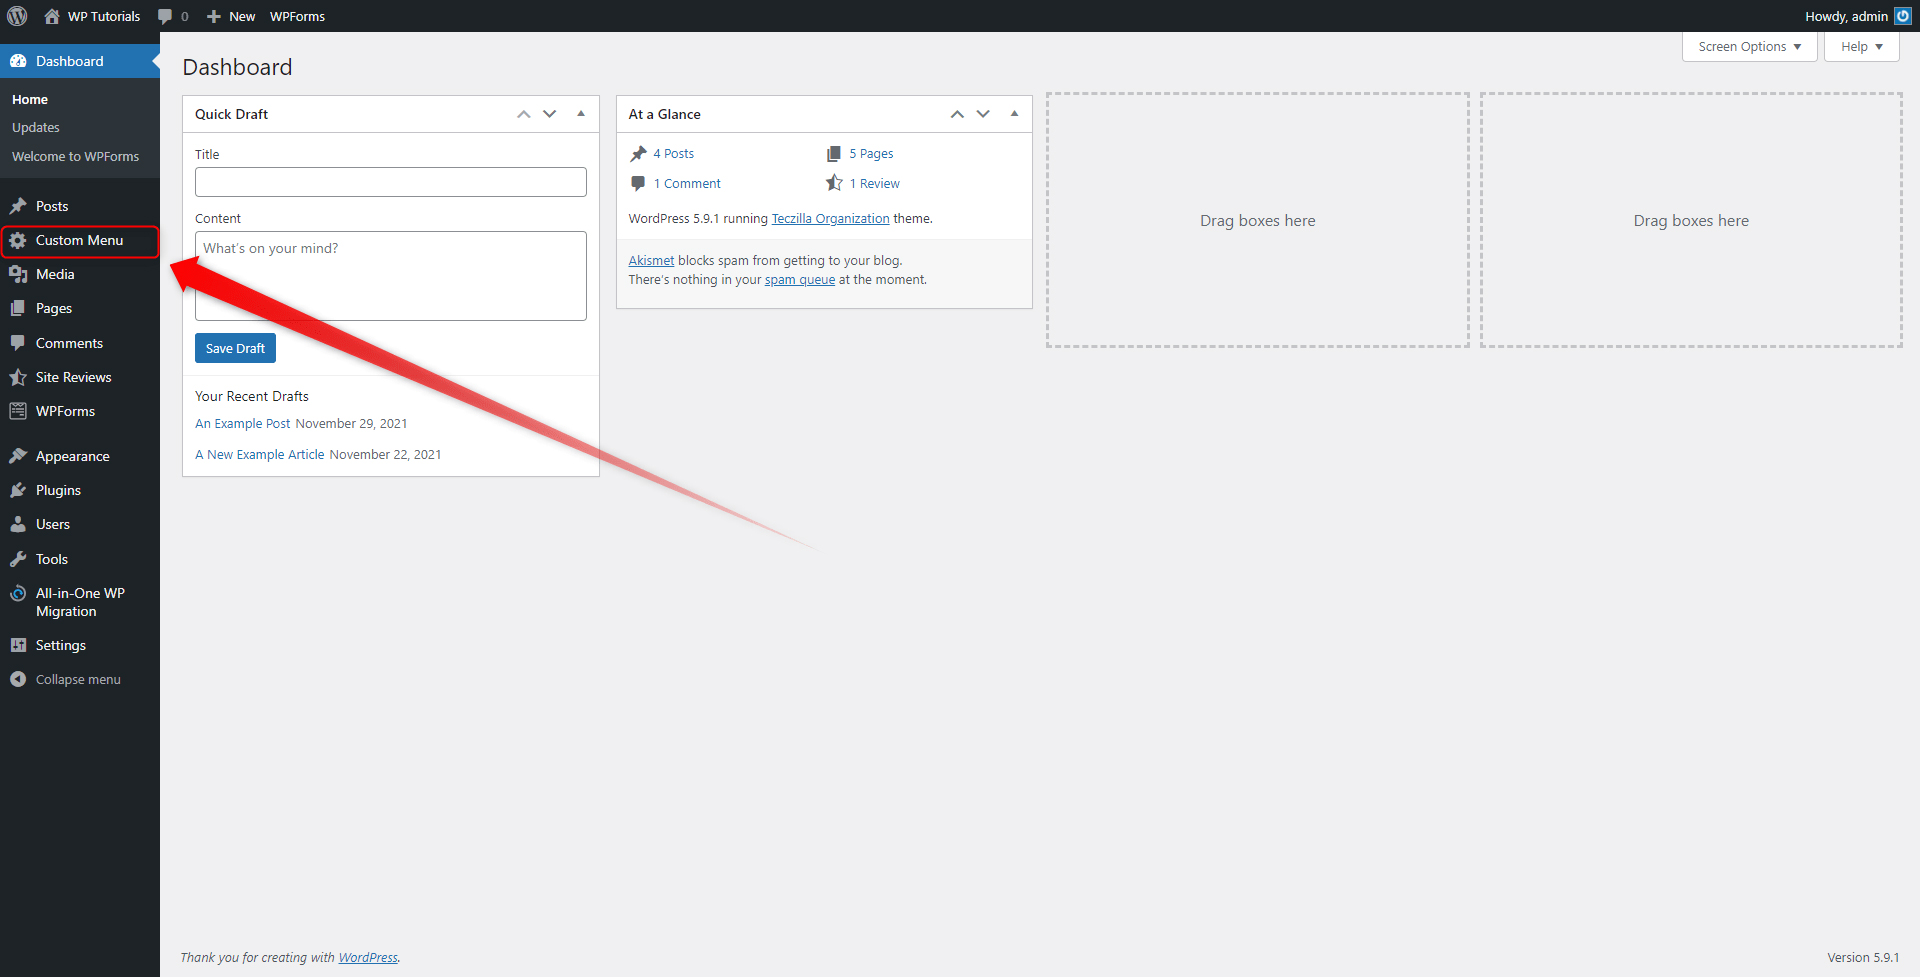
Should there be any options that you aren’t using at all, it is best to hide them, so you benefit from a cleaner and more functional interface.
To do so, simply install the Admin Menu Editor and benefit from the plugin’s extended list of menu customization options. By using the tool, you can add and remove certain menu items, as well as create completely new and fully customized menu sections:
Customize the WordPress Login Screen
The WordPress Login screen is the first thing visitors see when trying to log in to your website. By default this screen looks like this:
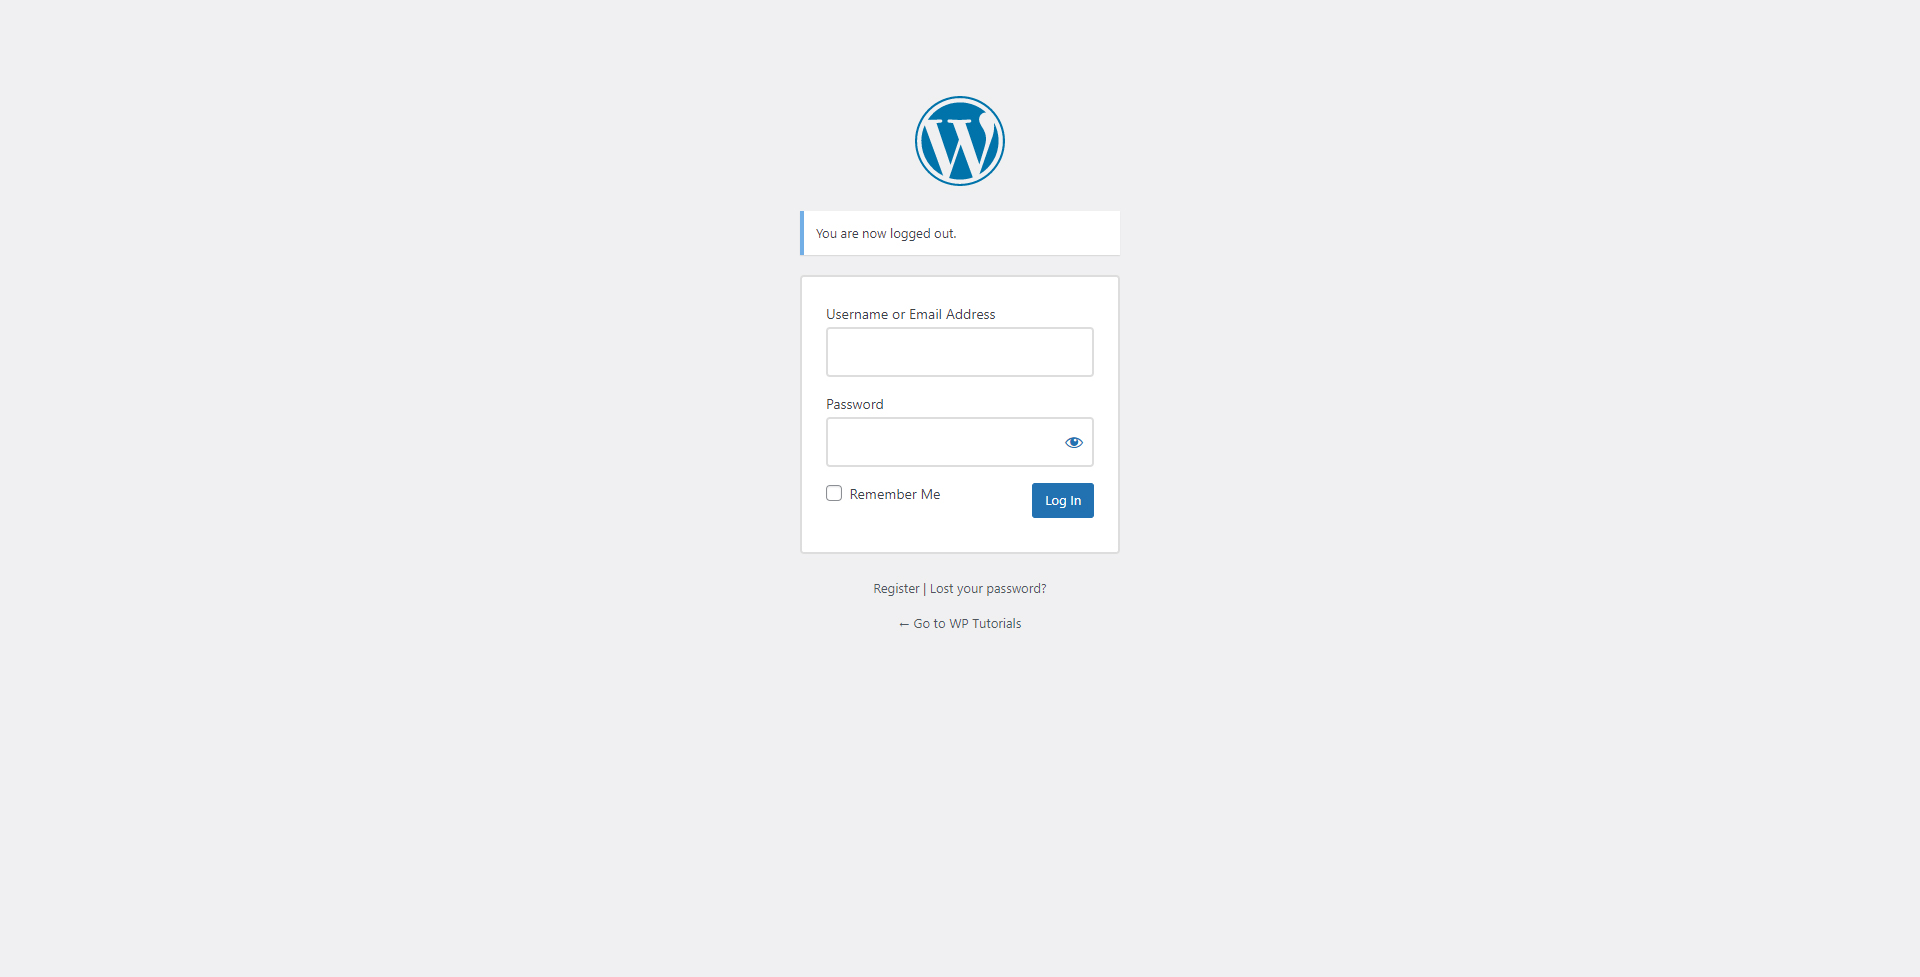
If you are creating a subscription-based service, regardless of kind, or simply want to genuinely impress your visitors, it is a good idea to customize the login screen, as this enhances brand recognition and manages to persuade visitors that you take care even for the smallest of details.
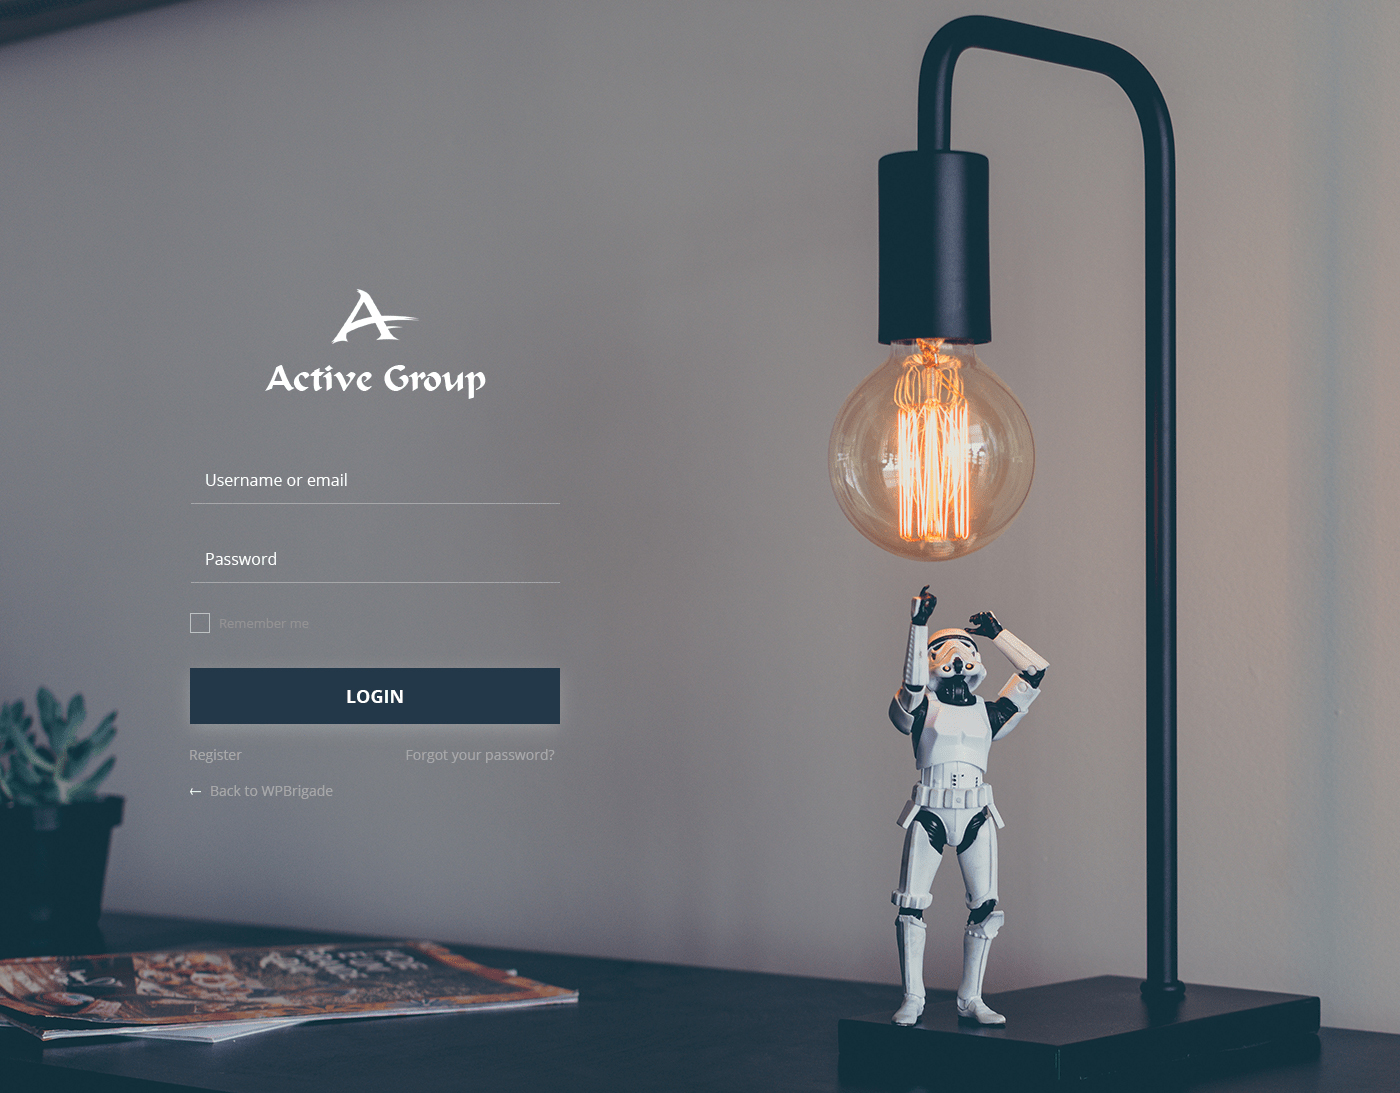
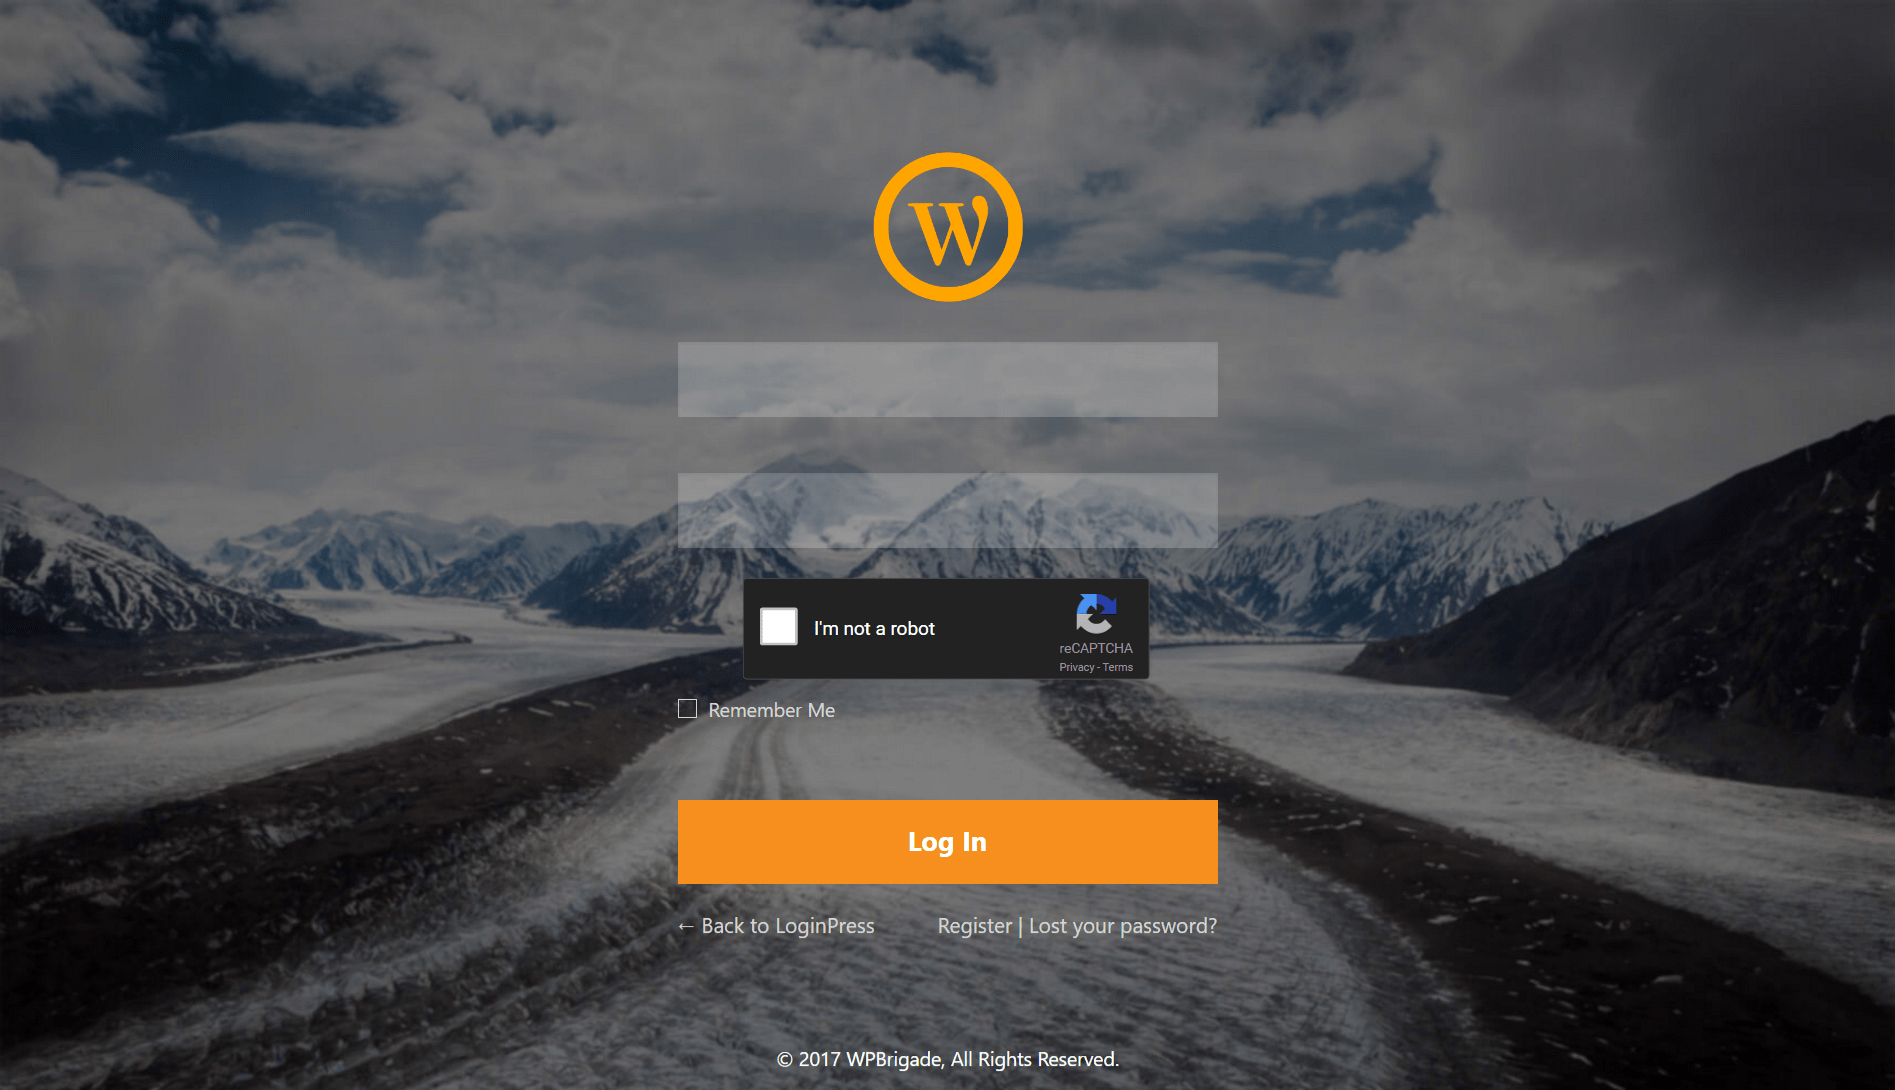
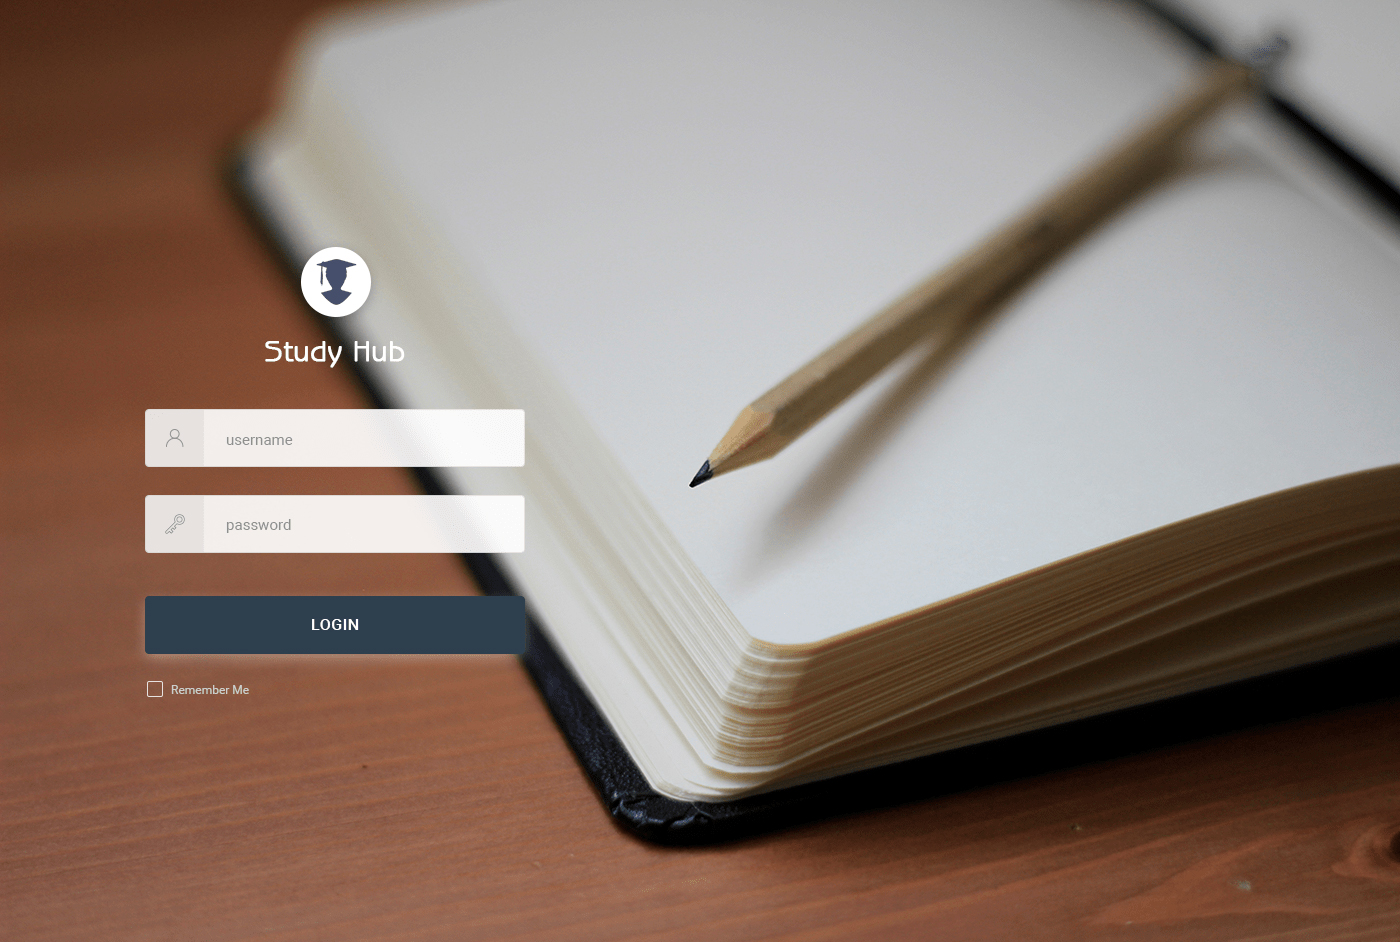
To create an individual pattern, simply download and activate a dedicated plugin. In our case, this is Custom Login Page Customizer. This is a handy tool that works just fine, however, you can choose a plugin to your specific preferences.
As showcased in the plugin’s overview page, you can create some thrilling end results:
Conclusion
The Dashboard is the place from where you control all aspects of your WordPress website. Along with the tons of settings, you can browse and use, WordPress also allows you to fully customize the dashboard layout, so it perfectly fits your work approach and preferences. Take your time and try out different variants and layouts to see what works and what doesn’t for you.
ZETTAHOST provides versatile hosting and domain services, along with enhanced security that altogether contribute to your rewarding and safe site-building experience! Check out the ZETTAHOST Web Hosting services and launch your site today!
We also created a step-by-step WordPress guide with everything about the platform in one place. It will show you how to build a beautiful and fully functional website step by step and page by page:
Related: