What you need to know:
The Gutenberg Editor comes equipped with an array of useful keyboard shortcuts that can be used to format text, transform blocks, and show/hide various panels and views. What’s great is that the WordPress Block Editor uses the same basic text editing shortcuts as other programs, so you’ll be instantly familiar with some of the supported hotkeys.
No matter how you look at it, when you run a WordPress site, you’ll spend a considerable amount of time in Gutenberg, the WordPress Block Editor. So, it is wise to invest the time to learn the various keyboard shortcuts it has to offer in order to be more productive. In this tutorial, we’ll demonstrate the various hotkeys that are found in Gutenberg.
Table of Contents:
What Is Gutenberg?
Gutenberg, also known as the WordPress Block Editor, is the place where you go to create your posts, pages, and widgets. It is the successor to the classic WYSIWYG editor.
Tip:
If you are still using the classic WYSIWYG editor, you can check our tutorial which goes over the keyboard shortcuts available in the classic WordPress post editor.
If you haven’t used Gutenberg yet, we recommend getting a premium WordPress hosting plan or even our free hosting package and installing WordPress using Zacky Installer. Once done, go ahead and learn the basics of Gutenberg and explore its interface.
The Full List of Gutenberg Keyboard Shortcuts
We have organized the various Gutenberg keyboard shortcuts into distinct groups that we will explore in detail in the next few sections. Please note that there are differences between the Windows/Linux shortcuts and their macOS counterparts.
Block Shortcuts
Since Gutenberg is entirely block-based, we’ll start off with the various block keyboard shortcuts that it has to offer. You will find the most useful shortcuts at the beginning.
Arguably, the keyboard shortcut that you will be using most often is the ability to Create a New Paragraph Block. To do so, simply place the text cursor at the end of a block and press Enter.
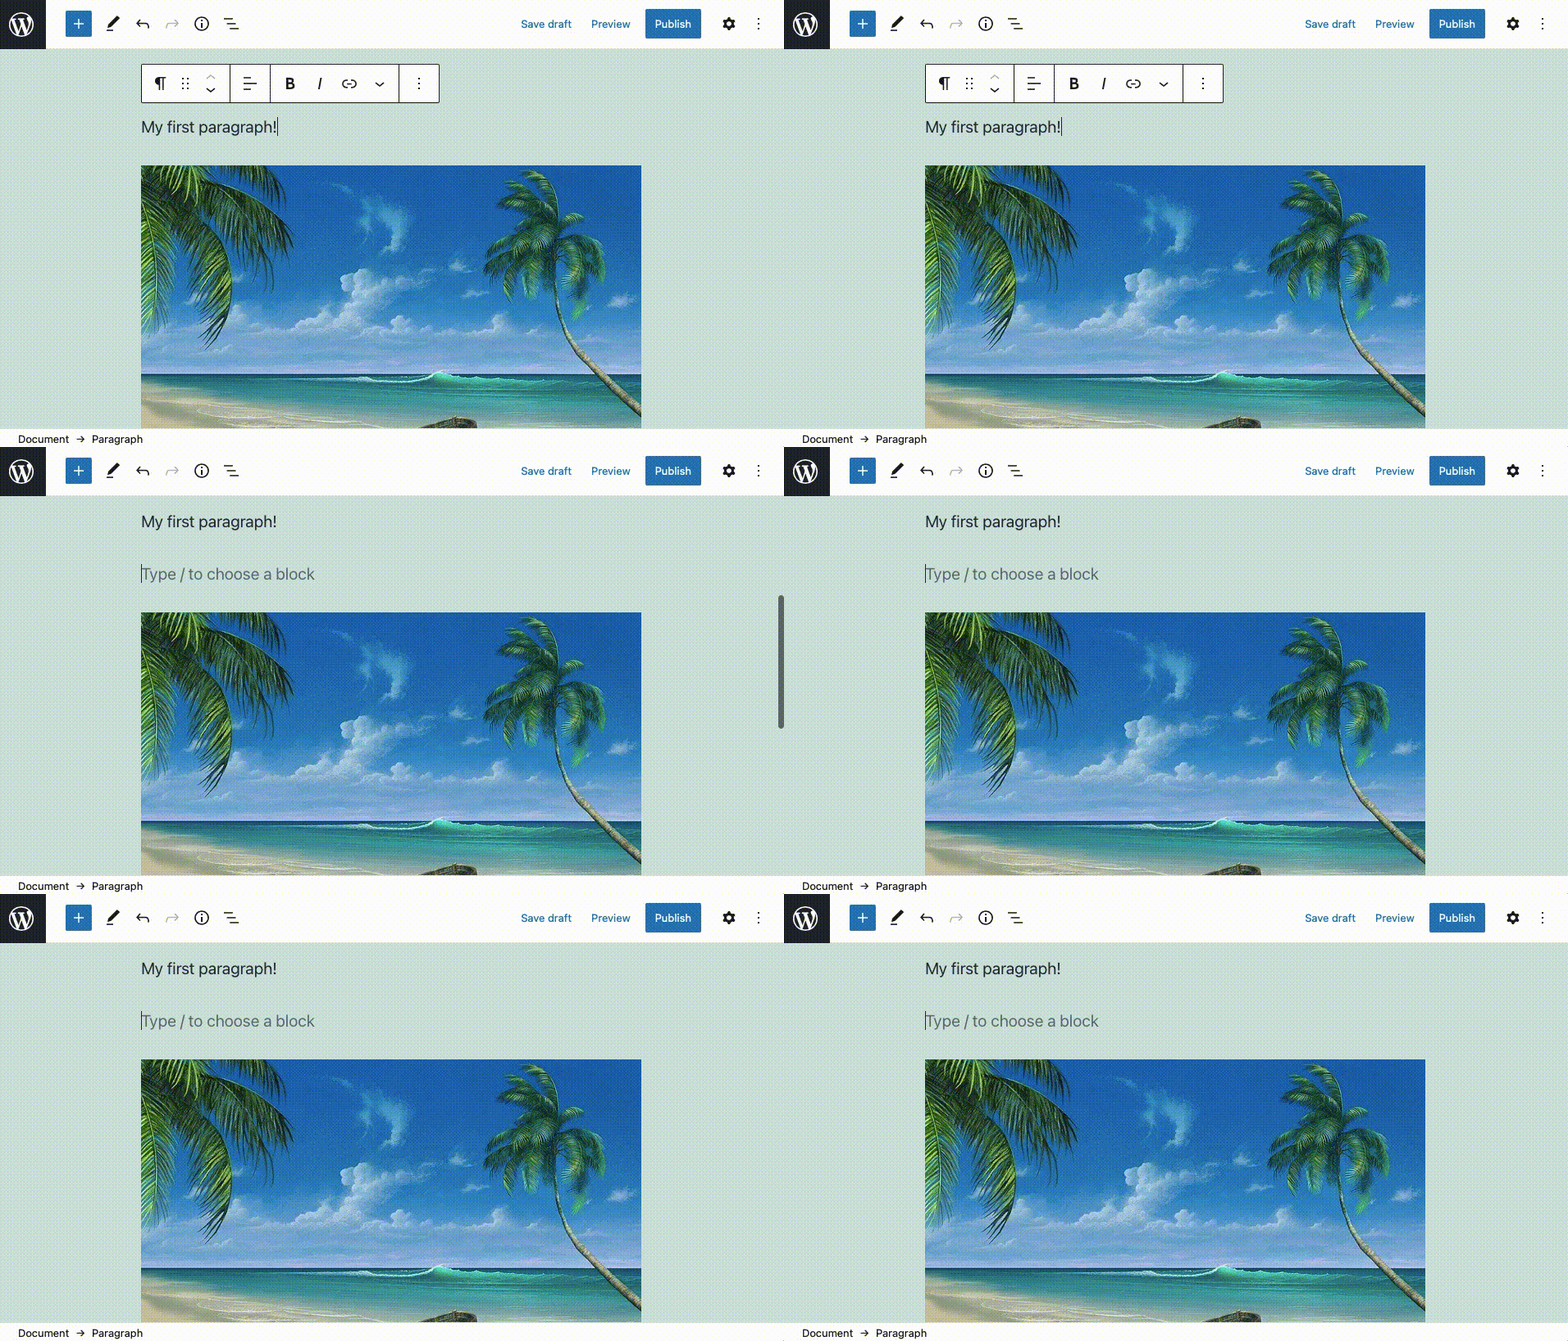
You can create a new paragraph using the Enter key.
But what if you don’t need another paragraph block? This is where the Block Conversion keyboard shortcut comes in. When you have an empty paragraph block, you can type / and you will see a list of popular blocks. Use the up/down arrows on your keyboard to select your desired block and then press Enter to confirm your choice. Alternatively, you can type out the name of your desired block and press Enter once it is in focus. This shortcut is very powerful as it gives you direct access to the entire Block Library.
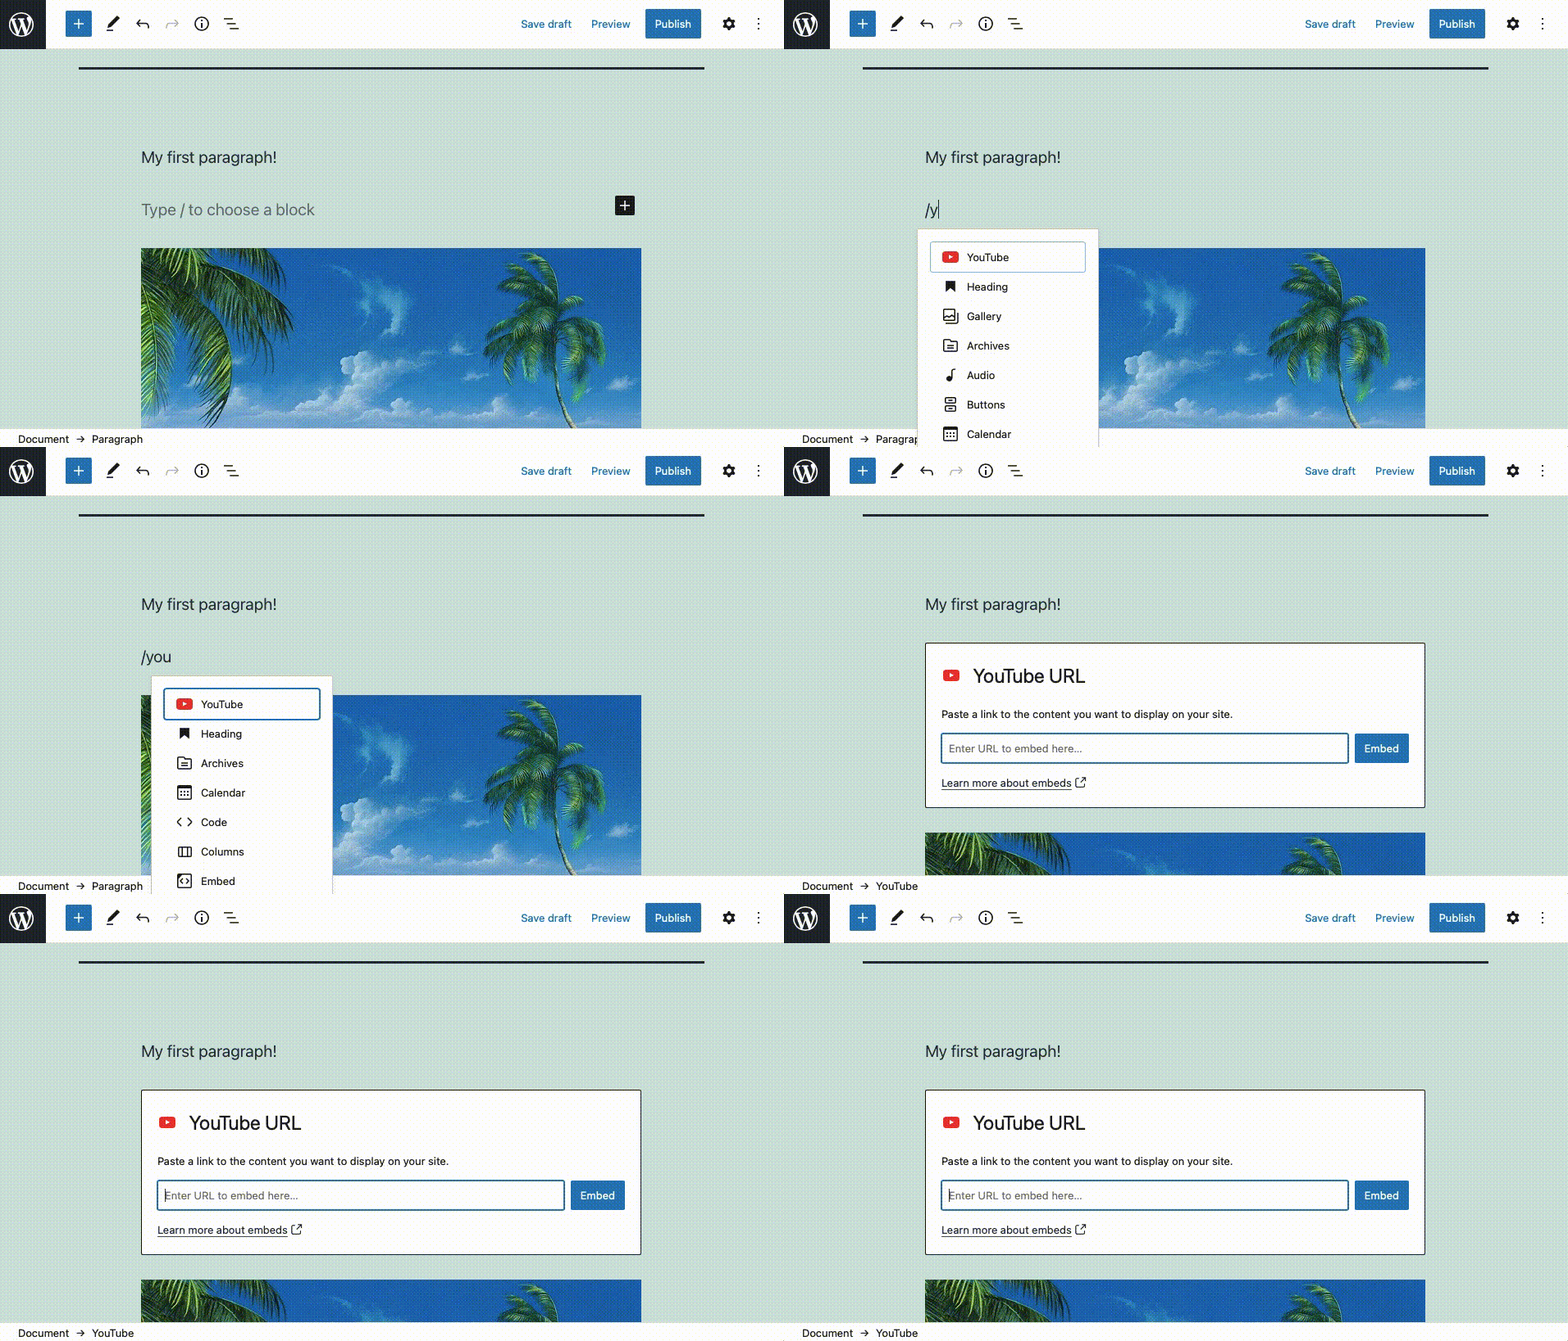
You can convert an empty paragraph block with a simple keyboard shortcut.
If you decide that you no longer need a certain block, you can delete it. To Remove a Block, place the text cursor in it and press Alt + Shift + Z on Windows/Linux and ⌃ + ⌥ + Z on macOS. It is also possible to remove one or more blocks by selecting them and pressing the delete or backspace button.
Gutenberg also provides you with the ability to Duplicate a Block. To do so, select the block that you wish to duplicate and press Ctrl + Shift + D on Windows/Linux and ⌘ + ⇧ + D on macOS.
Next, we’ll talk about Inserting Blocks. To insert a new block before the selected block, press Ctrl + Alt + T on Windows/Linux and ⌥ + ⌘ + T on macOS. To insert a new block after the selected block, press Ctrl + Alt + Y on Windows/Linux and ⌥ + ⌘ + Y on macOS.
The set of block-oriented keyboard shortcuts that we’ll look at will allow you to Move a Block up or down the document hierarchy. To move a document up the hierarchy, select it and press Ctrl + Alt + Shift + T on Windows/Linux and ⌥ + ⌘ + ⇧ + T on macOS. Conversely, to move a document down the hierarchy, select it and press Ctrl + Alt + Shift + Y on Windows/Linux and ⌥ + ⌘ + ⇧ + Y on macOS.
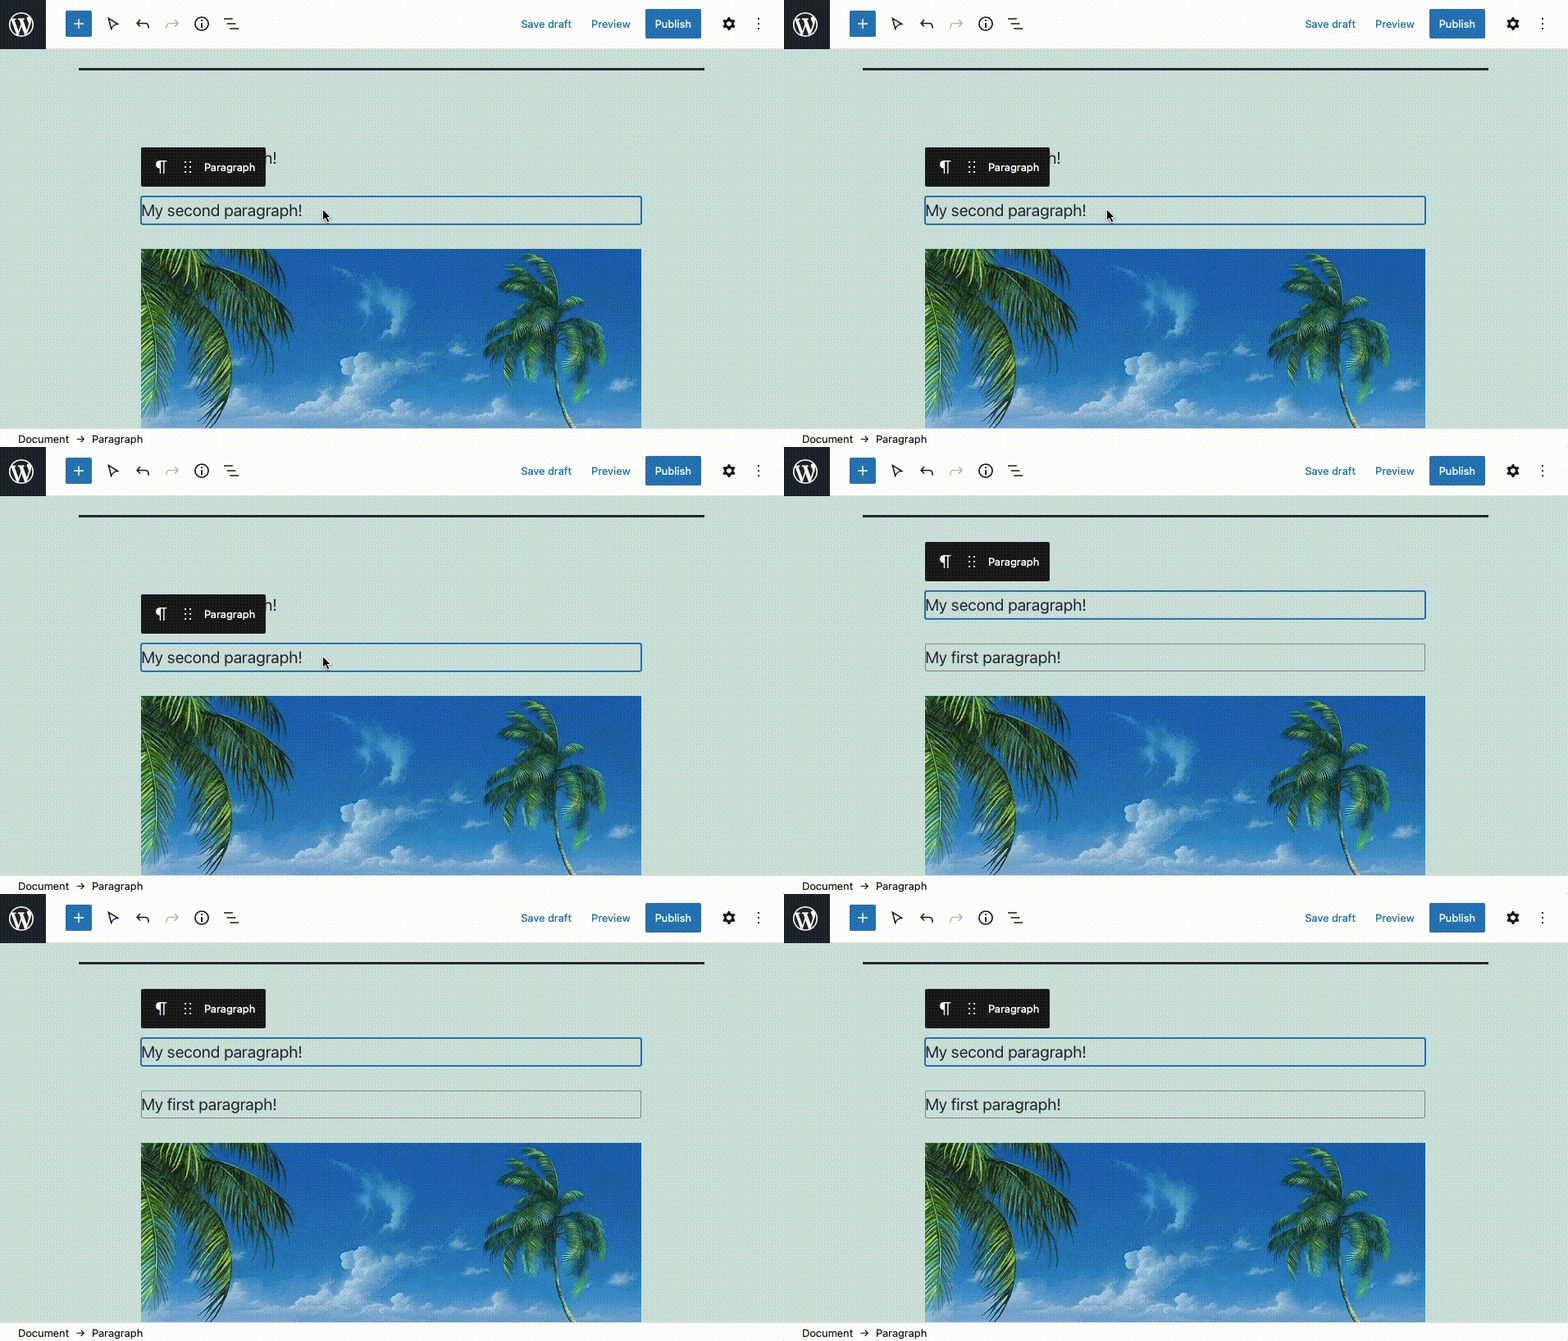
Gutenberg comes with a set of shortcuts that can move blocks up and down the document hierarchy.
Markdown-Like Shortcuts
In addition to traditional shortcuts, Gutenberg also supports shortcuts inspired by Markdown. Here, we’ll outline the most useful Markdown-like shortcuts that the WordPress Block Editor has to offer.
Arguably, the most used Markdown-like shortcuts are the Headings. You can convert an empty paragraph block into an h1 heading by typing # followed by a space. If you want to create an h2 heading instead, type # twice followed by a space, and so on.
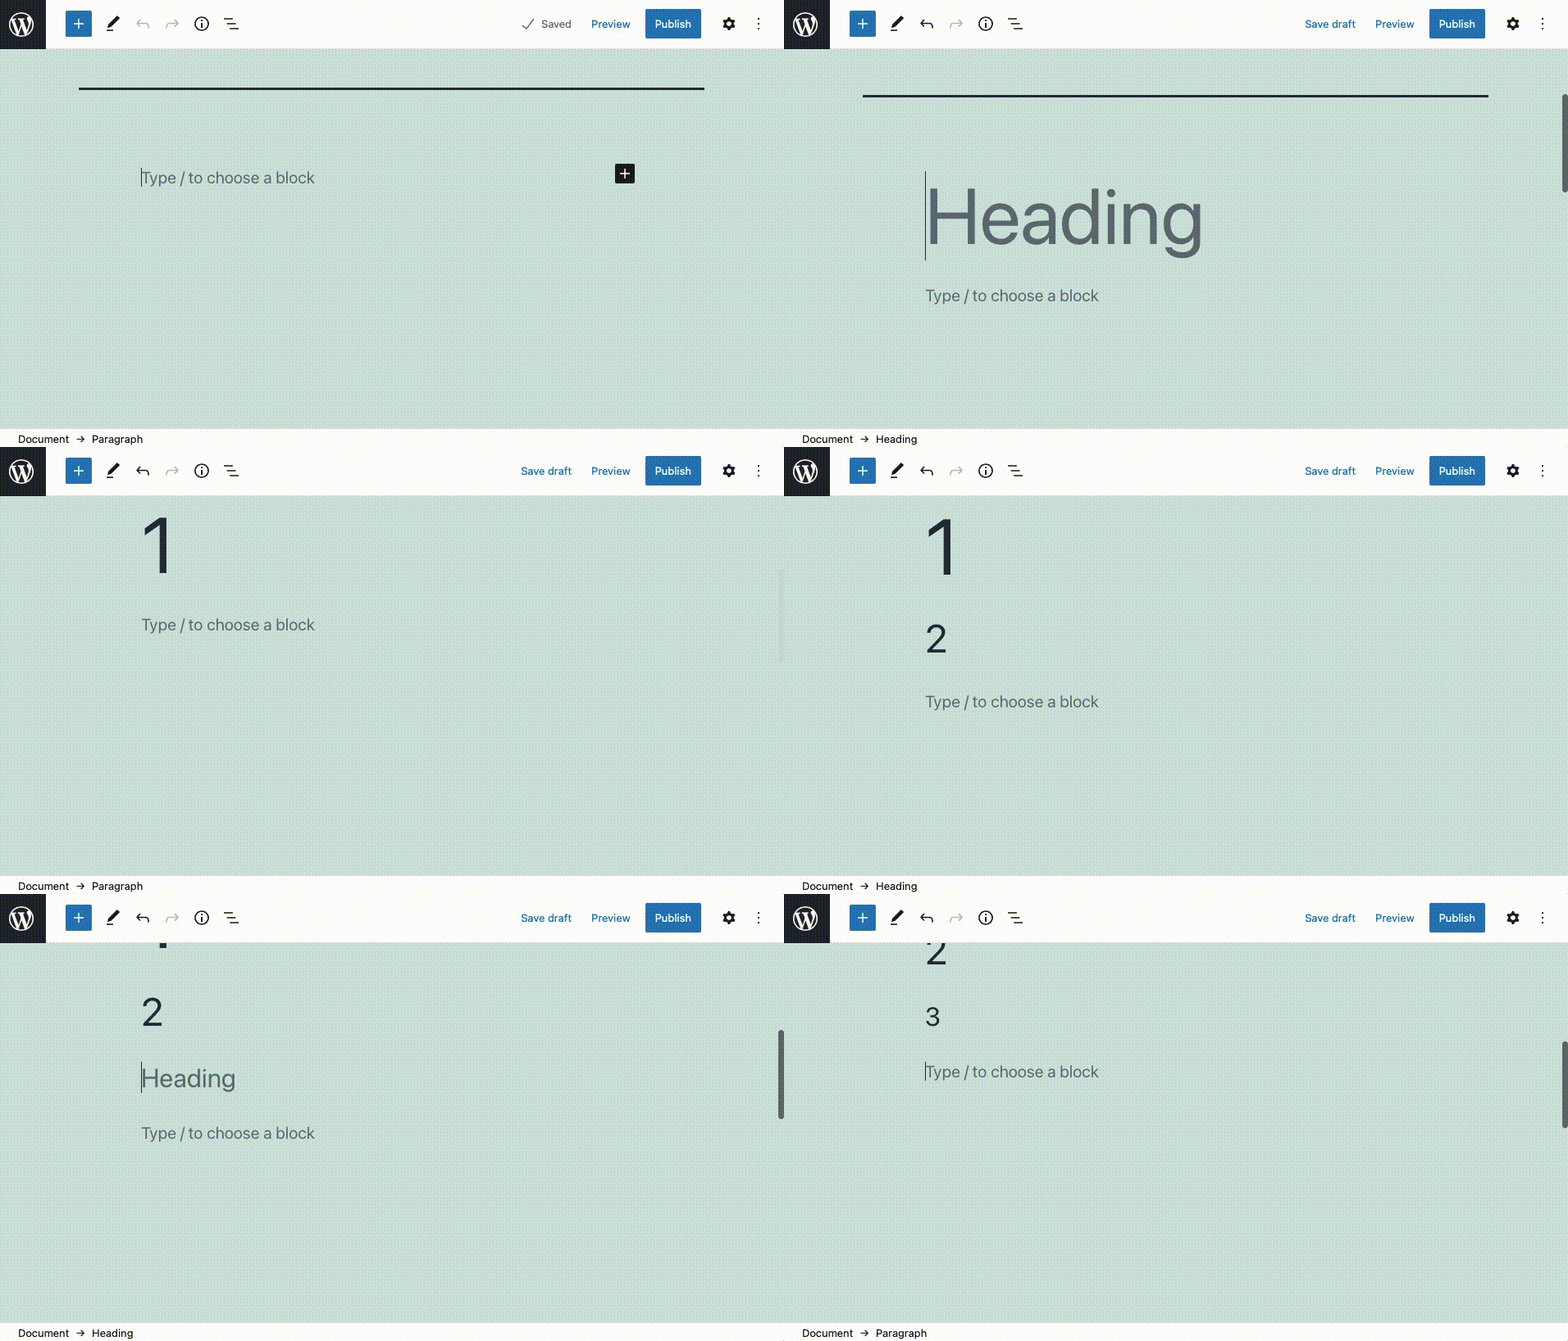
Gutenberg allows you to quickly and easily create headings out of empty paragraph blocks.
Another useful shortcut is the ability to Create Ordered and Unordered Lists. To create an ordered list, start from an empty paragraph block and type 1. followed by a space. Then type your first item. When you are done, press Enter and enter your second item. When you wish to finish the list, press Enter twice.
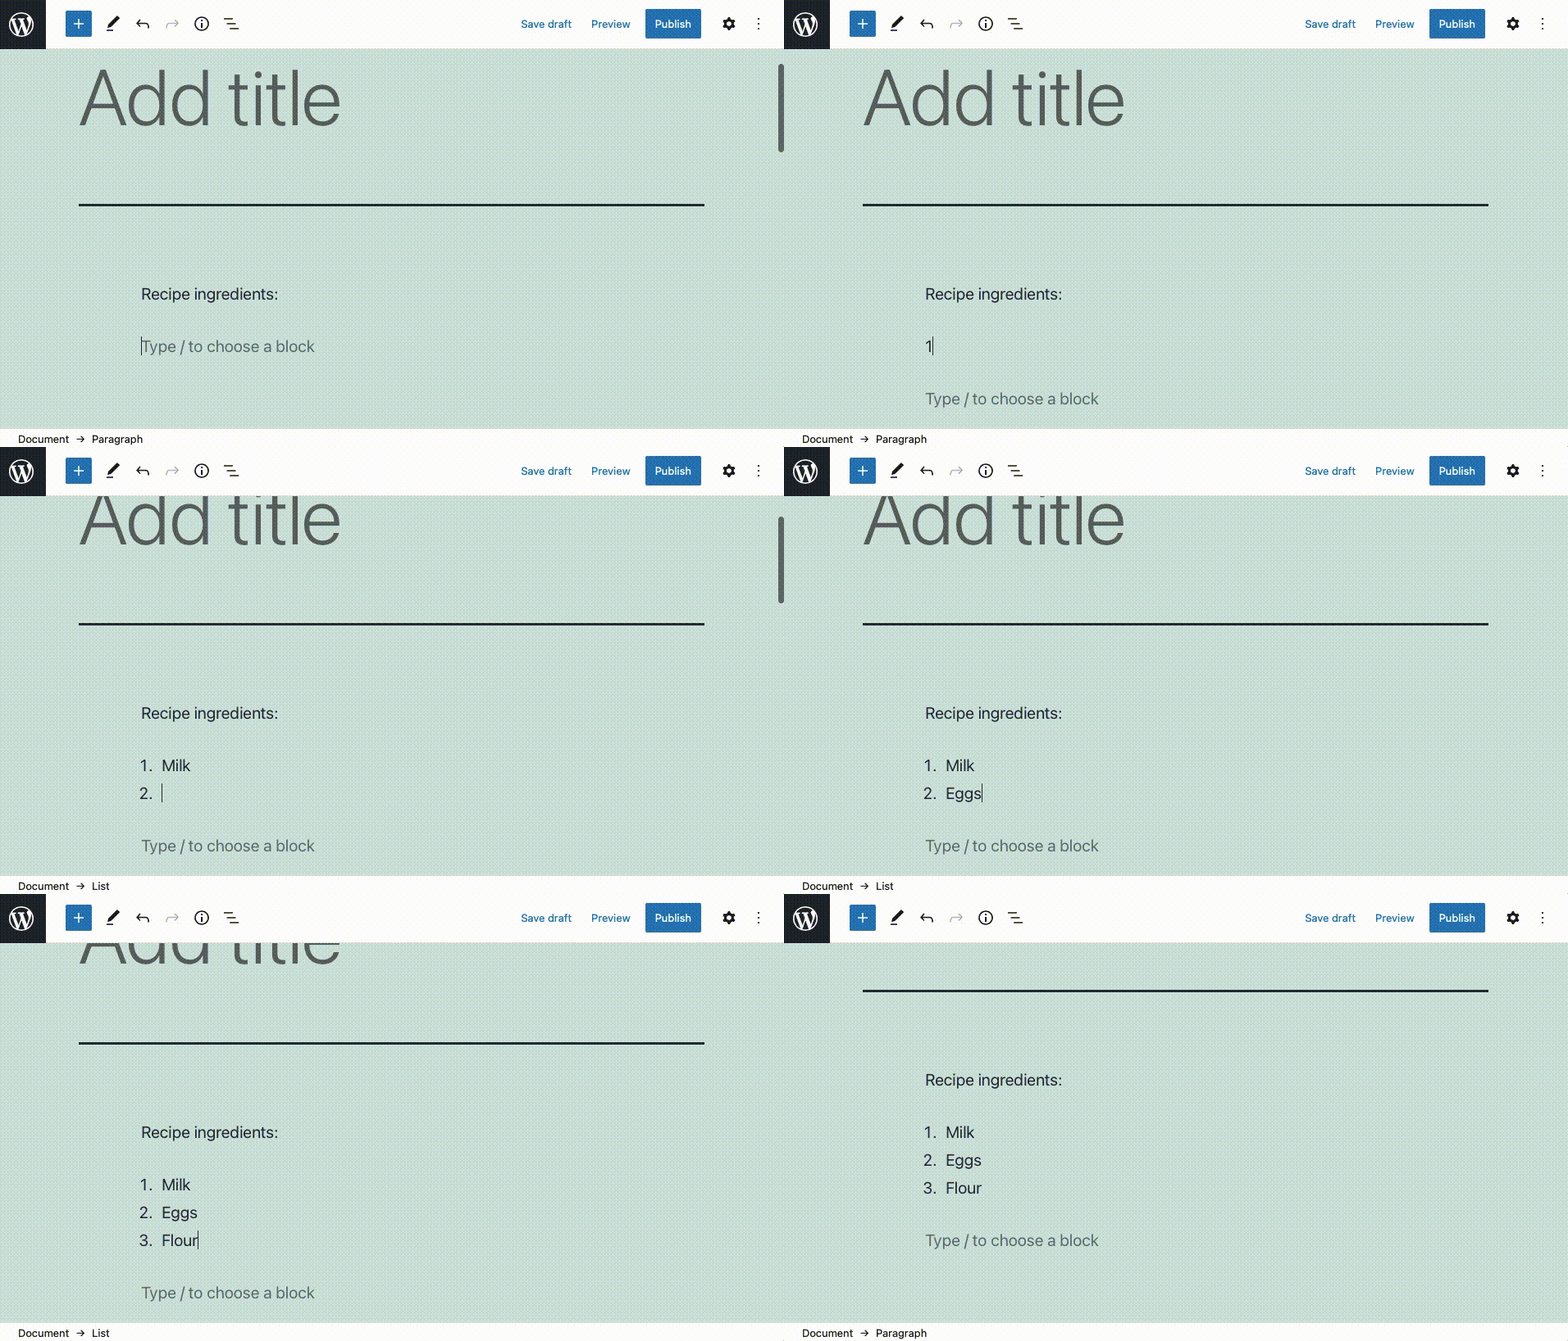
It is easy to create ordered and unordered lists in Gutenberg via a keyboard shortcut.
Unordered lists work on the exact same principle, however, to start an unordered list, you need to enter * or - followed by a space. Pressing Enter twice will end the list.
If you use quotations in your posts, you’ll be happy to learn that there’s a quick way to convert an empty paragraph block into a Quotation Block. To perform the conversion, simply type > followed by a space.
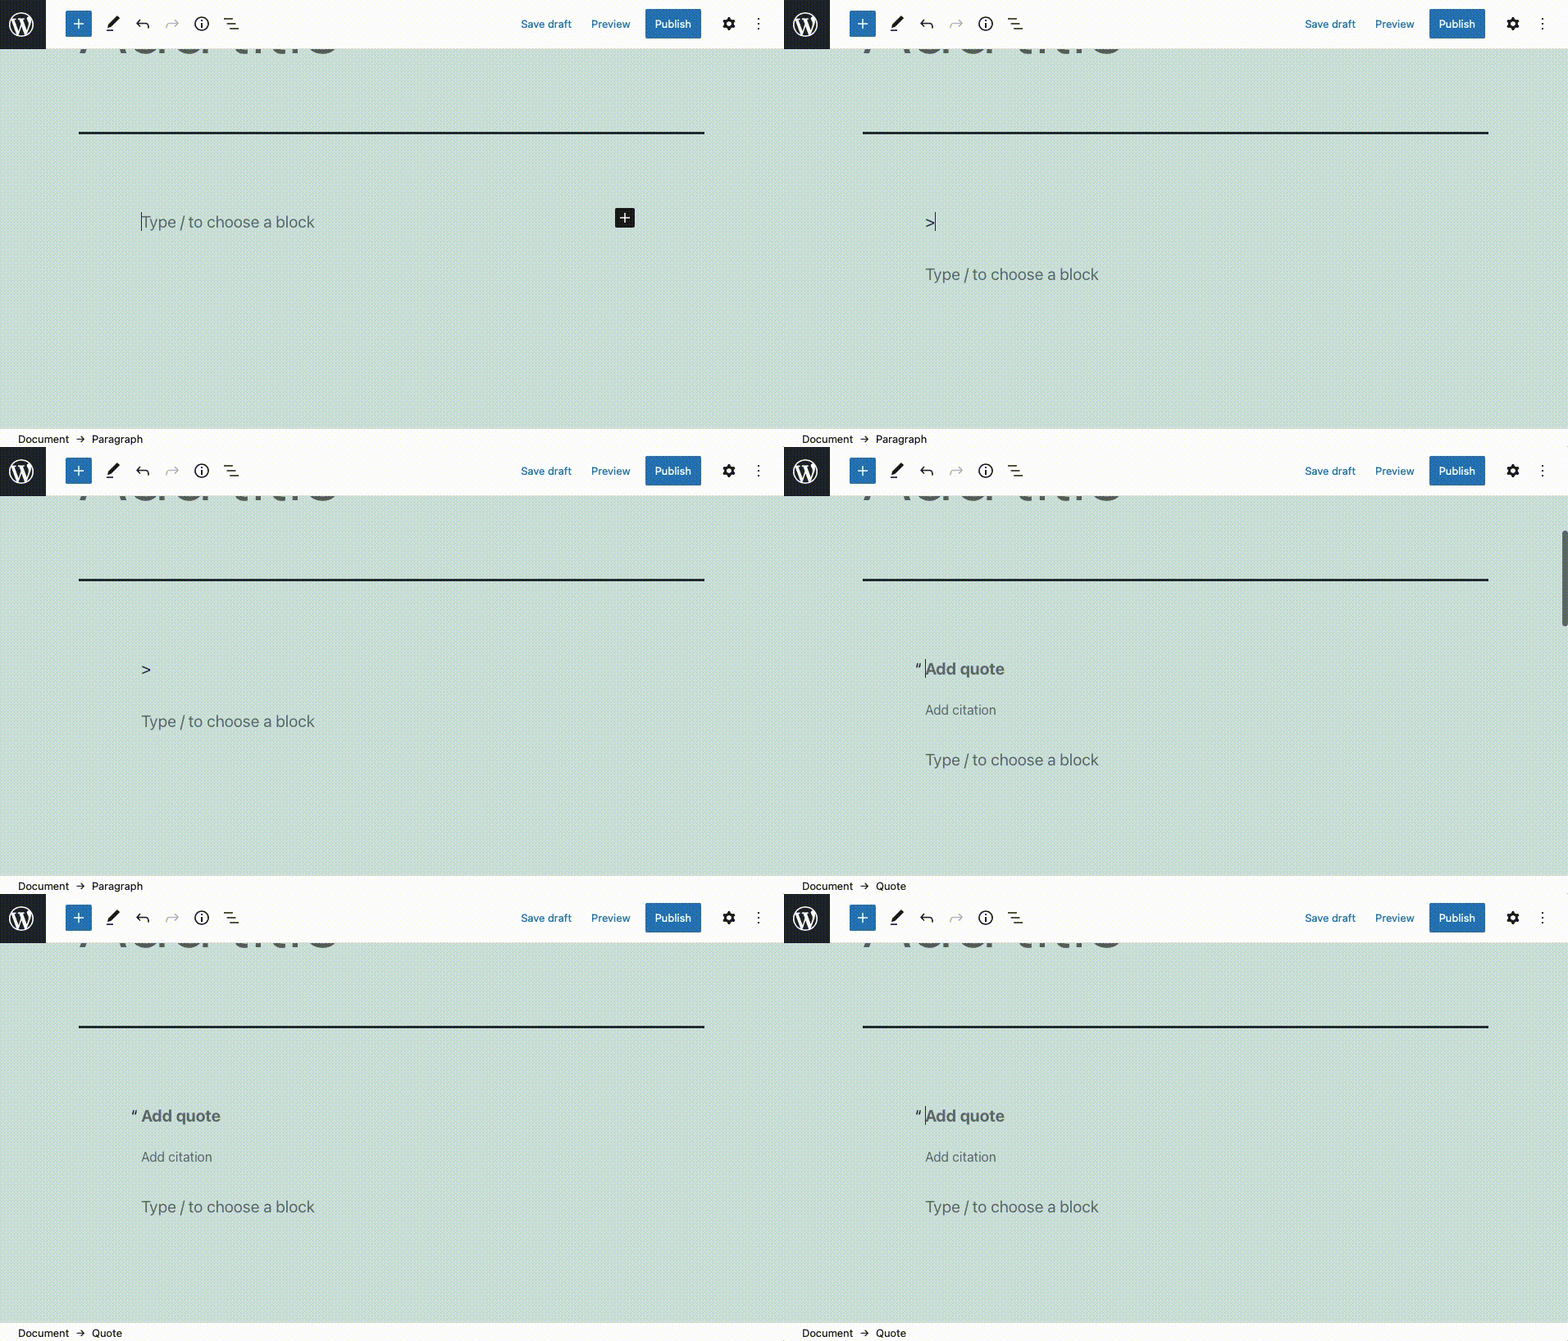
It is easy to insert quotes in Gutenberg thanks to a Markdown-like shortcut.
Similar to quotations, you can convert an empty paragraph block into a Code Block. To do so, simply type ``` (three grave accents) and press Enter.
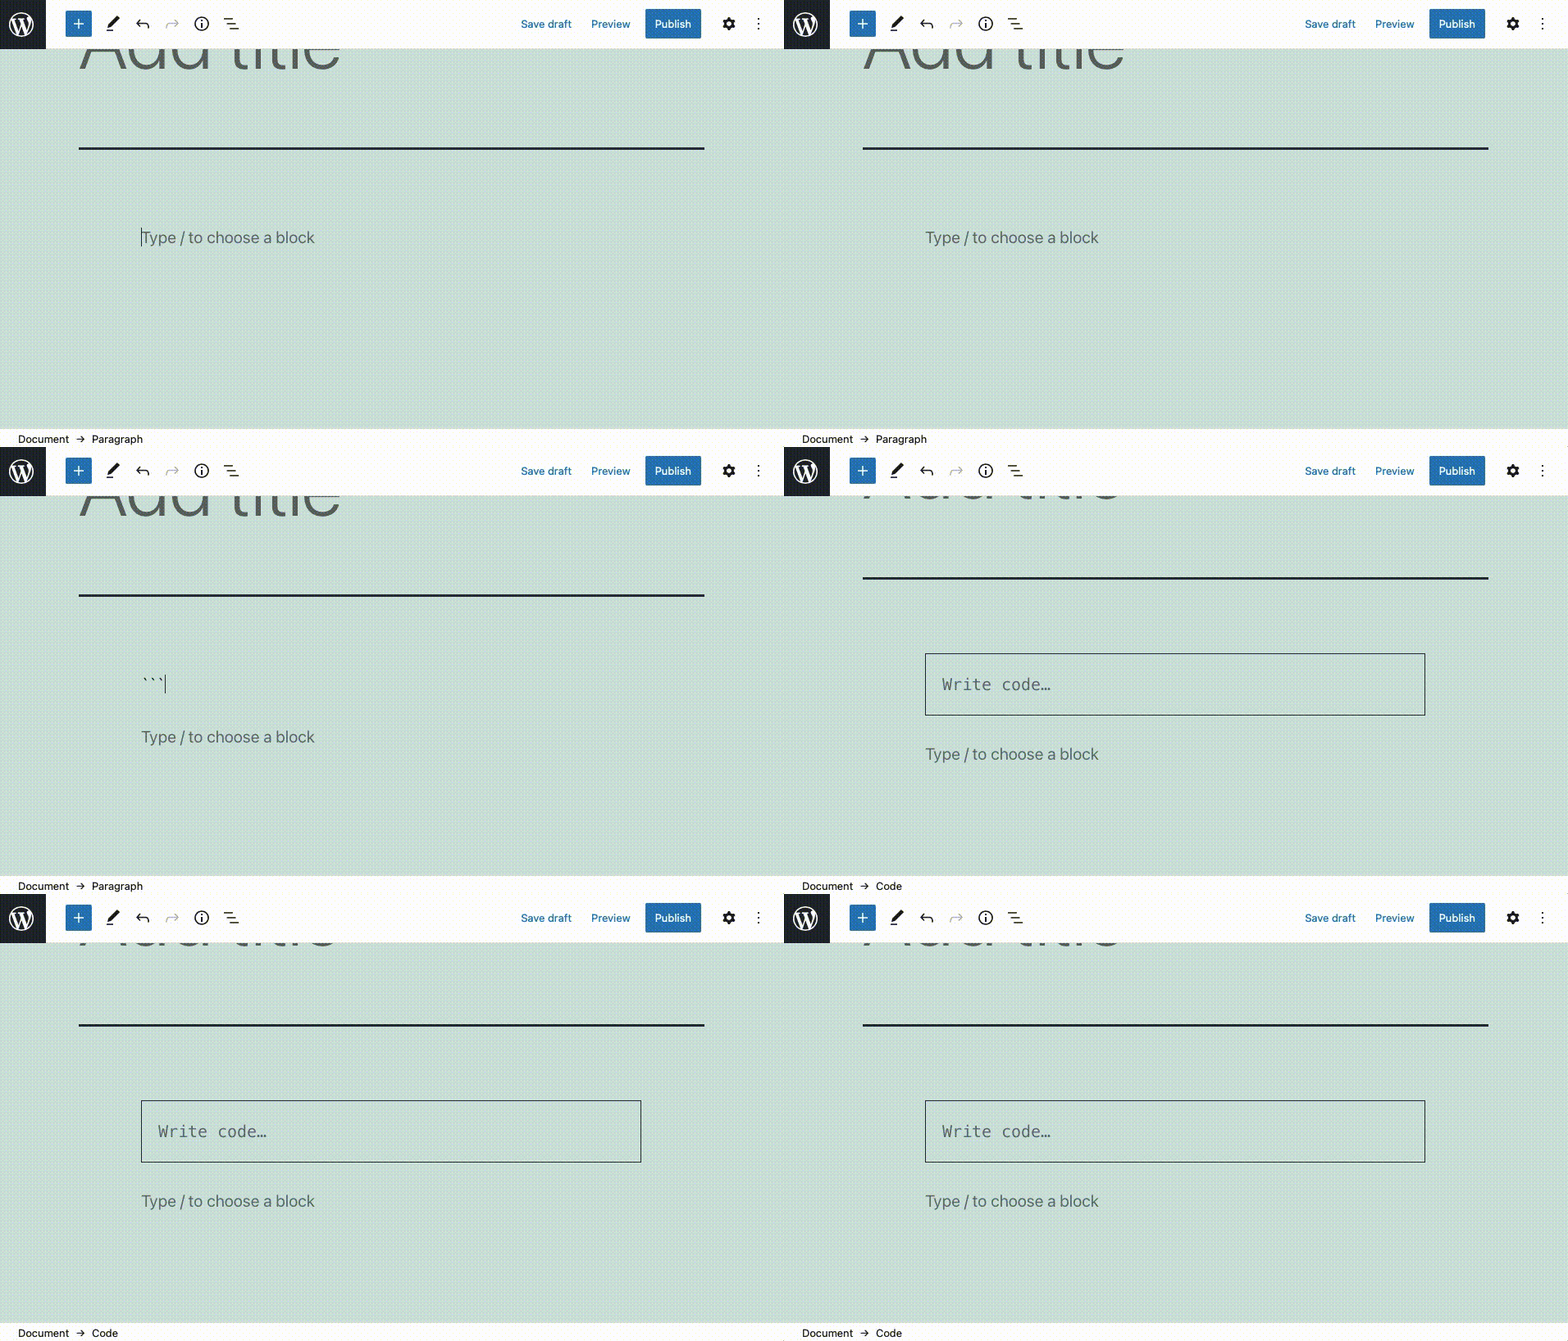
You can convert a paragraph block into a code block using a keyboard shortcut.
Lastly, it is also possible to insert a Separator using a Markdown-like keyboard shortcut. To do so, simply type --- (three hyphens) followed by the Enter key.
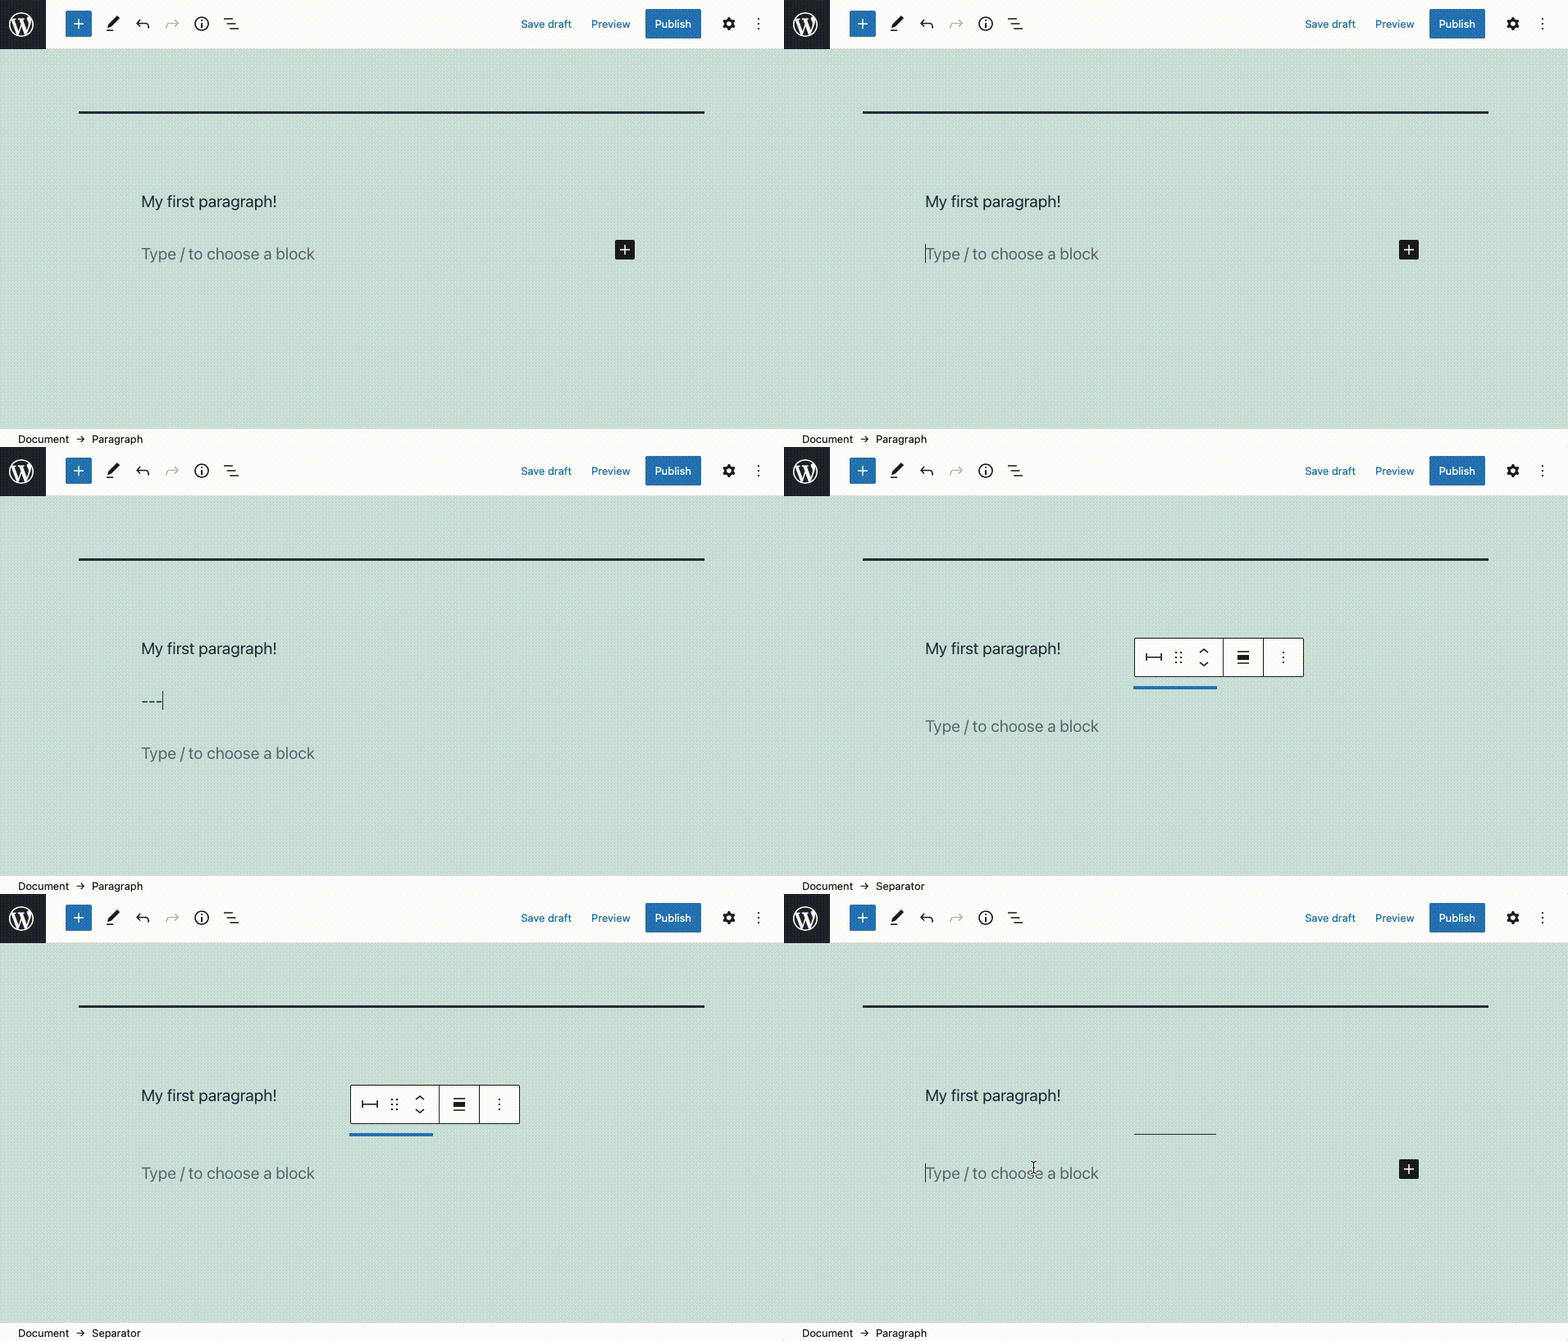
Inserting a separator can be achieved by typing three hyphens.
Text Formatting
The great thing about Gutenberg’s text editing shortcuts is that they closely resemble those you have used in other applications. So, the learning curve will be minimal here:
- You can make your selected text Bold by pressing
Ctrl+Bon Windows/Linux and⌘+Bon macOS. - You can make your selected text Italic by pressing
Ctrl+Ion Windows/Linux and⌘+Ion macOS. - You can Underline your selected text by pressing
Ctrl+Uon Windows/Linux and⌘+Uon macOS. - You can turn your selected text into a Link by pressing
Ctrl+Kon Windows/Linux and⌘+Kon macOS. Once the popup appears, enter the URL where the selected text should point to.
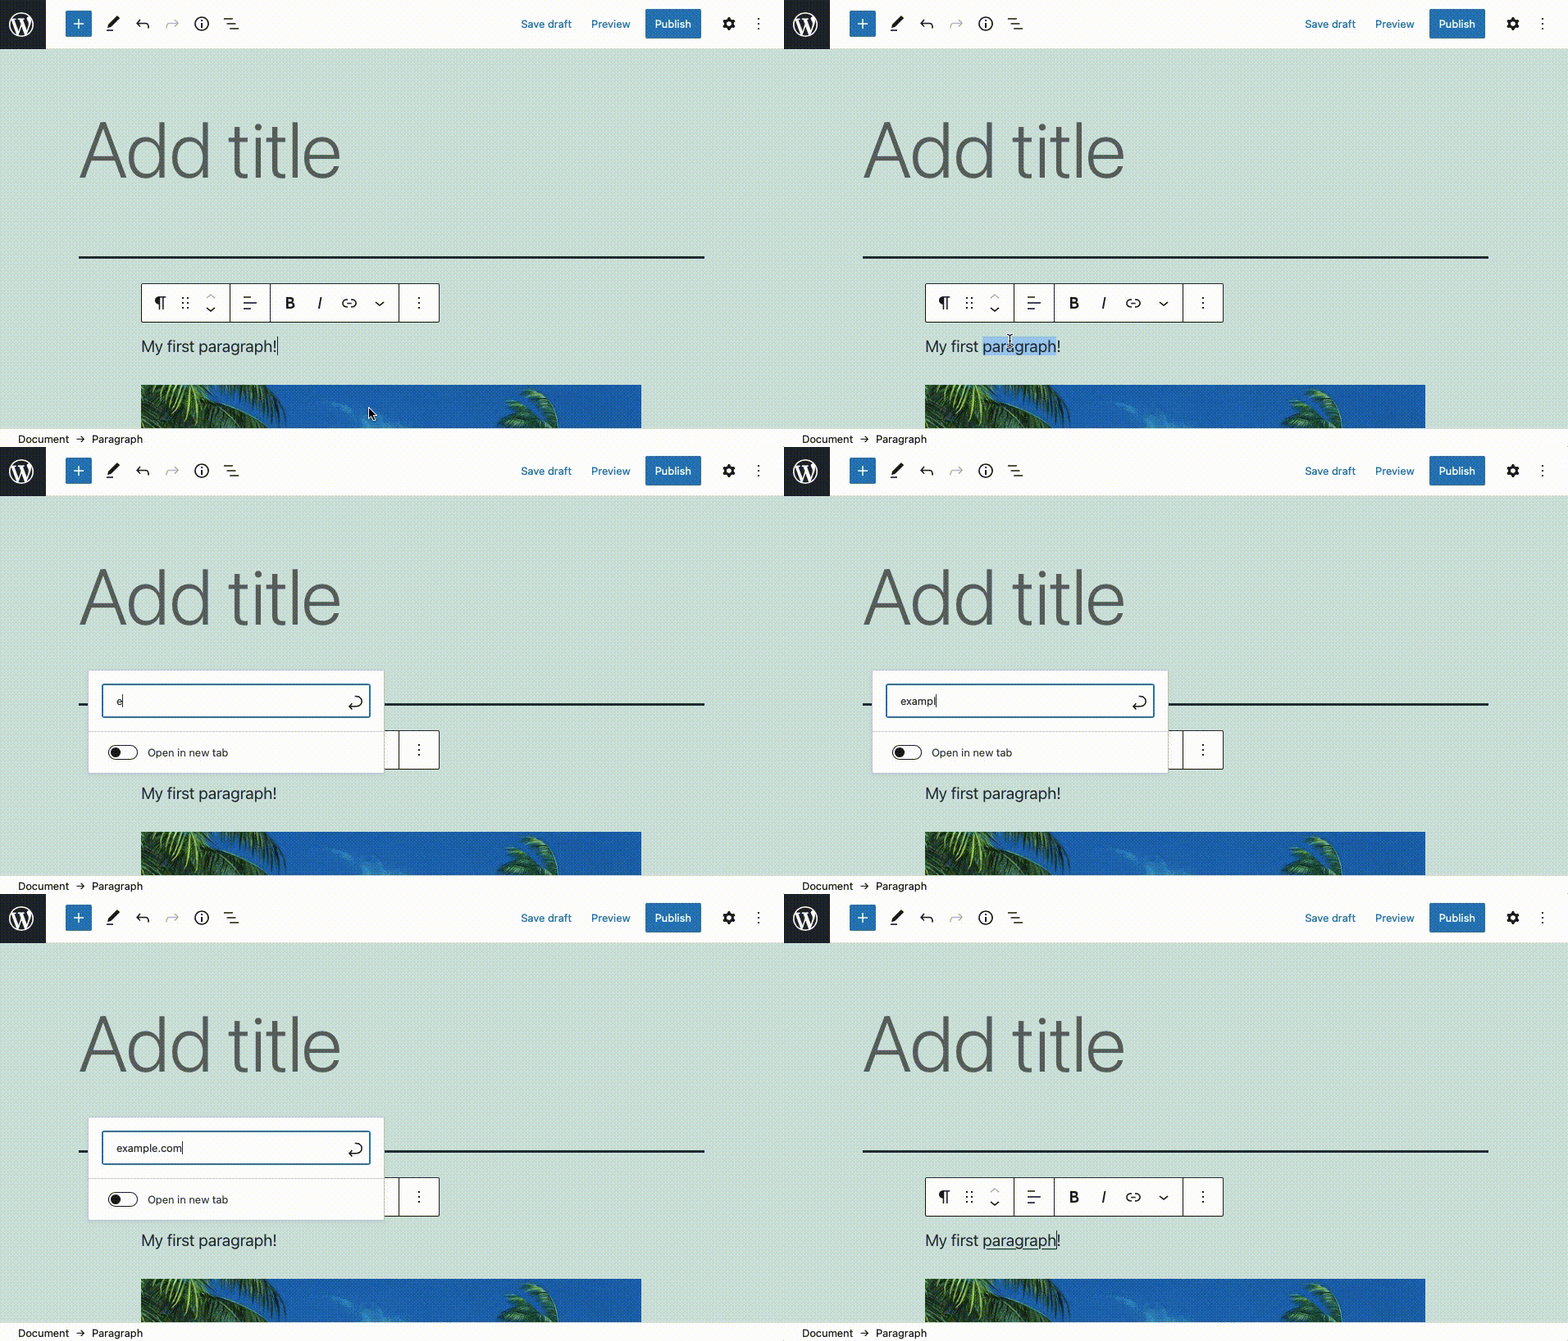
There is a keyboard shortcut in Gutenberg that allows you to convert text into a link.
– You can Remove the Link from a given text by pressing Ctrl + Shift + K on Windows/Linux and ⌘ + ⇧ + K on macOS.
Selection Shortcuts
At this time, there are just two selection shortcuts available in Gutenberg:
- You can Select All Blocks by pressing two times
Ctrl+Aon Windows/Linux and⌘+Aon macOS. - You can Clear the Selection by pressing the
Escapekey.
Global Shortcuts
The last grouping of Gutenberg hotkeys that we’ll look at is the set of global shortcuts. We’ll list those in the order of importance, beginning with some shortcuts that you’ll use on a daily basis.
No document editor can be complete without a keyboard shortcut for the Undo function and Gutenberg manages to deliver. You can press Ctrl + Z on Windows/Linux or ⌘ + Z on macOS to undo your last change. And if you wish to Redo a change, press Ctrl + Shift + Z on Windows/Linux or ⌘ + ⇧ + Z on macOS.
Tip:
Gutenberg will keep your edit history only while the editor window is open. If you wish to revert changes on a document that was edited in the past, you should check the document for previous revisions.
Another super important hotkey is for the Save function. To save your changes, press Ctrl + S on Windows/Linux or press ⌘ + S on macOS.
The Gutenberg Sidebar takes up a lot of space on the screen and you may not use it constantly. So, you can use a keyboard shortcut to Show or Hide the Sidebar on demand. To perform this action, press Ctrl + Shift + , on Windows/Linux or ⌘ + ⇧ + , on macOS.
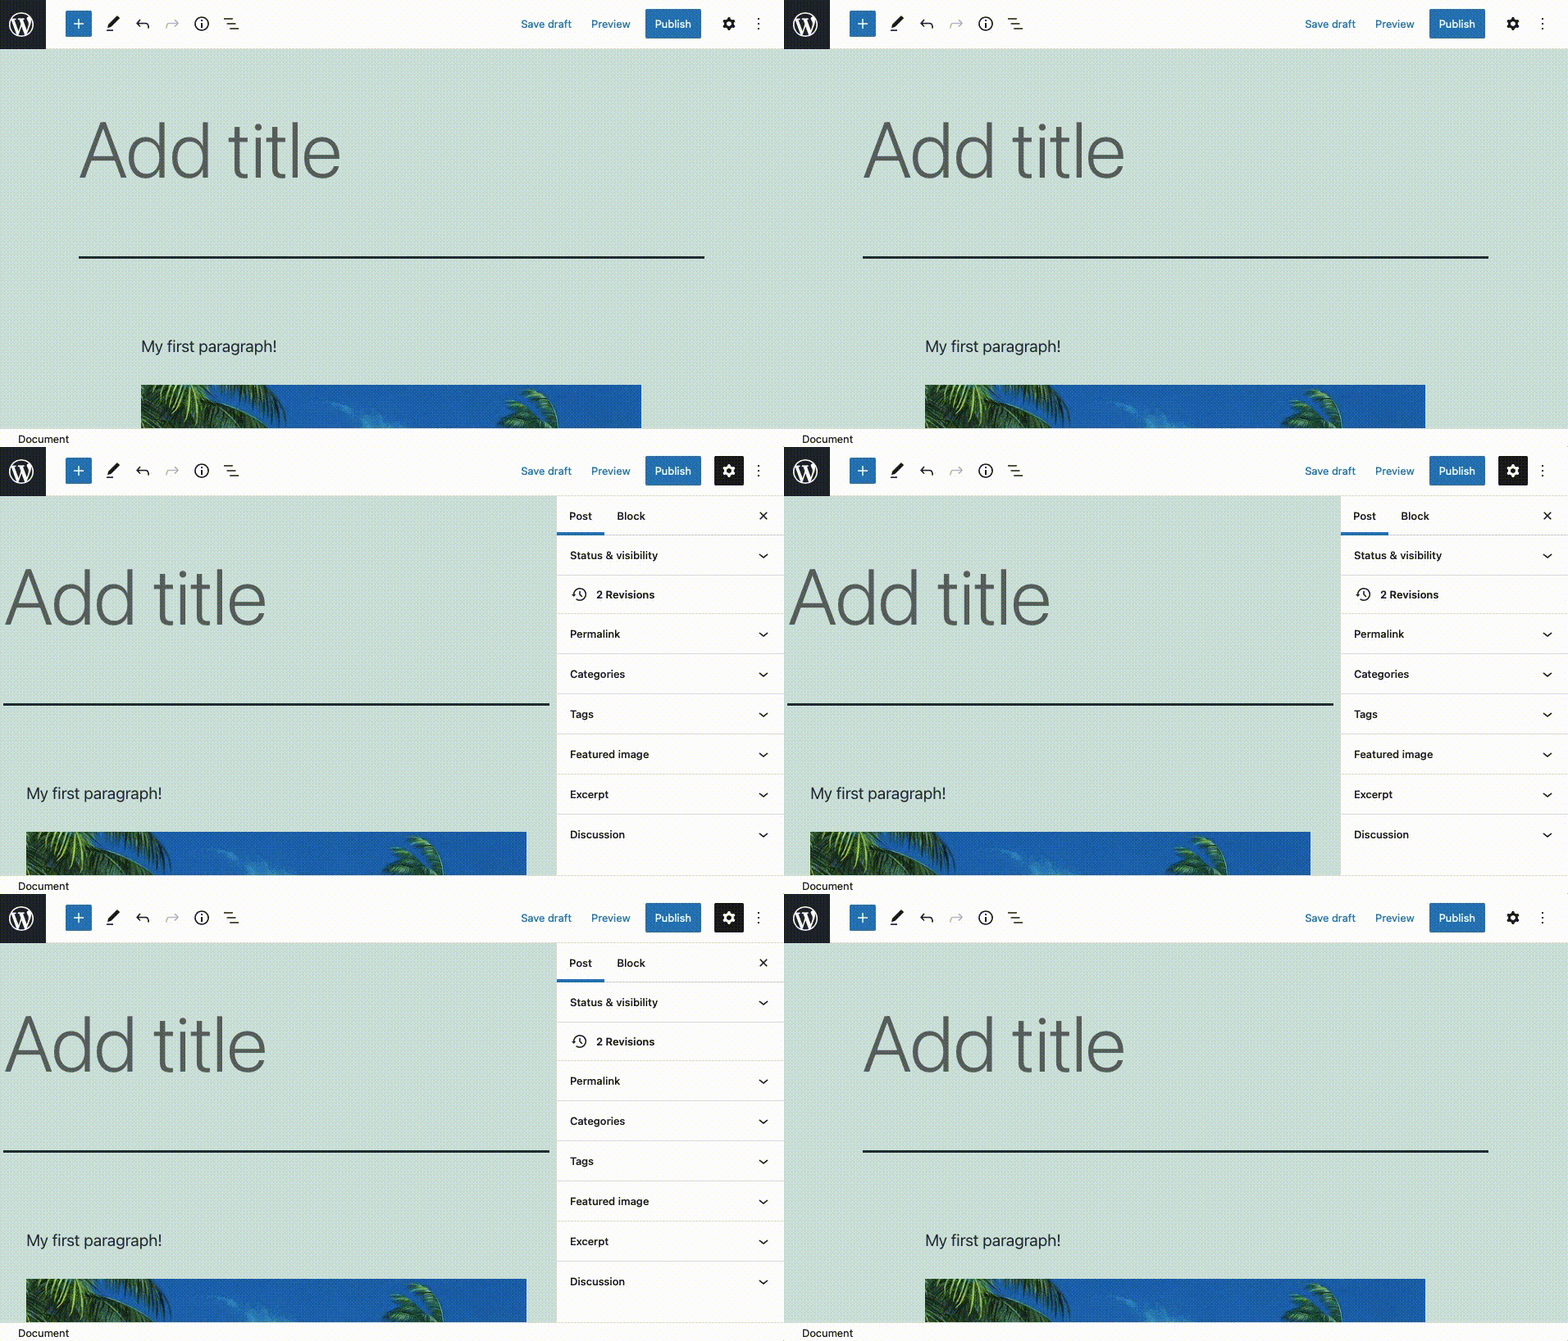
You can show and hide the Gutenberg Sidebar on demand via a keyboard shortcut.
Another handy shortcut in Gutenberg allows you to Switch Between the Visual Editor and the Code Editor. To do so, press Ctrl + Alt + Shift + M on Windows/Linux or ⌥ + ⌘ + ⇧ + M on macOS.
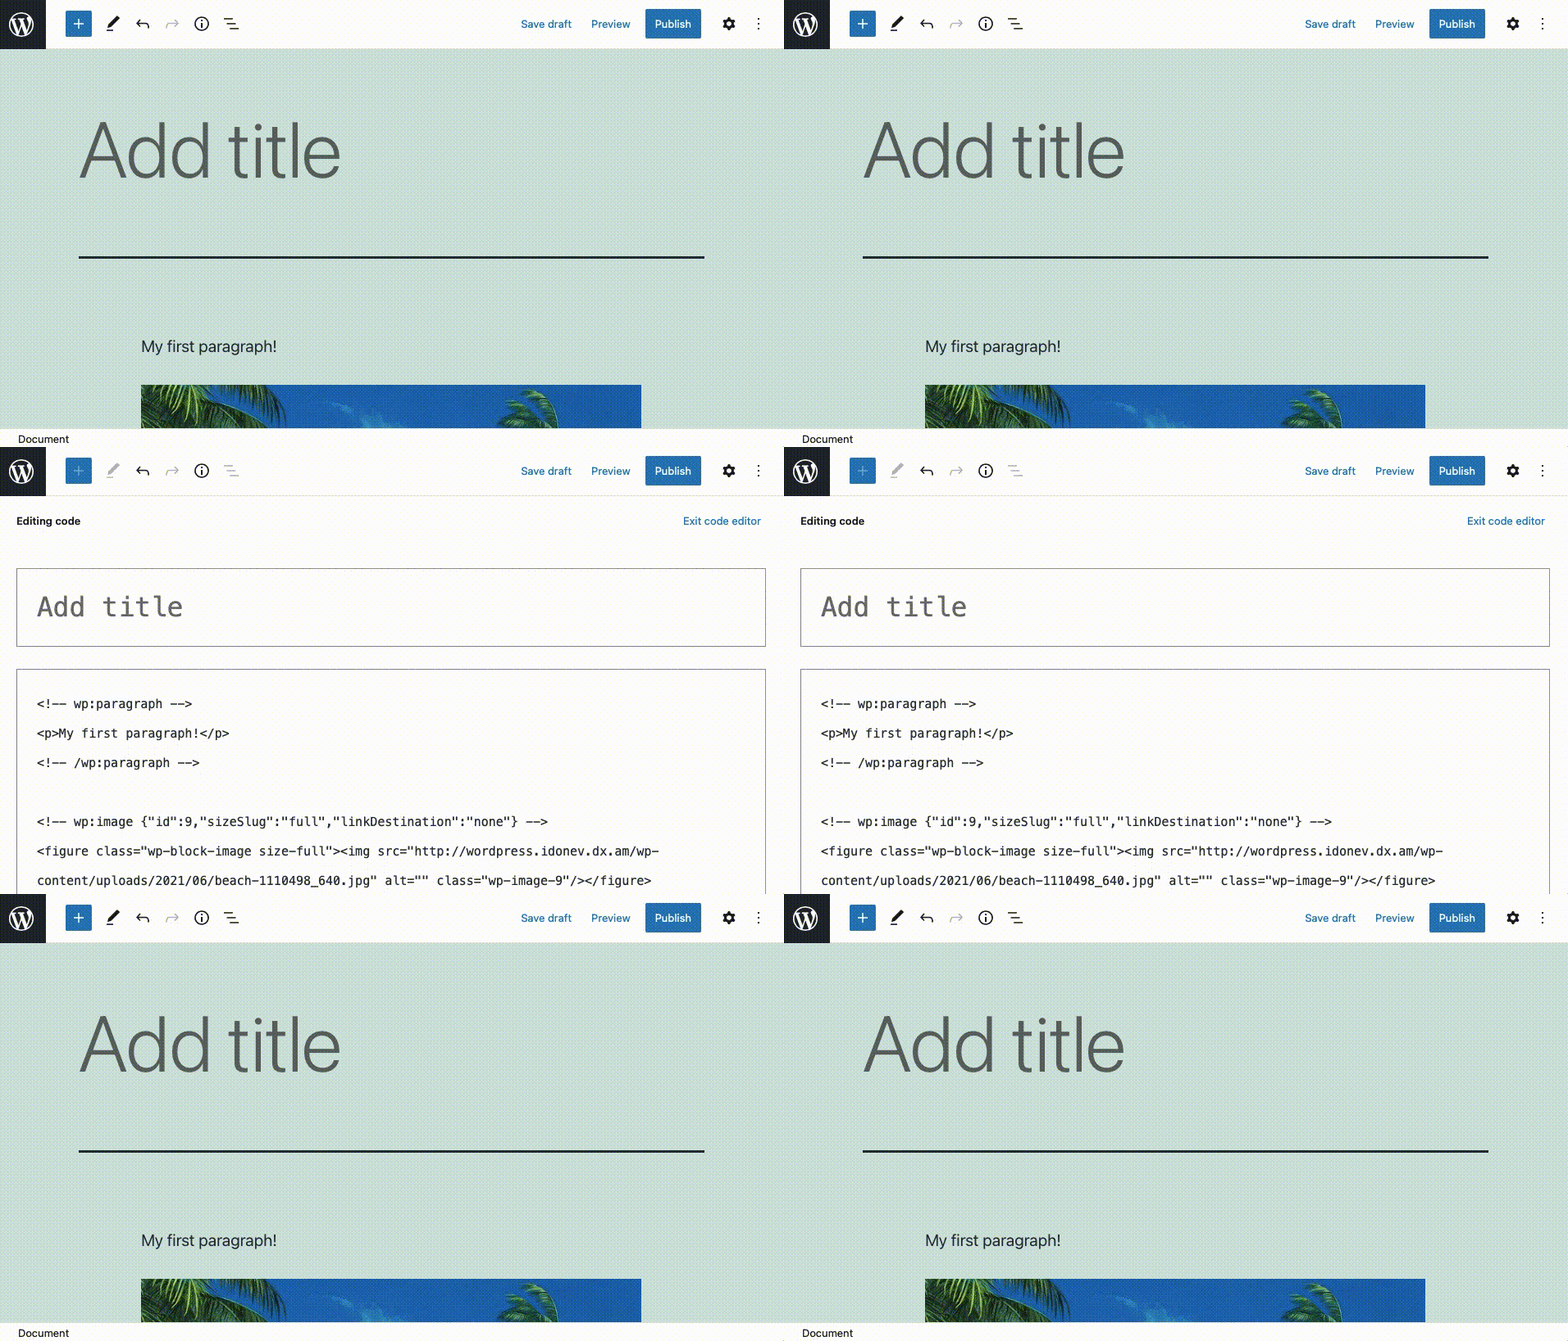
It is possible to switch between the Visual and Code editors via a keyboard shortcut.
If you are working on a particularly complex or long document, you may want to consult the Block List View now and then. Gutenberg makes this easier by having a keyboard shortcut dedicated to Showing and Hiding the List View. To trigger the shortcut, press Alt + Shift + O on Windows/Linux or ⌃ + ⌥ + O on macOS.
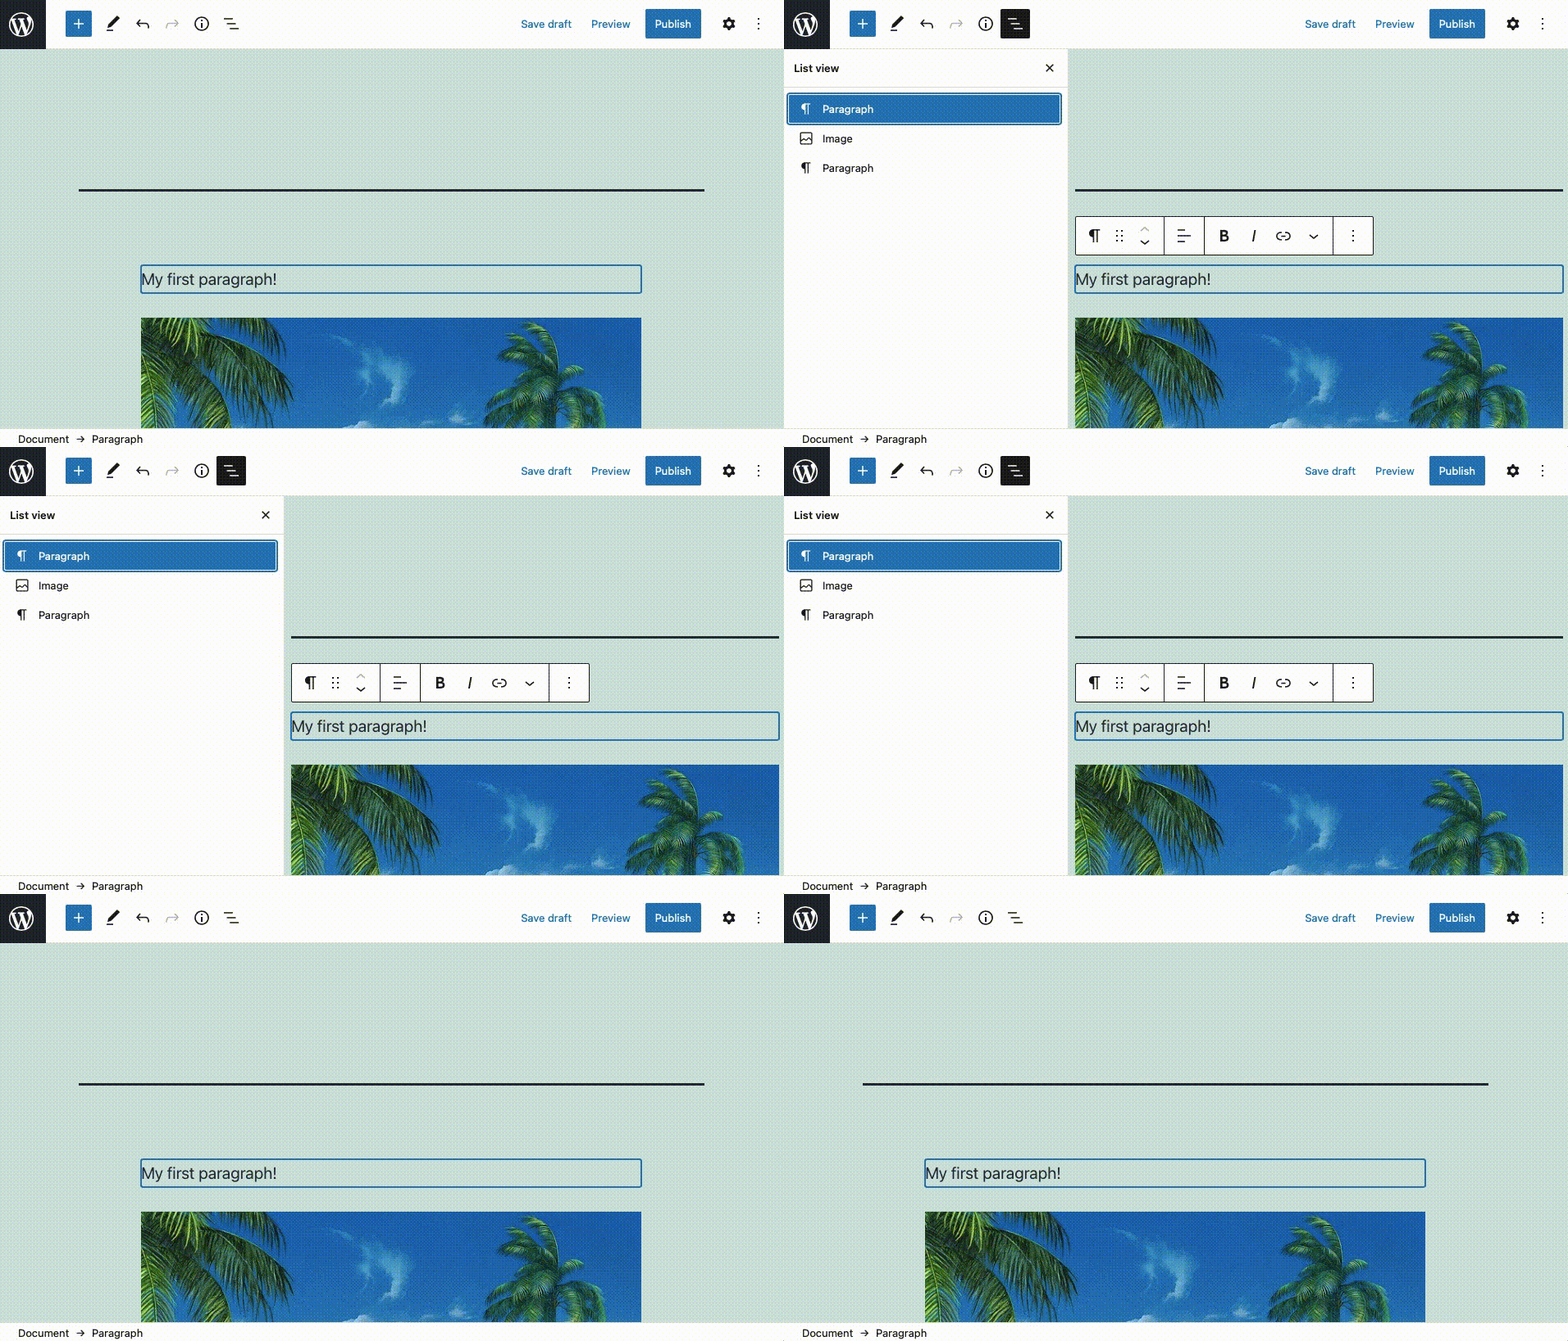
You can show and hide the Block List View via a keyboard shortcut.
Gutenberg features a fullscreen mode where all menus and toolbars from the WordPress back-end disappear. You can Toggle Fullscreen Mode using Ctrl + Alt + Shift + F on Windows/Linux or ⌥ + ⌘ + ⇧ + F on macOS.
Next, we’ll mention some navigational hotkeys. To Navigate to the Nearest Toolbar, press Alt + F10 on Windows/Linux or ⌥ + F10 on macOS. You can also Navigate to the Next Part of the Editor using Alt + Shift + N in Windows/Linux or ⌃ + ⌥ + N on macOS. And to Navigate to the Previous Part of the Editor using Alt + Shift + P in Windows/Linux or ⌃ + ⌥ + P on macOS.
The last Gutenberg keyboard shortcut that we’ll look at can actually bring up a cheat sheet containing most of the hotkeys we have discussed in this tutorial. To Display the Gutenberg Shortcuts press Alt + Shift + H on Windows/Linux or ⌃ + ⌥ + H on macOS.
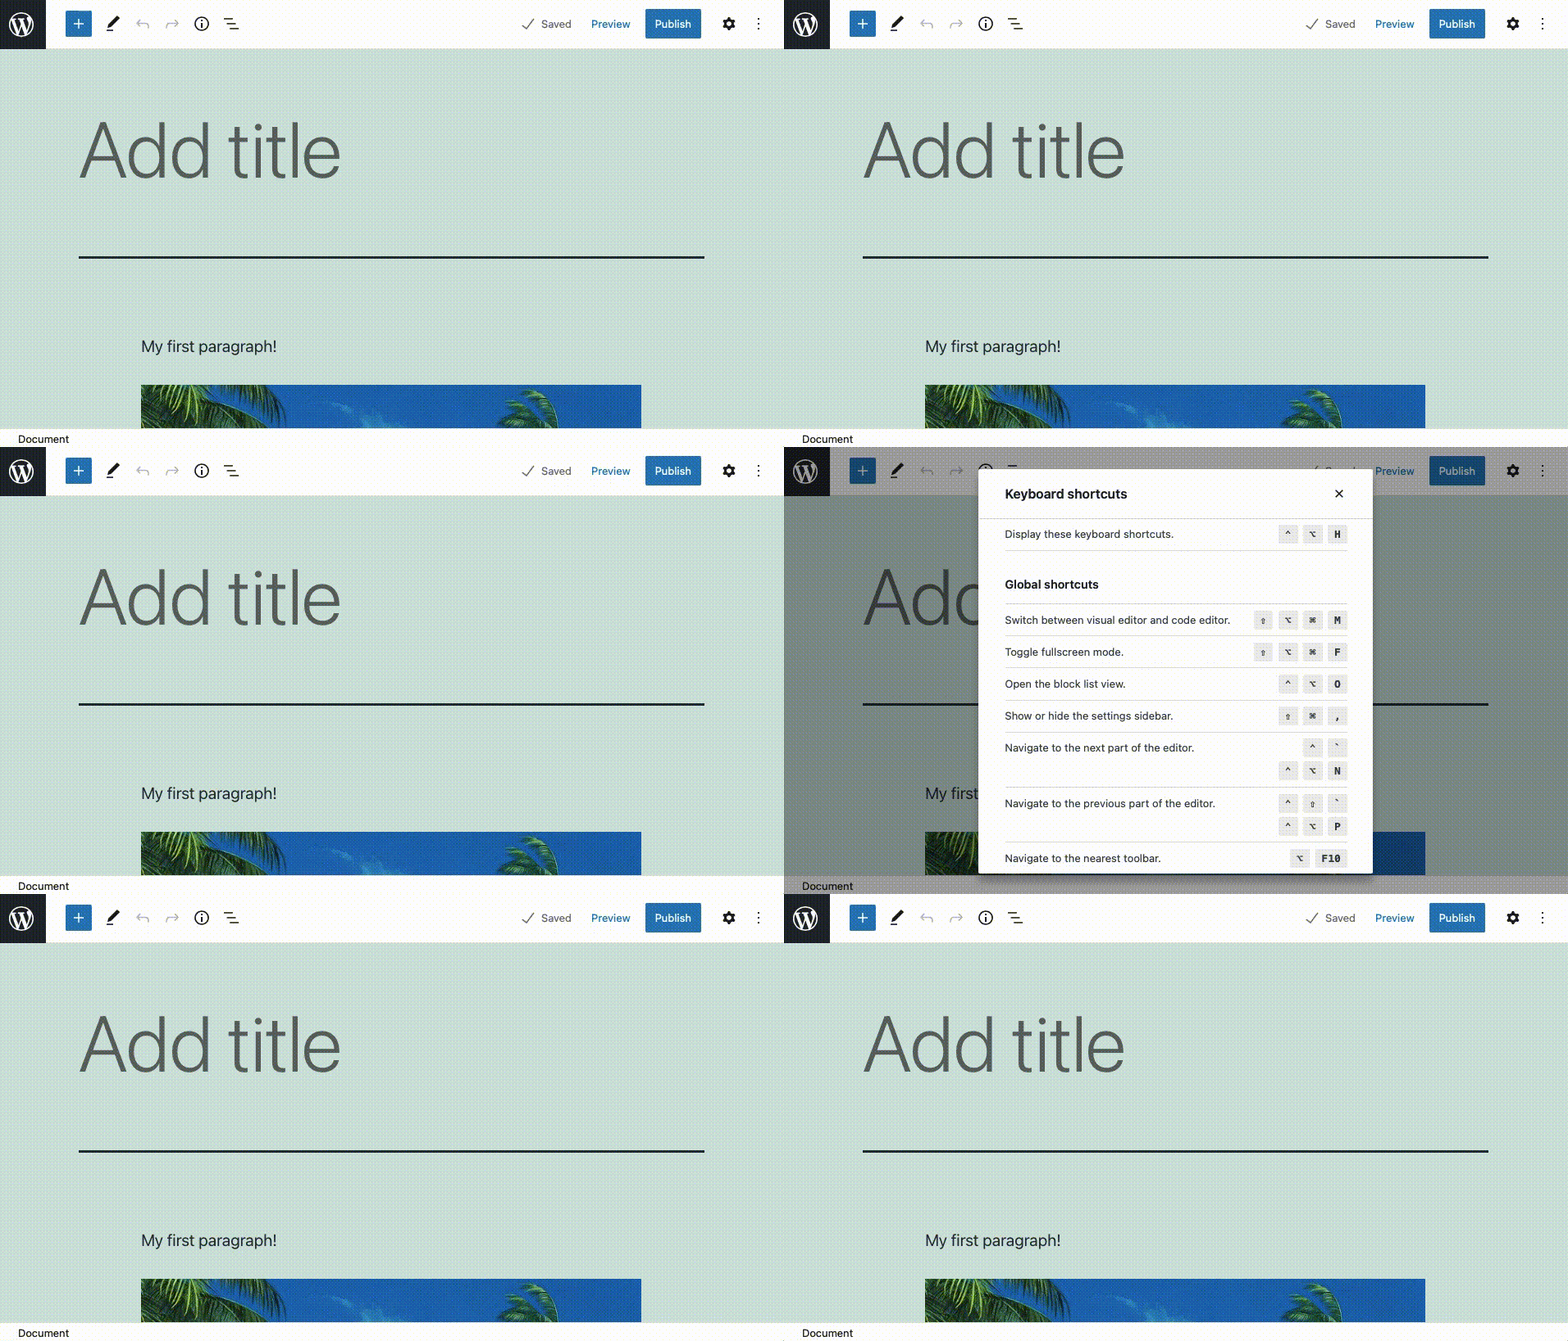
You can show and hide the cheat sheet of keyboard shortcuts in Gutenberg via a keyboard shortcut.
Next Steps
This concludes the list of keyboard shortcuts available in Gutenberg. Using even a fraction of those hotkeys is likely to save you time and make you more productive.
If you wish to further improve your efficiency in WordPress, you can check out our tutorial on how to add keyboard shortcuts to the WordPress back-end interface. Also, if you moderate the comments on your WordPress site, you can review the hotkeys for comment moderation.