When working on your WordPress website, you will eventually want to format the text of posts and pages, so it looks tidier and is digested more easily by your readers.
Although there are numerous formatting options, highlighting text remains one of the best attention-grabbing techniques.
This is why, in the following paragraphs, you will read how to highlight text in WordPress.
How to Highlight Text in WordPress
Depending on the editor you are using to craft your website content, there are different approaches to highlighting text.
In the following sections, you will read how to do so with the WordPress Gutenberg Block Editor and the Classic Text Editor.
How to Highlight Text with Gutenberg Block Editor
The easiest way to add the highlight function is by installing a WordPress plugin. We use this method for two main reasons:
- The highlighted function is not accessible via the Gutenberg default formatting tools.
- Adding more functionality with a plugin is far easier than doing so with code snippets.
For this demonstration, we will install the Advanced Editor Tools plugin. This is a handy suite of tools that brings more formatting options at your disposal, including highlighting text:

You can browse the Plugins library and install the toolset that fits your requirements the best.
Once you have installed the plugin, via your Admin Dashboard, create a new WordPress webpage, a blog post, or simply edit the already existing ones.
Whichever you choose, the process is identical.
For this demonstration, we will open and edit a sample blog post:
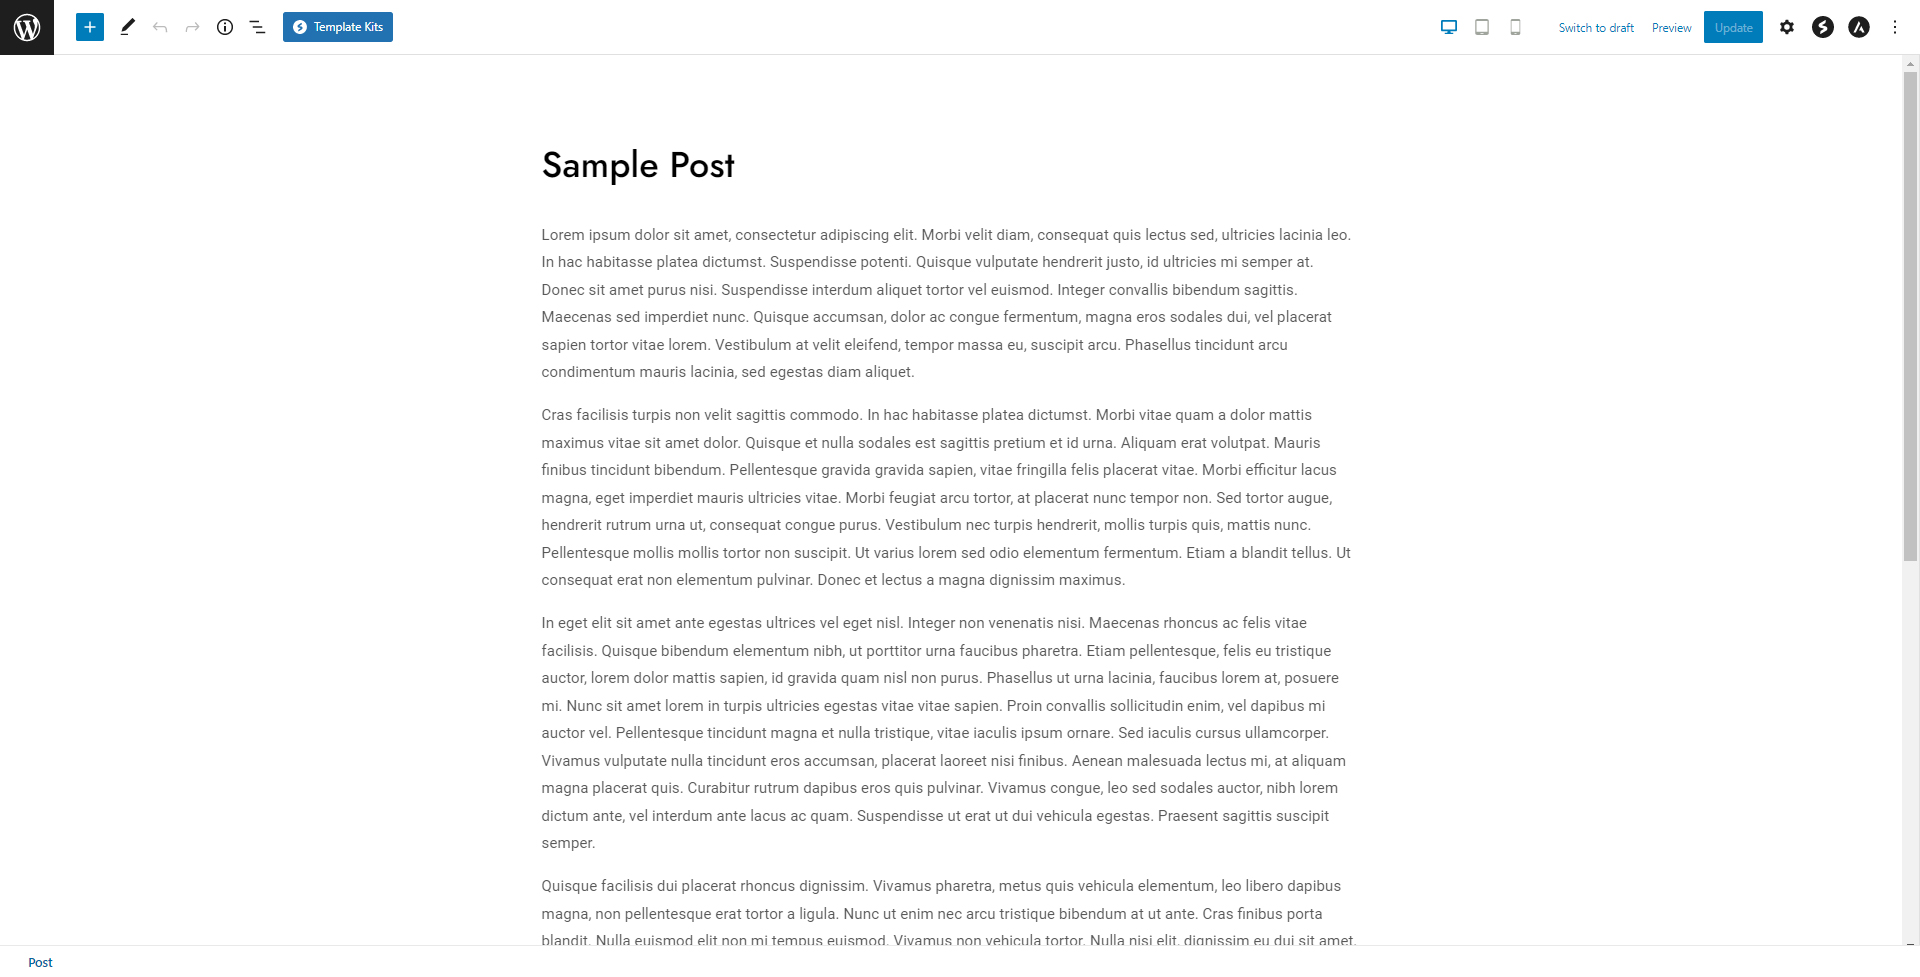
Now, mark the text you want to highlight:
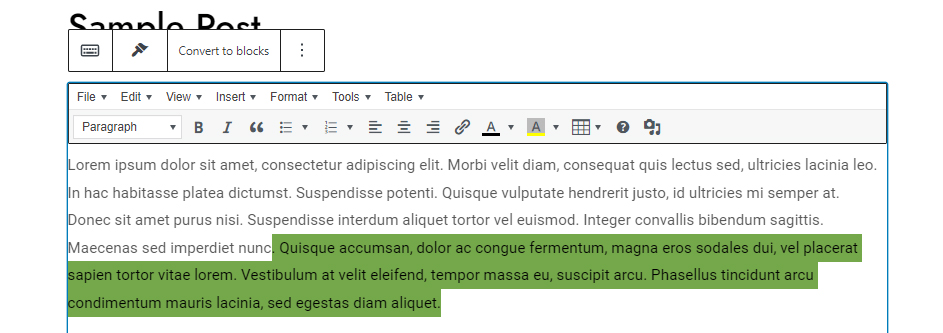
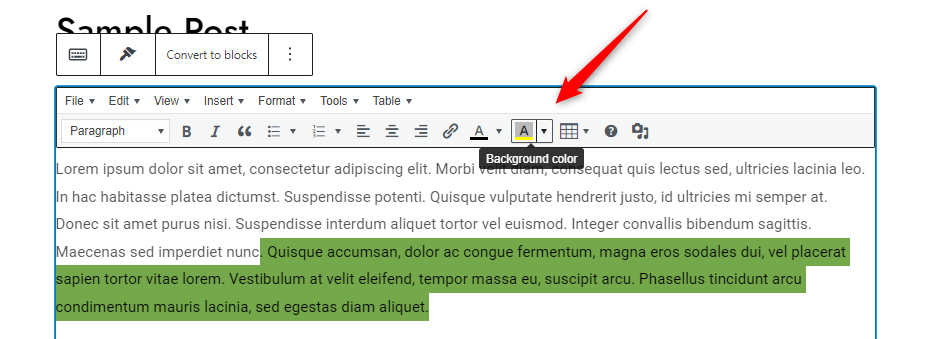
Then, find the Background color button in the formatting text area (this button will only be available if the Advanced Editor Tools plugin is active):
Then, choose the color which you will use to highlight the selected text:
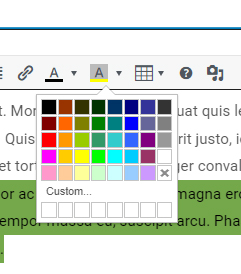
Once you do so, notice how the text becomes highlighted with the preferred color:
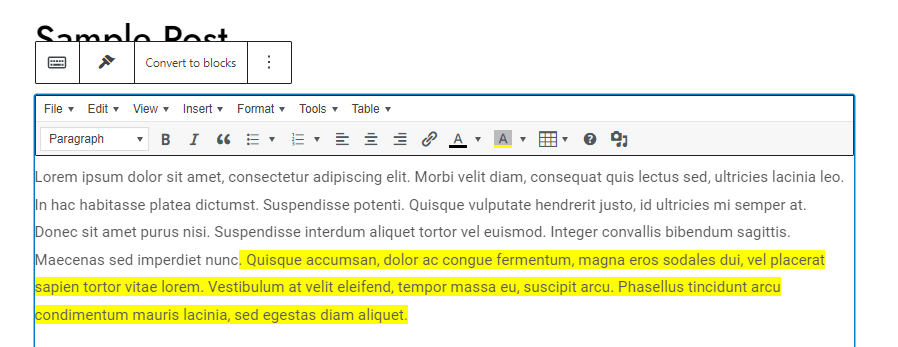
Once you are satisfied with the editing process, you can publish/edit your post or article:

How to Highlight Text with the Classic Editor
Highlighting text with the classic editor doesn’t require the installation of a plugin.
You should only make a few clicks here and there and add certain HTML tags.
Although it sounds complicated, the process is very simple.
First, open the page or blog post you wish to edit. For this demonstration, we will use a sample post:
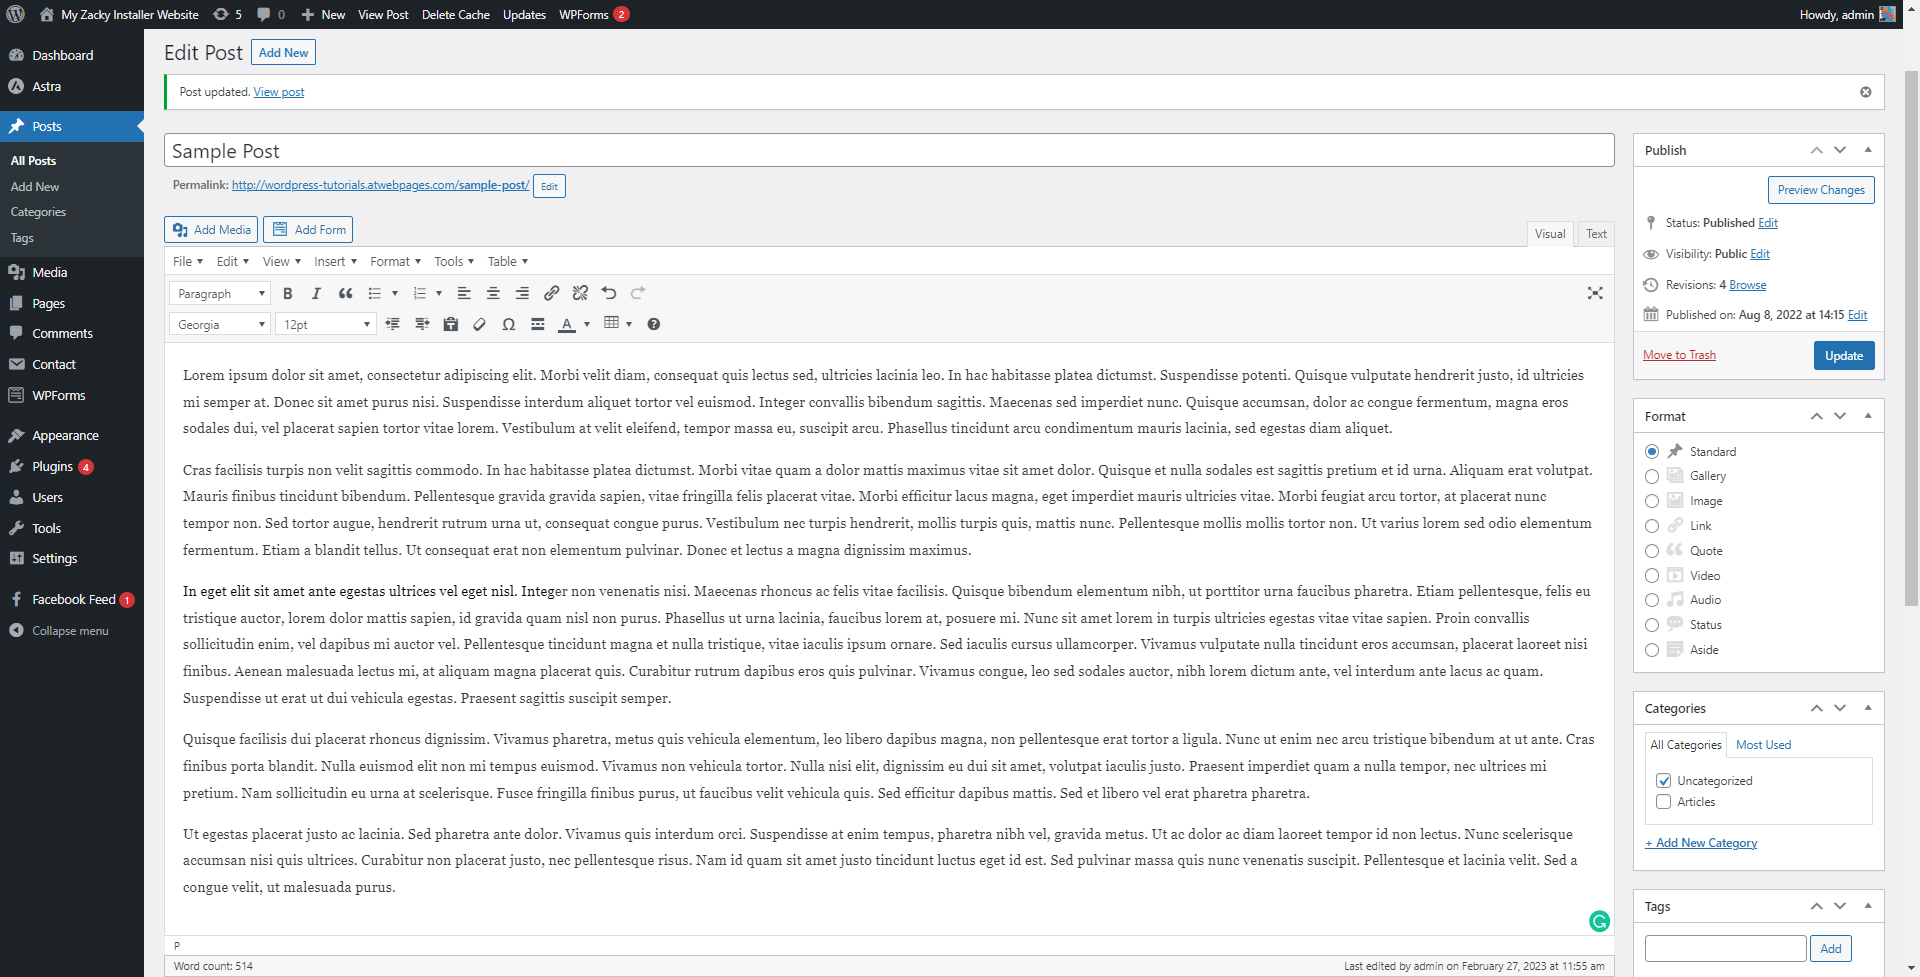
Then, select the text you wish to highlight:

After that, click on the Text tab, so you can insert the HTML elements:

Once you’ve done so, it is time to add an HTML tag before and after the word, phrase, or sentence you want to highlight.
Between the selected text add these strings of code:
<span style=”background-color: #fdf2d0;”>the text you want to highlight</span>
If you are new to HTML and need some more clarifications, here’s what all these phrases mean:
<span style=”background-color:
This is an opening tag telling WordPress that a certain command should be performed. In this case, this is the highlighting function.
#fff300;”
This is the HTML color code. Changing this code changes the highlighting color.
</span>
This is the closing bracket. Use it to mark the end of the highlighting length. If you don’t use this bracket, everything will become highlighted – from the opening bracket to the end of the text.
Once you have included the HTML highlighting tags, go back to the Visual tab, so you can see how the highlighted area turned out to be:

Once you are satisfied with the result, click on the Publish/Update button, so WordPress applies and saves the changes you’ve just made:

Conclusion
Highlighting is a great way of grabbing the attention of your website visitors and when done right, you have the chance to increase engagement and even conversion rates.
Furthermore, WordPress makes it easy to add highlighted text across your page and posts, so you get the most out of this formatting option.
Related: